Showing posts with label Guest Designer. Show all posts

August 30, 2019

Joy Clair Stamps 5th Anniversary Blog Hop.

Welcome to Joy Clair Stamps 5th Anniversary Blog Hop! There is so much amazing talent and inspiration in this hop and there are prizes too. Make sure to scroll all the way down to the bottom of my post for all the hop details.


Joy Clair Stamps has provided me with some of the product to create this project. The opinions I share are solely my own.

Below is a video tutorial showing how I created my card.
Make sure to subscribe to my YouTube channel and click the bell so you will get updates when I post a new video.


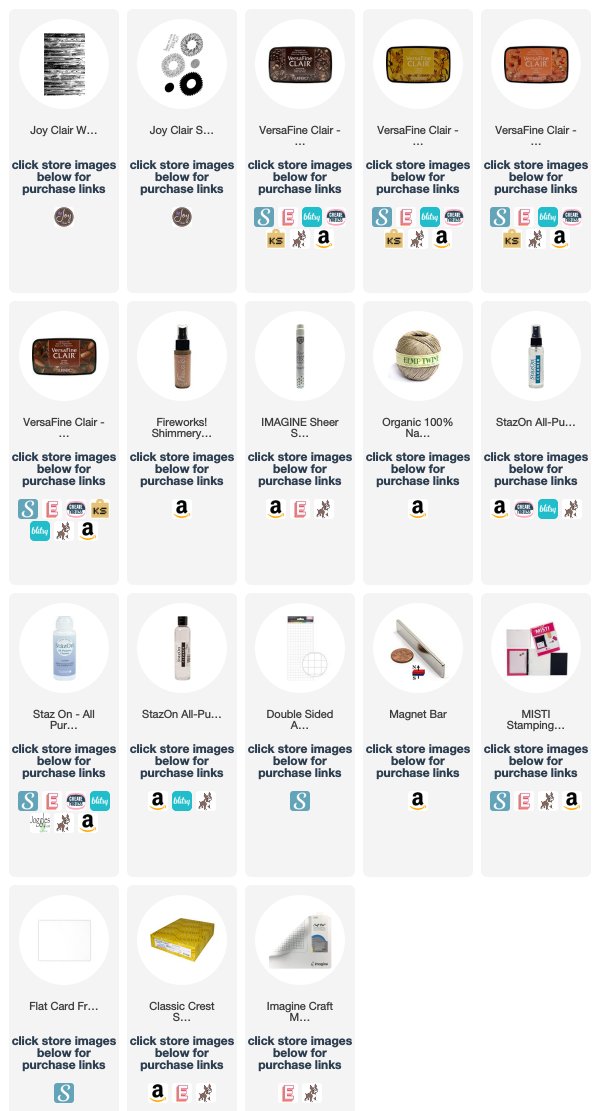
Some close-ups of my card showing the details of the Joy Clair Wood Background Stamp and the Joy Clair Sunflower Stamp. I used VersaFine Clair inks to stamps the images and sentiment. Love the crisp vibrant colors of these inks.


Blog Hop Info


Okay, are you ready for the Joy Clair Stamps 5th Anniversary Blog hop info?
Joy Clair is giving away ONE gift card of $25 dollars to TWO lucky winners. All you have to do for a chance to win is leave a comment on ALL of the participating designer's blog hop posts (links are listed below) by Monday, September 02, 2019 at 11:59 pm. 


Next designer on the hop is Betz Golden
All designers links are below....

You are invited to the Inlinkz link party!
Click here to enter

Interested in the products I used? Products are linked to multiple shops below, for your convenience.
Lists may contain affiliate links where possible at no cost to you, what so ever. Affiliate and product disclosure can be found here.
I design for several companies because I truly love their products! Anything I recommend on my blog is something that I genuinely love and regularly use. I buy most of my own supplies. However, I do receive some free product to work with and I sometimes make money for the projects I make. I DO NOT get paid for product reviews, I give my honest opinion about the products I use and I will never recommend a product that I do not like or would not use.

August 22, 2019

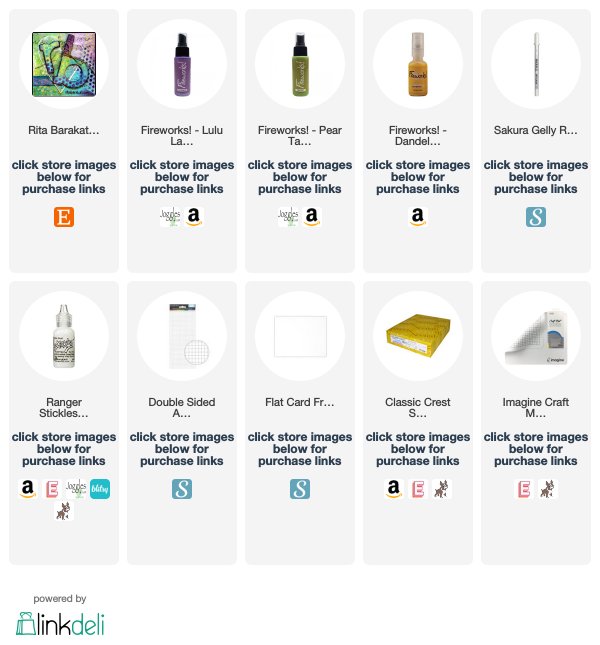
Cute Girly Card - Guest Designing For Rita Barakat

I was so excited to be asked to be a guest designer for Rita Barakat! Rita is one of the nicest people I've ever met and I love her products.
Check out this cute girly card I made...


Rita Barakat Designs has provided me with some of the product to create this project. The opinions I share are solely my own.

Below is a video tutorial showing how I created my card.
Make sure to subscribe to my YouTube channel and click the bell so you will get updates when I post a new video.


Rita Barakat designed this unicorn girl die-cut. Isn't she adorable?


On the background, I used the Sweet Sisters Flower stencil that was also designed by Rita Barakat.


Interested in the products I used? Products are linked to multiple shops below, for your convenience.
Lists may contain affiliate links where possible at no cost to you, what so ever. Affiliate and product disclosure can be found here.
I design for several companies because I truly love their products! Anything I recommend on my blog is something that I genuinely love and regularly use. I buy most of my own supplies. However, I do receive some free product to work with and I sometimes make money for the projects I make. I DO NOT get paid for product reviews, I give my honest opinion about the products I use and I will never recommend a product that I do not like or would not use.

August 19, 2019

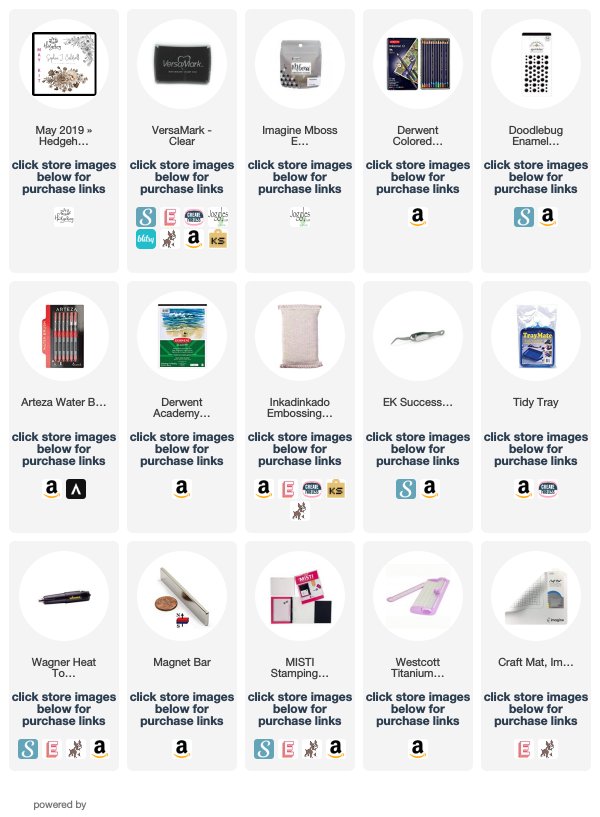
Embossing and Watercolor Technique On A Card

Hello! Today I am sharing my second guest designer card I made using the Hedgehog Hollow May Card Kit.  I wanted to go rather simple with this card with a pop of color.


Below is a video tutorial showing how I created my card.
Make sure to subscribe to my YouTube channel and click the bell so you will get updates when I post a new video.


In the close-up photos below, you can see the details in the flower border stamp and I love how the chipboard sentiment piece looks on the bright rainbow watercolor strip in the middle.


Interested in the products I used? Products are linked to multiple shops below, for your convenience.
Lists may contain affiliate links where possible at no cost to you, what so ever. Affiliate and product disclosure can be found here.
I design for several companies because I truly love their products! Anything I recommend on my blog is something that I genuinely love and regularly use. I buy most of my own supplies. However, I do receive some free product to work with and I sometimes make money for the projects I make. I DO NOT get paid for product reviews, I give my honest opinion about the products I use and I will never recommend a product that I do not like or would not use.

August 11, 2019

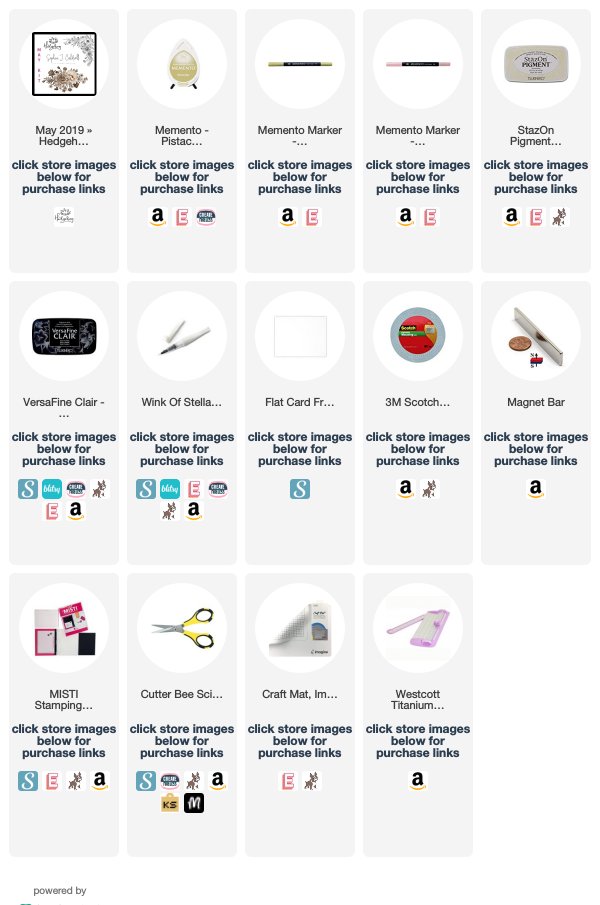
Flower Card & Stamping Technique

Hello again! I am excited to share my first guest designer project for Hedgehog Hollow using their May Subscription Card Kit.  This kit is highlighting Sophia Caldwell’s Illustrations and they are gorgeous!
Here is the first card I made using this fabulous kit....


Below is a video tutorial showing how I created my card using some of the stamps from the kit.
Make sure to subscribe to my YouTube channel and click the bell so you will get updates when I post a new video.


In these close-up photos, you can see more of the details in the stamps. Aren't they gorgeous?


Interested in the products I used? Products are linked to multiple shops below, for your convenience.
Lists may contain affiliate links where possible at no cost to you, what so ever. Affiliate and product disclosure can be found here.
I design for several companies because I truly love their products! Anything I recommend on my blog is something that I genuinely love and regularly use. I buy most of my own supplies. However, I do receive some free product to work with and I sometimes make money for the projects I make. I DO NOT get paid for product reviews, I give my honest opinion about the products I use and I will never recommend a product that I do not like or would not use.

July 10, 2019

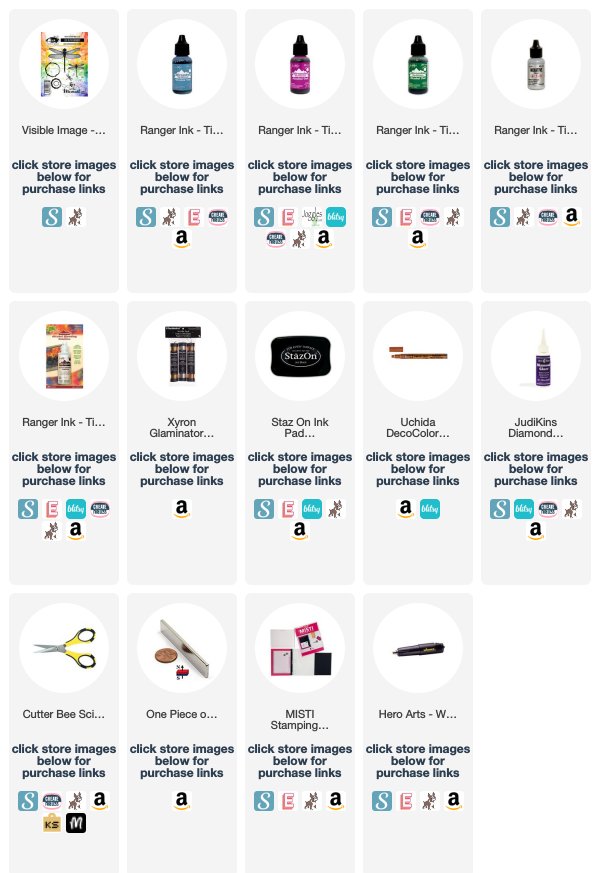
Live In The Moment Card

Sometimes you just need to live in the moment! I created this card using stamps from Visible Image for my first Guest Design Team post.


I know most of you are used to me doing a video tutorial but unfortunately, the video file got corrupted somehow and I lost it all :(  So I will do my best to explain to you all what I did.


For the background, I used photo paper and used some alcohol ink. I first got the paper wet with some blending solution and dropped on some alcohol ink and using a straw I blew the alcohol ink around on the paper. I continued doing this with 4 different colors of alcohol ink in Sail Boat Blue, Wild Plum, Bottle, and Mixative Silver until I was happy with how it looked.
Once the alcohol ink was basically dry but still had some tacky areas left I used some Xyron Glaminator Copper Transfer Foil by pressing (shiny side facing up) it down onto the tacky areas and then lifted it back up. This left some of the foil stuck to the tacky areas.
Photo paper will crack and bubble if heated with a heat tool which was what I wanted, so I used my heat tool onto the background until it started to crack.


The dragonfly and sentiment are from the Visible Image Live In The Moment Stamp Set. I stamped the dragonfly using StazOn Ink in Jet Black onto the background. Using another piece of photo paper I used the Sail Boat Blue and Bottle Alcohol Ink colors by just dropping it around on the paper with some blending solution and dried it with my heat tool until it started to crack. Then I stamped the dragonfly onto the new piece of photo paper. I fussy cut out the dragonfly and outlined the dragonfly and also the background piece with a Copper DecoColor Premium Paint Marker and then adhered the dragonfly down onto where I stamped it onto the background. Then stamped the sentiment with StazOn in Jet Black using my Misti. Added some Diamond Glaze onto the dragonfly and adhered everything down to a white card base. All done!

Interested in the products I used? Products are linked to multiple shops below, for your convenience.
Lists may contain affiliate links where possible at no cost to you, what so ever. Affiliate and product disclosure can be found here.
I design for several companies because I truly love their products! Anything I recommend on my blog is something that I genuinely love and regularly use. I buy most of my own supplies. However, I do receive some free product to work with and I sometimes make money for the projects I make. I DO NOT get paid for product reviews, I give my honest opinion about the products I use and I will never recommend a product that I do not like or would not use.

April 12, 2018

Hello Card - Guest Designer For StencilGirl

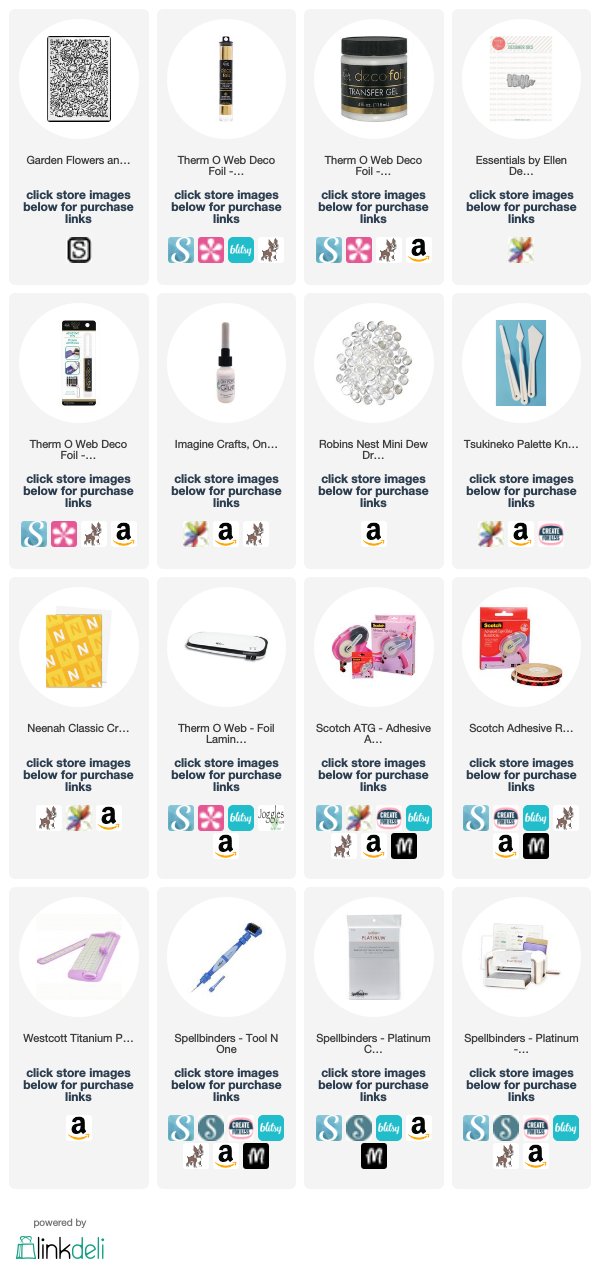
Hello! I am so excited to be asked to be a guest designer for StencilGirl. I sorta have an addiction to stencils and one of my fun ways to use stencils is for doing transfer foil techniques. 


Watch my video tutorial below to see how I created my card.
Make sure to subscribe to my YouTube channel so you will get updates when I post a new video.


Here are some close-up photos so you can see the details of the stencil with the foil.


Interested in the products I used? Products are linked to multiple shops below, for your convenience. Lists may contain affiliate links where possible at no cost to you, what so ever. I received some of these products for free but was not compensated for writing this post. Affiliate and product disclosure can be found here.

October 7, 2017

Joy Clair World Cardmaking Day Blog Hop

Hello and happy Saturday! Today I am sharing a card I created for the Joy Clair Blog Hop. I was so excited to be asked to be a guest designer for this hop. Make sure to scroll to the bottom of my post to get all the blog hop details.


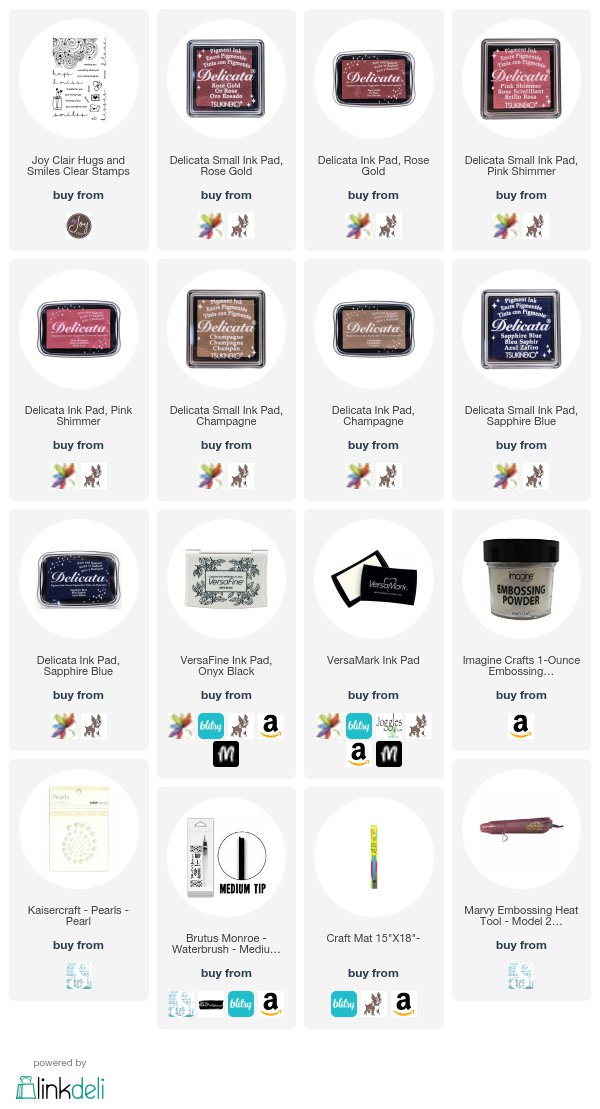
To get all the soft colors I used the new Delicata Ink colors in Rose Gold, Pink Shimmer, Sapphire Blue, and Champagne. I was going for a soft feminine look but after I was done realized these colors together would also make a gorgeous wedding card.


I started with Joy Clairs Hugs and Smiles stamp set and used the swirly like flowers from it. I stamped it with VersaMark and then embossed it with white embossing powder. I then smooched some of the Delicata Rose Gold and Pink Shimmer onto my craft mat and picked the color up with a water brush and painted the colors onto the flowers. The white embossed areas act as a resist so the ink won't stick to it. I did the same process for the small flowers but used Delicata Sapphire Blue.


Below the flowers, I watercolored on the Delicata Champagne ink blending it lighter as I moved down the card.


In the bottom corner, I used a couple of the sentiments from the set and one of the small envelope stamps. Added some champagne pearls, backed the card front with some black, attached it to the front of my card and I was done. 

Interested in the products I used? Products are linked to multiple shops below, for your convenience. Lists may contain affiliate links where possible at no cost to you, what so ever. Affiliate and product disclosure can be found here.

Now onto the fun stuff, the blog hop info!!

As mentioned, we have a fantastic line-up and three Special Guest Designers joining us today, all of them had been winners of our Challenges!!!
Check out the Hop order below: 

HOP ALONG FOR THE CHANCE TO WIN PRIZES

We're giving away three Stamp sets from Joy Clair Store! Just leave a comment on every destination along the Hop to be in with a chance to win!

WCMD 2017
Comments close at 23:59 EST on 7th October 2017.

Don't forget

September 6, 2014

My Sunshine - GD Frosted Designs

So excited! Today I am up on the Frosted Designs blog as a Guest Designer! I love their challenges and also their monthly kits. Stop on by and visit them if you haven't already! 
I made this layout for my reveal of my daughter with some pictures of her when we were in Belize this summer. She found this pretty yellow flower and wanted to wear it behind her ear for a picture but the wind kept blowing it off before I got a picture. It was one of those moments that you just have to laugh. 
I like to mix things up and very rarely will use all of the same collection on one page. On this page I used 2 collections from Studio Calico - Brighton Pier and Lemon Lush and the background paper is Heidi Swapp Dreamy. I used a sunburst stencil on the background with a darker color yellow mist in the center and a lighter yellow towards the end of the rays. Did some sewing around the edges and lots of paper layers. Then added a bunch of random embellies I had laying around. 


Product List:

Patterned paper: Studio Calico - Brighton Pier and Lemon Lush, Heidi Swapp Dreamy
Embellishments: Paper House, Pebbles Inc. American Craft Flair
Alpha: Thickers
Mixed Media: Dylusions Lemon Zest, Tattered Angels Iridescent Gold
Ribbon/fibers: Thread
Miscellaneous: Heidi Swapp Sunburst Stencil
Challenge Site: Frosted Designs