December 6, 2023

A Rockin' Elvis Christmas Card

 Hello! Today, I am sharing a rockin' Elvis Christmas card.


Some of the products I have used in this post have been provided to me by various companies. The opinions I share are solely my own. Affiliate links may be used where possible at no cost to you. However, I will earn a small commission when you click my links and purchase products from them. Thank you, and I appreciate your support!

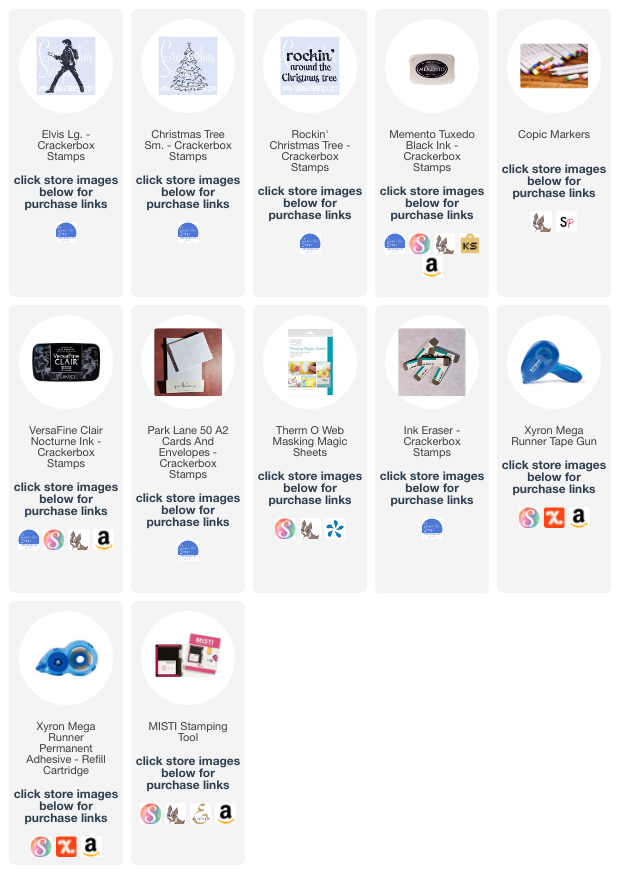
I first stamped Crackerbox Stamps Elvis, and then, using some masking paper over him, I stamped the Crackerbox Stamps Christmas Tree. Then I colored them with Copic Markers. I wasn't paying attention and stamped the images too close to the top of my cardstock, so I fussy cut the images out so I could stamp the Crackerbox Stamps Rockin' Christmas Tree sentiment with VersaFine Clair in Nocturne above the images. I did some shading with light gray Copics around the bottom of the images. Then, I matted my card front with red cardstock and adhered it to an A2 card base. Elvis can be used for birthdays and other occasions. Check out all of the Crackerbox Stamps Elvis stamps HERE.

Interested in the products I used? For your convenience, products that are still available are linked to multiple shops below. Lists may contain affiliate links where possible at no additional cost to you. I earn a small percentage of the sale when you click on my links and purchase items. This helps me to keep creating and maintaining this website. Even though I design for several companies, I still need to purchase supplies. I DO NOT get paid for product reviews. I give my honest opinion about the products I use, and I will never recommend a product I do not like or would not use. Affiliate and product disclosure and privacy policy can be found here.

November 22, 2023

A Sweet Cindy Lou Who Christmas Card

 Hello! Today, I am sharing a sweet Cindy Lou Who Christmas card that I made.

Some of the products I have used in this post have been provided to me by various companies. The opinions I share are solely my own. Affiliate links may be used where possible at no cost to you. However, I will earn a small commission when you click my links and purchase products from them. Thank you, and I appreciate your support!

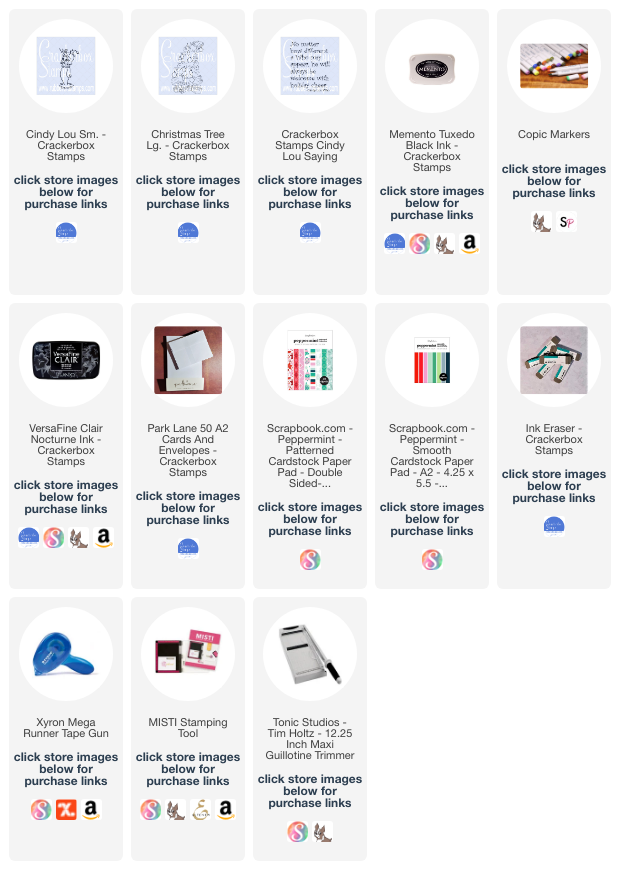
I stamped the Crackerbox Stamps Christmas Tree Lg. and Crackerbox Stamps Cindy Lou Sm. with Memento Tuxedo Black ink and colored them in with Copic Markers. Then I stamped Crackerbox Stamps Cindy Lou Saying with VersaFine Clair Nocturne ink. I then matted my card with some patterned paper and green cardstock and adhered it to my card base.

Interested in the products I used? For your convenience, products that are still available are linked to multiple shops below. Lists may contain affiliate links where possible at no additional cost to you. I earn a small percentage of the sale when you click on my links and purchase items. This helps me to keep creating and maintaining this website. Even though I design for several companies, I still need to purchase supplies. I DO NOT get paid for product reviews. I give my honest opinion about the products I use, and I will never recommend a product I do not like or would not use. Affiliate and product disclosure and privacy policy can be found here.

November 21, 2023

A Fun Christmas Time Santa Card

 Hello! Today, I am sharing a fun Christmas time Santa card.

Some of the products I have used in this post have been provided to me by various companies. The opinions I share are solely my own. Affiliate links may be used where possible at no cost to you. However, I will earn a small commission when you click my links and purchase products from them. Thank you, and I appreciate your support!

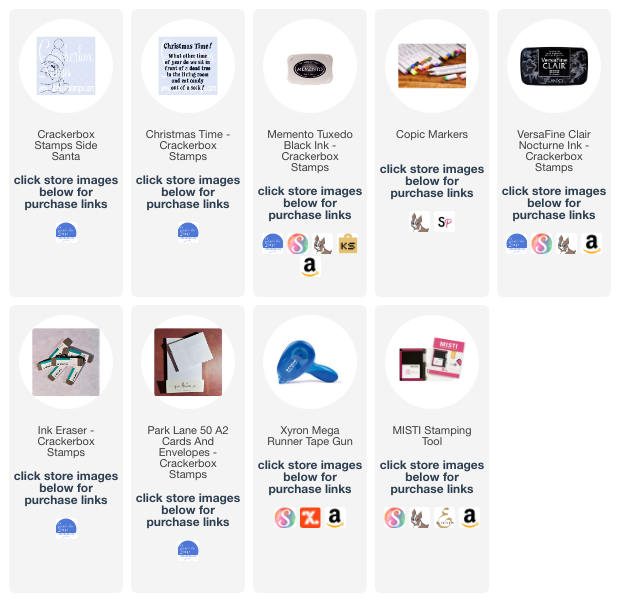
I first stamped the Crackerbox Stamps Side Santa Lg. with Memento Tuxedo Black and colored him in with Copic Markers. Then, I stamped the Crackerbox Stamps Christmas Time sentiment stamp with VersaFine Clair Nocturne. Next, I matted the card front to some red cardstock and attached it to my card base, and added some enamel dots.

Interested in the products I used? For your convenience, products that are still available are linked to multiple shops below. Lists may contain affiliate links where possible at no additional cost to you. I earn a small percentage of the sale when you click on my links and purchase items. This helps me to keep creating and maintaining this website. Even though I design for several companies, I still need to purchase supplies. I DO NOT get paid for product reviews. I give my honest opinion about the products I use, and I will never recommend a product I do not like or would not use. Affiliate and product disclosure and privacy policy can be found here.

November 9, 2023

Merry Grinchmas Card

 Hello! Today, I am sharing a Merry Grinchmas card that I made. Who doesn't like the Grinch?

Some of the products I have used in this post have been provided to me by various companies. The opinions I share are solely my own. Affiliate links may be used where possible at no cost to you. However, I will earn a small commission when you click my links and purchase products from them. Thank you, and I appreciate your support!

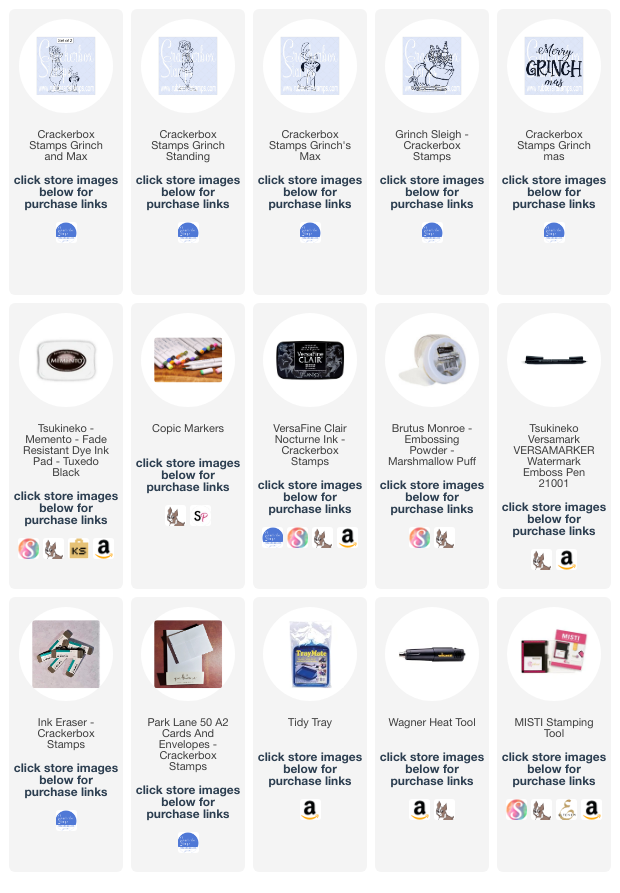
I stamped the new Crackerbox Stamps Grinch Sleigh and the Crackerbox Stamps Grinch and Max and colored them with Copic Markers. I stamped the Grinch Mas sentiment with VersaFine Clair. I used some puff embossing powder on the Grinch on the white areas. Then, I matted the card front with red cardstock and adhered it to my card base.

Interested in the products I used? For your convenience, products that are still available are linked to multiple shops below. Lists may contain affiliate links where possible at no additional cost to you. I earn a small percentage of the sale when you click on my links and purchase items. This helps me to keep creating and maintaining this website. Even though I design for several companies, I still need to purchase supplies. I DO NOT get paid for product reviews. I give my honest opinion about the products I use, and I will never recommend a product I do not like or would not use. Affiliate and product disclosure and privacy policy can be found here.
November 8, 2023

Funny Thanksgiving Interactive Turkey Wobble Card

 Hello! Today, I am sharing a funny Thanksgiving interactive turkey wobble card.

Some of the products I have used in this post have been provided to me by various companies. The opinions I share are solely my own. Affiliate links may be used where possible at no cost to you. However, I will earn a small commission when you click my links and purchase products from them. Thank you, and I appreciate your support!

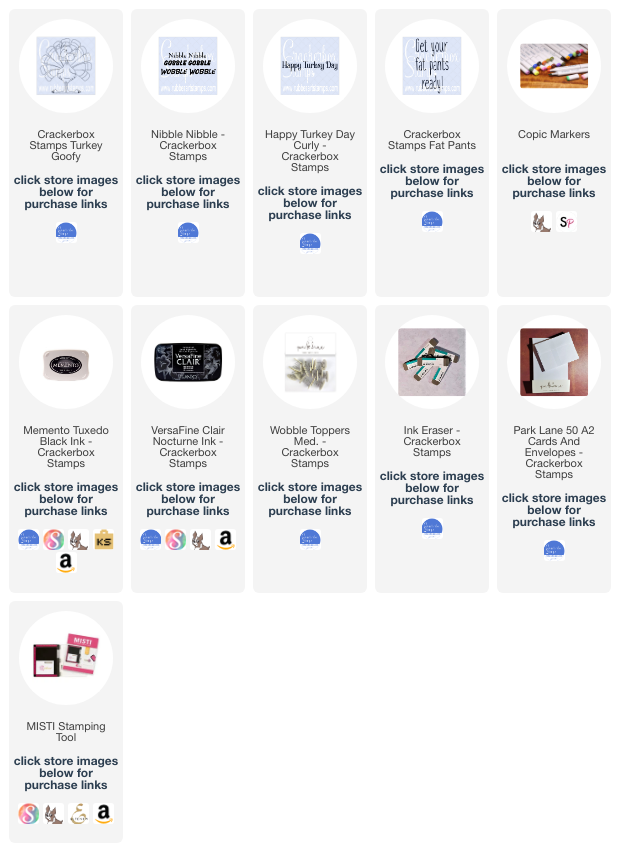
I stamped and colored the Crackerbox Stamps Goofy Turkey with Copic Markers and then fussy cut him out. I die cut a circle out of a corner of patterned paper and then attached a Wobble Topper Med. to the back of the turkey and attached him in the middle of the circle so he would wobble around on the front of the card.
I stamped the Crackerbox Stamps Nibble Nibble sentiment with VersaFine Clair Nocturne Ink on the front of the card.


Interested in the products I used? For your convenience, products that are still available are linked to multiple shops below. Lists may contain affiliate links where possible at no additional cost to you. I earn a small percentage of the sale when you click on my links and purchase items. This helps me to keep creating and maintaining this website. Even though I design for several companies, I still need to purchase supplies. I DO NOT get paid for product reviews. I give my honest opinion about the products I use, and I will never recommend a product I do not like or would not use. Affiliate and product disclosure and privacy policy can be found here.

November 3, 2023

Friendship Coffee Card for the Fall/Winter Coffee Lovers Blog Hop

 Hello! Today I am sharing a friendship coffee card for the Fall/Winter Coffee Lovers Blog Hop.

Some of the products I have used in this post have been provided to me by various companies. The opinions I share are solely my own. Affiliate links may be used where possible at no cost to you. However, I will earn a small commission when you click my links and purchase products from them. Thank you, and I appreciate your support!

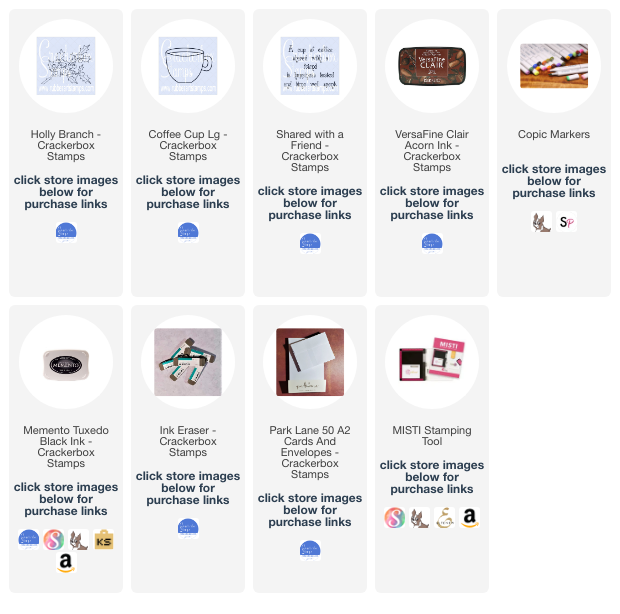
I first stamped the Crackerbox Stamps Coffee Cup Lg. and then masked it off with a Post-it by stamping the image on the Post-it and then fussy cutting it out. With the mask over the cup, I stamped the Crackerbox Stamps Holly Branch so it looked like it was coming out from behind the cup. Next, I stamped the Crackerbox Stamps Shared With A Friend sentiment.
I wanted to give the images a watercolored look, so I mixed some ink with water to color in the images.

Interested in the products I used? For your convenience, products that are still available are linked to multiple shops below. Lists may contain affiliate links where possible at no additional cost to you. I earn a small percentage of the sale when you click on my links and purchase items. This helps me to keep creating and maintaining this website. Even though I design for several companies, I still need to purchase supplies. I DO NOT get paid for product reviews. I give my honest opinion about the products I use, and I will never recommend a product I do not like or would not use. Affiliate and product disclosure and privacy policy can be found here.

October 4, 2023

Silly Skeleton Halloween Card

 Hello! Today, I am sharing a silly skeleton Halloween card that I made.

Some of the products I have used in this post have been provided to me by various companies. The opinions I share are solely my own. Affiliate links may be used where possible at no cost to you. However, I will earn a small commission when you click my links and purchase products from them. Thank you, and I appreciate your support!

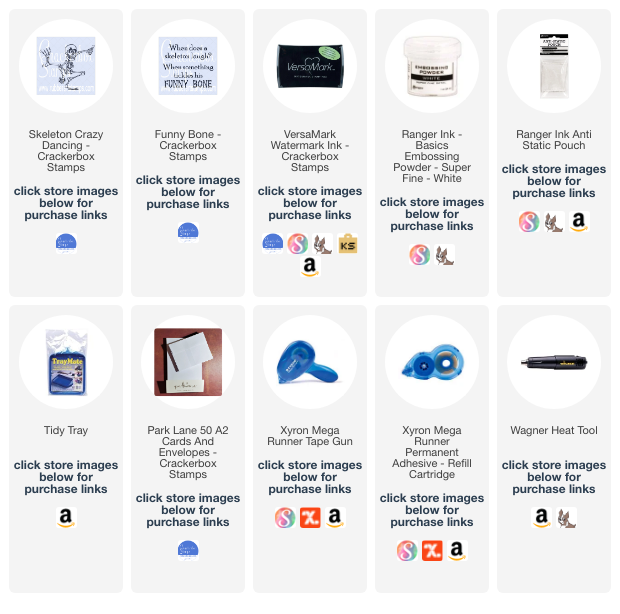
Using some black cardstock, I stamped the Crackerbox Stamps Skeleton Crazy Dancing and the Crackerbox Stamps Funny Bone sentiment using VersaMark. Then I used some super fine white embossing powder and heat embossed the sentiment and image. Before I stamped the images, I used an anti-static embossing powder tool so the embossing powder didn't stick to the cardstock anywhere I didn't want it to.
Then I matted the stamped card front with orange and yellow cardstock so it looked like candy corn. Quick, easy, and fun Halloween card!

Interested in the products I used? For your convenience, products that are still available are linked to multiple shops below. Lists may contain affiliate links where possible at no additional cost to you. I earn a small percentage of the sale when you click on my links and purchase items. This helps me to keep creating and maintaining this website. Even though I design for several companies, I still need to purchase supplies. I DO NOT get paid for product reviews. I give my honest opinion about the products I use, and I will never recommend a product I do not like or would not use. Affiliate and product disclosure and privacy policy can be found here.
September 29, 2023

Coffee Card & Blog Hop

 Hello! Today I am sharing a coffee card I made for the 2023 National Coffee Day Blog Hop.

Some of the products I have used in this post have been provided to me by various companies. The opinions I share are solely my own. Affiliate links may be used where possible at no cost to you. However, I will earn a small commission when you click on my link and purchase from them. Thank you, and I appreciate your support!

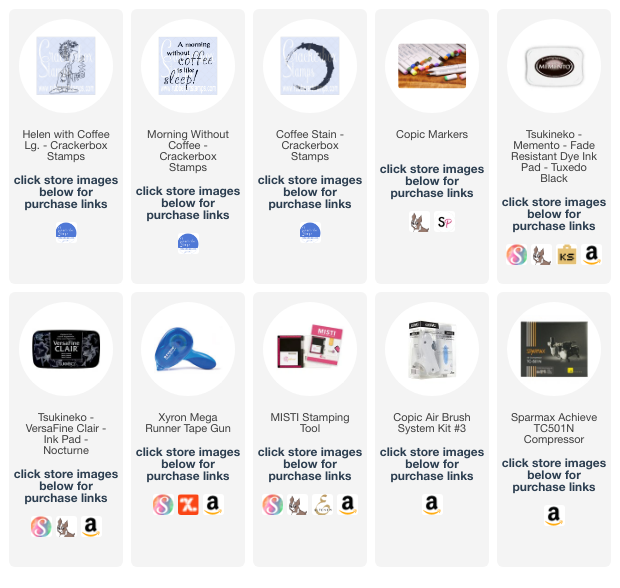
I stamped the Crackerbox Stamps Helen with Coffee Lg. stamp and then colored her in with Copic Markers. Next, I stamped the Crackerbox Stamps Morning Without Coffee sentiment stamp. Then, to finish my card off, I stamped the Crackerbox Stamps Coffee Stain stamp randomly around the outer edge of my card using VersaColor Ink in Vanilla and airbrushed around the edge with a Copic Marker and my airbrush machine.

All of the Crackerbox Stamps COFFEE, TEA, & COCOA stamps are 20% OFF now until October 2nd.

Interested in the products I used? For your convenience, products that are still available are linked to multiple shops below. Lists may contain affiliate links where possible at no additional cost to you. When you click on my links and make a purchase, I earn a small percentage of the sale. This helps me to keep creating and maintaining this website. Even though I design for several companies, I still purchase many supplies on my own. I do receive some free products to work with, and I sometimes make money for the projects I make. I DO NOT get paid for product reviews. I give my honest opinion about the products I use, and I will never recommend a product that I do not like or would not use. Affiliate and product disclosure and privacy policy can be found here.

September 20, 2023

Witch's Broom Closet Halloween Card

 Hello! Today, I am sharing another Halloween card with you all.

Some of the products I have used in this post have been provided to me by various companies. The opinions I share are solely my own. Affiliate links may be used where possible at no cost to you. However, I will earn a small commission when you click on my link and purchase from them. Thank you, and I appreciate your support!

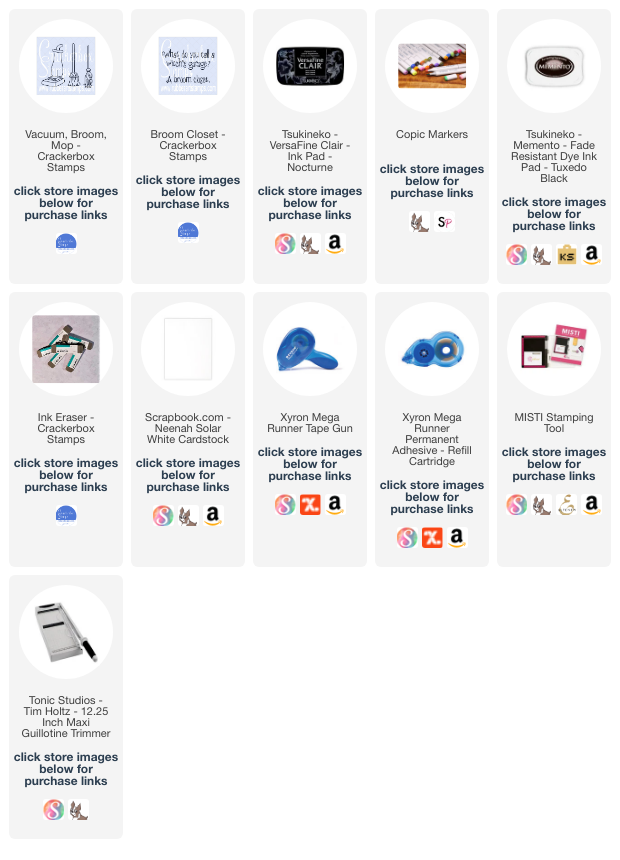
I stamped the Crackerbox Stamps Broom Closet stamp centered on my card front with VersaFine Clair in Nocturne. Then I stamped the Vacuum, Broom, & Mop stamp on either side of it and colored them in with Copic Markers. Matted the stamped card front with orange cardstock and then some patterned paper and adhered to my card base. These stamps are some of the new Halloween Release stamps from Crackerbox Stamps.

Interested in the products I used? For your convenience, products that are still available are linked to multiple shops below. Lists may contain affiliate links where possible at no additional cost to you. When you click on my links and make a purchase, I earn a small percentage of the sale. This helps me to keep creating and maintaining this website. Even though I design for several companies, I still purchase many supplies on my own. I do receive some free products to work with, and I sometimes make money for the projects I make. I DO NOT get paid for product reviews. I give my honest opinion about the products I use, and I will never recommend a product that I do not like or would not use. Affiliate and product disclosure and privacy policy can be found here.
September 19, 2023

Minion Ghost Halloween Card

 Hello! Today, I am sharing a funny Minion ghost Halloween card I made.

Some of the products I have used in this post have been provided to me by various companies. The opinions I share are solely my own. Affiliate links may be used where possible at no cost to you. However, I will earn a small commission when you click on my link and purchase from them. Thank you, and I appreciate your support!

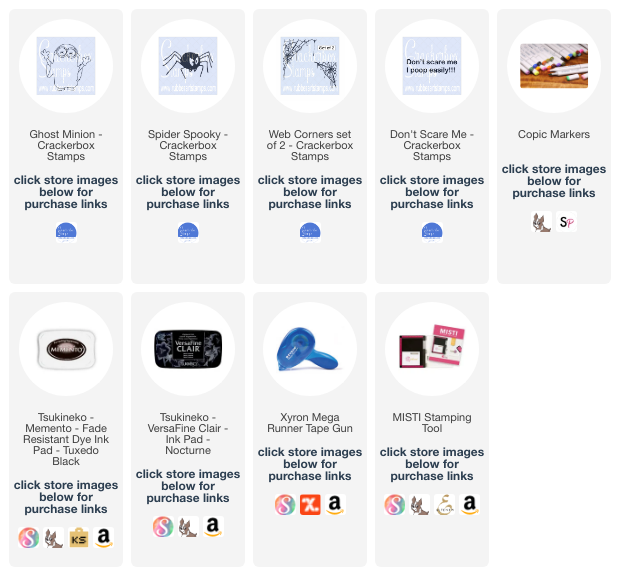
I first stamped the Crackerbox Stamps Web Corners and Crackerbox Stamps Don't Scare Me sentiment all at the same time using my Misti and VersaFine Clair Nocturne Ink. Then I stamped the Crackerbox Stamps Spider Spooky, so he was hanging from one of the webs.
Next, I stamped the Crackerbox Stamps Ghost Minion and colored him in with Copic Markers. I matted the card front with yellow cardstock and then attached it to my card base.

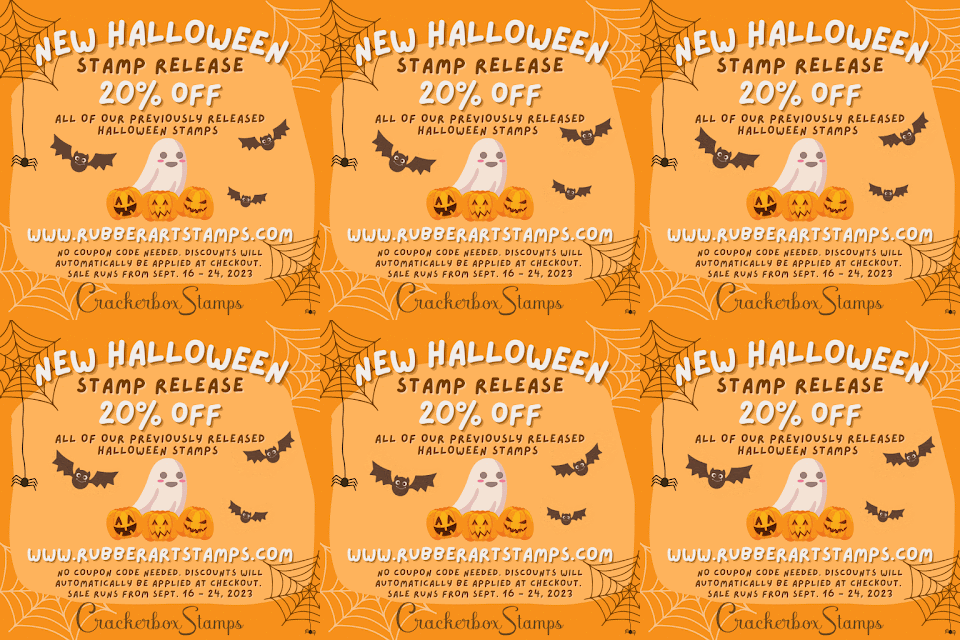
All of the stamps I used on my card and all of Crackerbox Stamps previously released Halloween stamps are 20% OFF until Sept 24, 2023. Shop all of their Halloween stamps HERE.

Interested in the products I used? For your convenience, products that are still available are linked to multiple shops below. Lists may contain affiliate links where possible at no additional cost to you. When you click on my links and make a purchase, I earn a small percentage of the sale. This helps me to keep creating and maintaining this website. Even though I design for several companies, I still purchase many supplies on my own. I do receive some free products to work with, and I sometimes make money for the projects I make. I DO NOT get paid for product reviews. I give my honest opinion about the products I use, and I will never recommend a product that I do not like or would not use. Affiliate and product disclosure and privacy policy can be found here.

August 23, 2023

Summer's Wave Goodbye Autumn Card

Hello! Today, I am sharing a pretty pink Summer's wave goodbye Autumn card. I decided to do something different and not use the normal Fall colors and use pinks instead.

Some of the products I have used in this post have been provided to me by various companies. The opinions I share are solely my own. Affiliate links may be used where possible at no cost to you. However, I will earn a small commission when you click on my link and purchase from them. Thank you, and I appreciate your support!

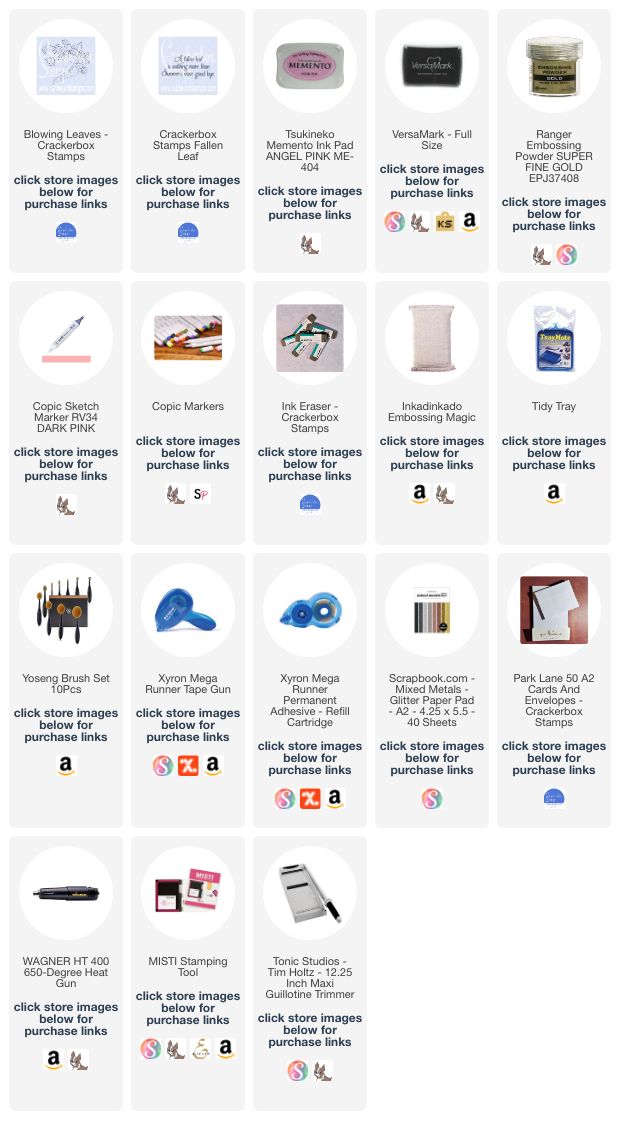
On the card front, I blended some Memento Angel Pink Ink using a blending brush. Then I stamped the Crackerbox Stamps Blowing Leaves with VersaMark, and heat embossed it with gold embossing powder. I used a Copic Marker RV34 to color the leaves.
Then I stamped the Crackerbox Stamps Fallen Leaf sentiment with VersaMark, and heat embossed it with gold embossing powder. Then I mounted it with some gold glitter cardstock and then on the card base.

Interested in the products I used? For your convenience, products that are still available are linked to multiple shops below. Lists may contain affiliate links where possible at no additional cost to you. When you click on my links and make a purchase, I earn a small percentage of the sale. This helps me to keep creating and maintaining this website. Even though I design for several companies, I still purchase many supplies on my own. I do receive some free products to work with, and I sometimes make money for the projects I make. I DO NOT get paid for product reviews. I give my honest opinion about the products I use, and I will never recommend a product that I do not like or would not use. Affiliate and product disclosure and privacy policy can be found here.

August 17, 2023

Happy Haunting Halloween Graveyard Card

 Hello! Today I am sharing a happy haunting Halloween graveyard card with you.

Some of the products I have used in this post have been provided to me by various companies. The opinions I share are solely my own. Affiliate links may be used where possible at no cost to you. However, I will earn a small commission when you click on my link and purchase from them. Thank you, and I appreciate your support!

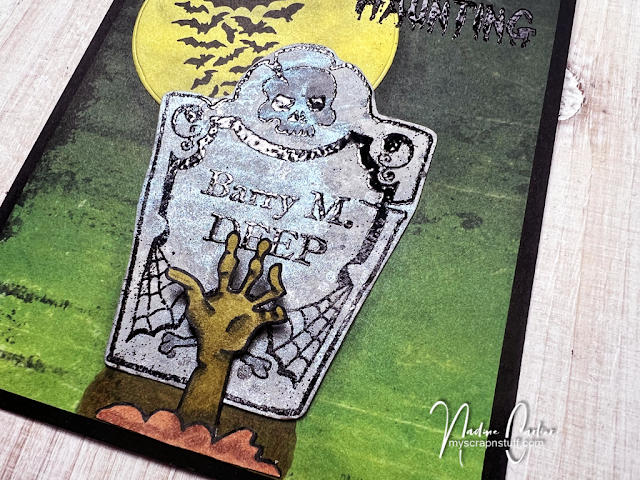
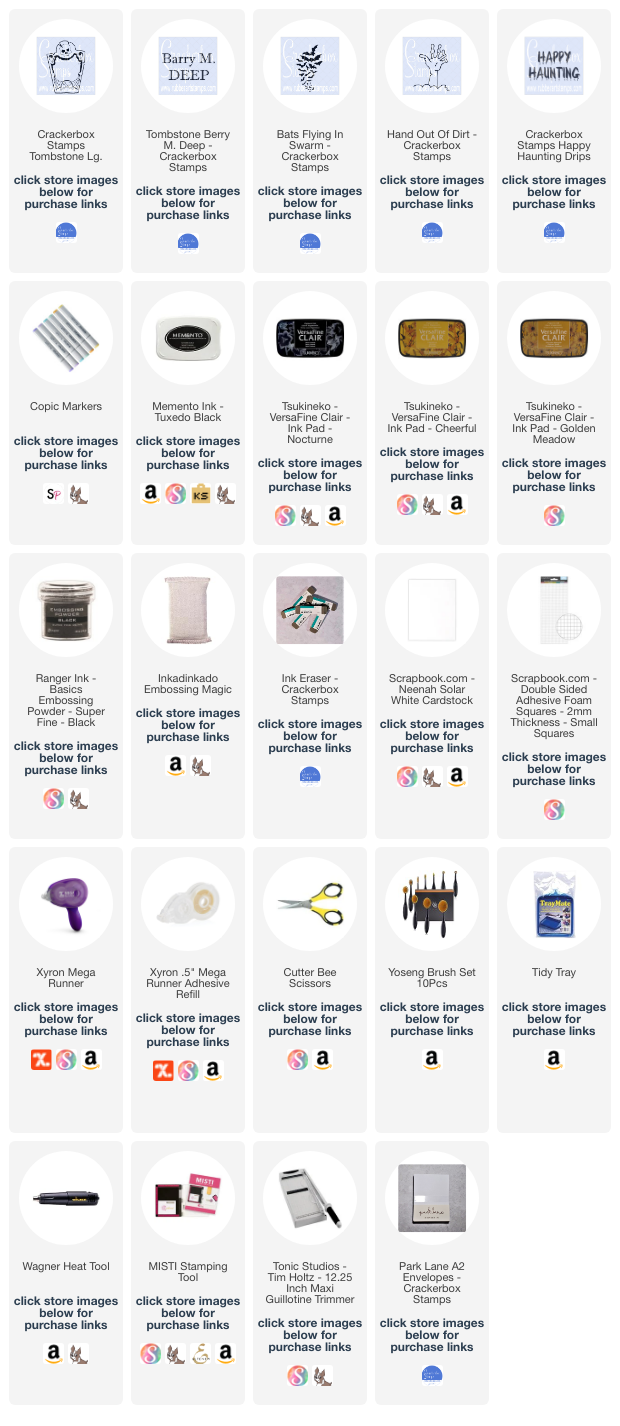
I used a piece of patterned paper for the background, but you could easily recreate it by blending some green ink towards the bottom and going into black ink towards the top. Then using white cardstock, I die cut out a circle and ink blended using a blending brush, VersaFine Clair Cheerful ink, and a little black ink to give it a moon look. On the moon, I stamped the Crackerbox Stamps Bats Flying in Swarm onto it and then adhered the moon onto the background. Next, I stamped the Crackerbox Stamps Happy Haunting Drips in the top right corner with VersaFine Clair in Nocturne and heat embossed it with black embossing powder.


On a piece of white cardstock, I lightly sprayed it with gray, silver, and light blue color sprays to get a granite-like look. Then I stamped the Crackerbox Stamps Tombstone and the Crackerbox Stamps Barry M. Deep with VersaFine Clair in Nocturne, heat embossed it with black embossing powder, and fussy cut it out. Then adhered to the background with the moon. Next, I stamped the Crackerbox Stamps Hand Out Of Dirt and colored it with Copic Markers, and fussy cut it out. At the bottom of the tombstone, I colored some brown to look like dirt and adhered the hand over the dirt area. Under the hand itself, I used one small 3D foam square, so the hand popped up some.


Interested in the products I used? For your convenience, products that are still available are linked to multiple shops below. Lists may contain affiliate links where possible at no additional cost to you. When you click on my links and make a purchase, I earn a small percentage of the sale. This helps me to keep creating and maintaining this website. Even though I design for several companies, I still purchase many supplies on my own. I do receive some free products to work with, and I sometimes make money for the projects I make. I DO NOT get paid for product reviews. I give my honest opinion about the products I use, and I will never recommend a product that I do not like or would not use. Affiliate and product disclosure and privacy policy can be found here.
August 11, 2023

Halloween Witch's Hat Fun Fold Tent Card

 Is it too early for Halloween cards? No way!! Today I am sharing a fun Halloween witch's hat fun fold tent fold card.

Some of the products I have used in this post have been provided to me by various companies. The opinions I share are solely my own. Affiliate links may be used where possible at no cost to you. However, I will earn a small commission when you click on my link and purchase from them. Thank you, and I appreciate your support!

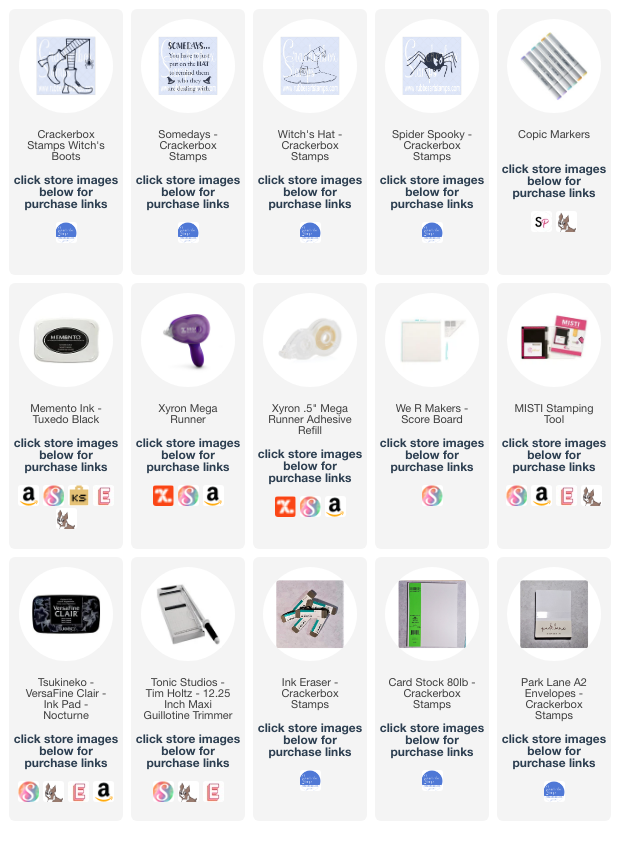
This was a fun card to make and not as hard to make as it may look. I first made my card base by cutting a black piece of cardstock at 4¼" x 11" and folding it in half. Then using green cardstock, I cut it at 10" x 4" and scored and folded it at 5¼" x 7⅝". Then I attached the 5¼" section of the green cardstock to half of the black cardstock piece.


On some white cardstock, I stamped the Crackerbox Stamps Witch's Boots and Crackerbox Stamps Spider Spooky and colored the boots and leggings with Copic Markers. Attached it to some spider web patterned paper and then attached it to the card base. On the front fold, I cut a piece of the patterned paper to fit it and then stamped the Crackerbox Stamps Somedays sentiment on white cardstock and cut it to fit into the middle of the front fold piece. Then I stamped the Crackerbox Stamps Witch's Hat, colored it with Copic Markers and fussy cut it out, and attached it to the top of the front fold.


When the card is folded up, it fits perfectly into an A2-size envelope.


Interested in the products I used? For your convenience, products that are still available are linked to multiple shops below. Lists may contain affiliate links where possible at no additional cost to you. When you click on my links and make a purchase, I earn a small percentage of the sale. This helps me to keep creating and maintaining this website. Even though I design for several companies, I still purchase many supplies on my own. I do receive some free products to work with, and I sometimes make money for the projects I make. I DO NOT get paid for product reviews, I give my honest opinion about the products I use, and I will never recommend a product that I do not like or would not use. Affiliate and product disclosure and privacy policy can be found here.