Showing posts with label Valentine's Day. Show all posts

February 8, 2023

Wild Thing Monkey Valentine's Day Card

  Hello! Today I am sharing a wild thing monkey Valentine's Day card.

Some of the products I have used in this post have been provided to me by various companies. The opinions I share are solely my own. Affiliate links may be used where possible at no cost to you. However, I will earn a small commission when you click on my link and purchase from them. Thank you, and I appreciate your support!

For my card, I started by stamping the Crackerbox Stamps Candy Heart several times on my card front and then colored them in with Copic Markers. Then with VersaMark, I stamped the Crackerbox Stamps Candy Heart Sassy Sayings on them and heat embossed them with white embossing powder.
Next, I stamped the Crackerbox Stamps Monkey Love image and colored him with Copic Markers. I traced a circle around the monkey and cut him out, leaving his tail, hand, and foot hanging off the edges of the circle. Then adhered him to the center of my card front with foam squares. All the other layers of my card, I adhered together using my Xyron Tape Runner.
On the inside of my card, I stamped the Crackerbox Stamps Wild Thing sentiment in VersaFine Clair Nocturne and the Crackerbox Stamps Lips in VersaFine Clair Red Tulips.


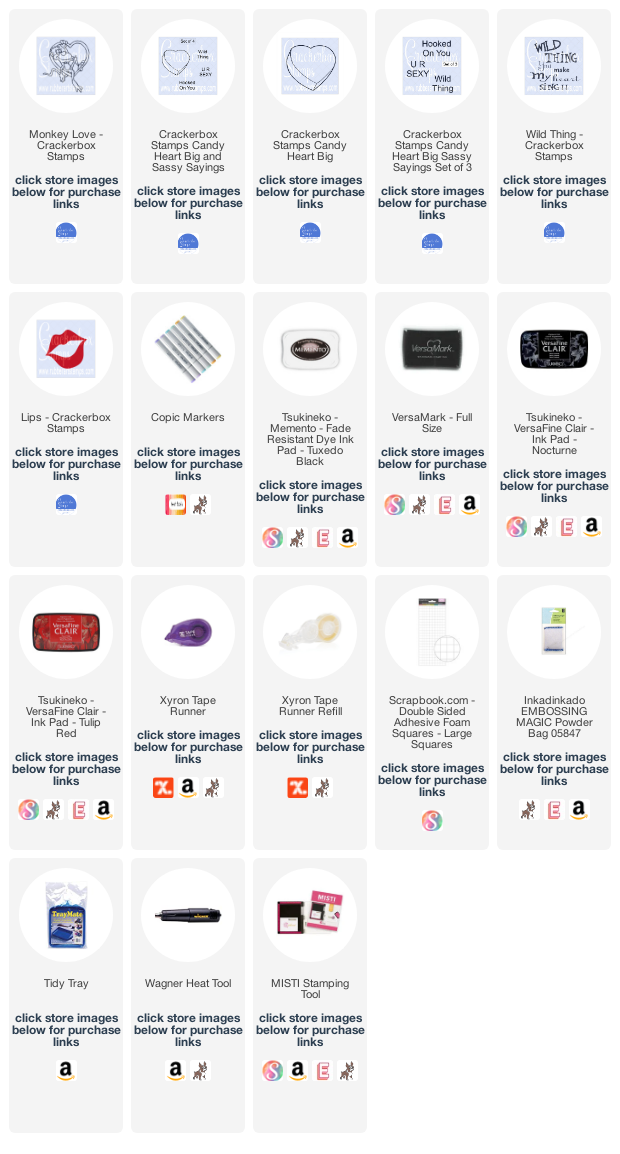
Interested in the products I used? For your convenience, products that are still available are linked to multiple shops below. Lists may contain affiliate links where possible at no additional cost to you. When you click on my links and make a purchase, I earn a small percentage of the sale. This helps me to keep creating and maintaining this website. Even though I design for several companies, I still purchase many supplies on my own. I do receive some free products to work with, and I sometimes make money for the projects I make. I DO NOT get paid for product reviews, I give my honest opinion about the products I use, and I will never recommend a product that I do not like or would not use. Affiliate and product disclosure and privacy policy can be found here.
January 15, 2023

You're Nuts But I Love You Anyways Valentine's Day Card

 We all have that one nutty person in our lives that we love anyways, right? I know I have several of them in my life... lol

Some of the products I have used in this post have been provided to me by various companies. The opinions I share are solely my own. Affiliate links may be used where possible at no cost to you. However, I will earn a small commission when you click on my link and purchase from them. Thank you, and I appreciate your support!

I created this fun Valentine's Day card by stamping the Crackerbox Stamps Silly Squirrel and Crackerbox Stamps Acorns and then coloring them in with Copic Markers.

I die cut out some hearts and a woodgrain frame and stamped the Crackerbox Stamps You're Nuts But sentiment, and adhered everything onto a woodgrain card front using my Xyron Adhesives. I added a few small dots of Pops Of Color Gloss in Rudolph Red to finish my card.


Interested in the products I used? For your convenience, products that are still available are linked to multiple shops below. Lists may contain affiliate links where possible at no additional cost to you. When you click on my links and make a purchase, I earn a small percentage of the sale. This helps me to keep creating and maintaining this website. Even though I design for several companies, I still purchase many supplies on my own. I do receive some free products to work with, and I sometimes make money for the projects I make. I DO NOT get paid for product reviews, I give my honest opinion about the products I use, and I will never recommend a product that I do not like or would not use. Affiliate and product disclosure and privacy policy can be found here.

January 26, 2022

Valentine's Day Card For A Friend

 Hello! Today I am sharing a friendship or Galentine's Valentine's Day Card.

Some of the products I have used in this post have been provided to me by various companies. The opinions I share are solely my own. Affiliate links may be used where possible at no cost to you. However, I do earn a small commission when you click on my link and make a purchase from them. Thank you, and I appreciate your support!

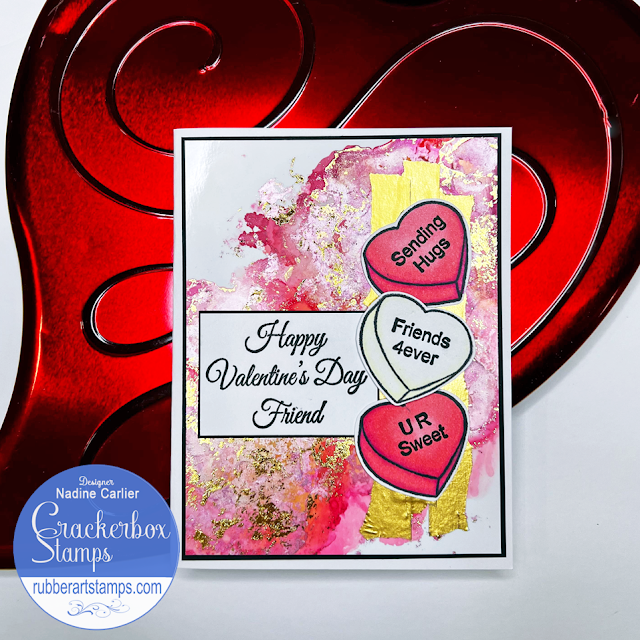
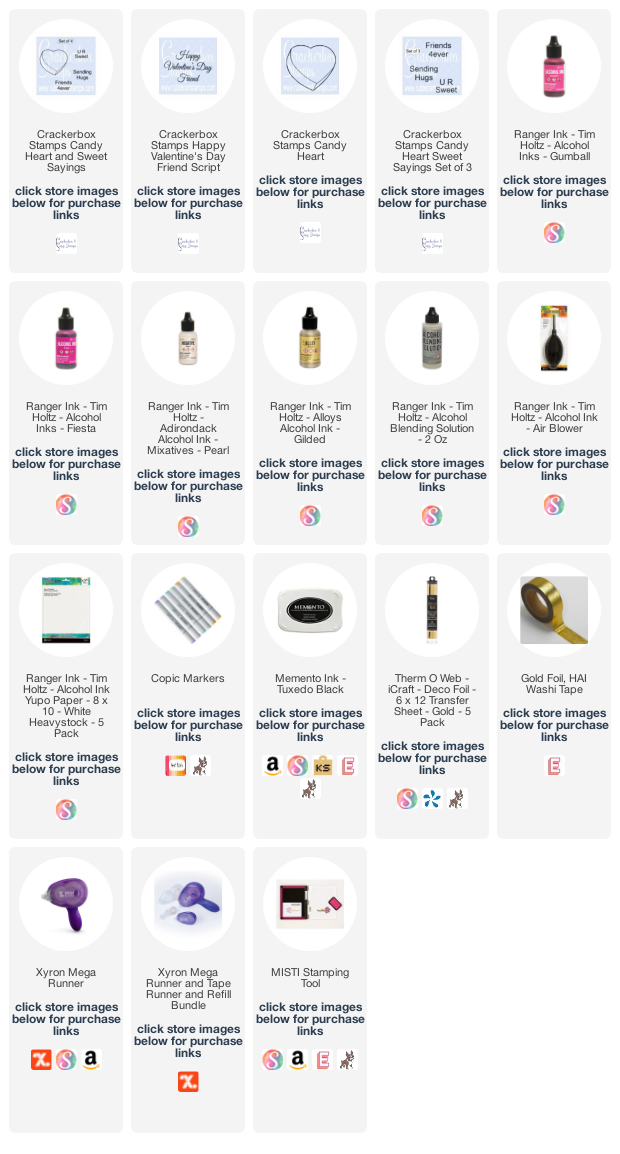
First, I created the background to my card. To do that, I started with some Yupo paper and then added some Alcohol Ink Blending Solution then dropped different colors of pink alcohol inks, gold, and pearl. Kept adding drops and used an air blower until I got the look I wanted. Then I laid some gold transfer foil over the dried alcohol ink and pulled it back off, which left some of the foil on the tacky areas of the alcohol ink.

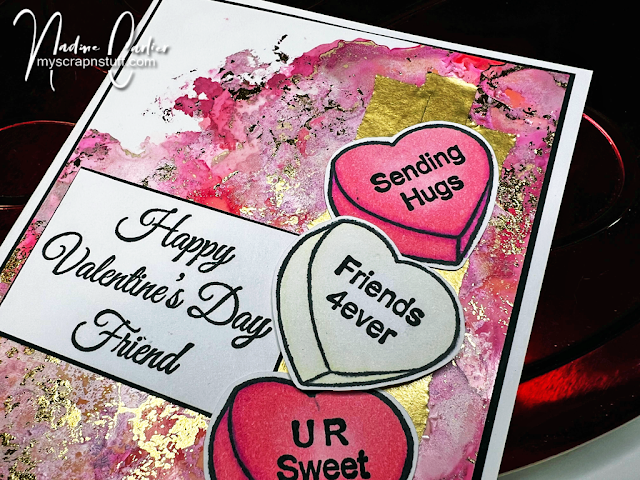
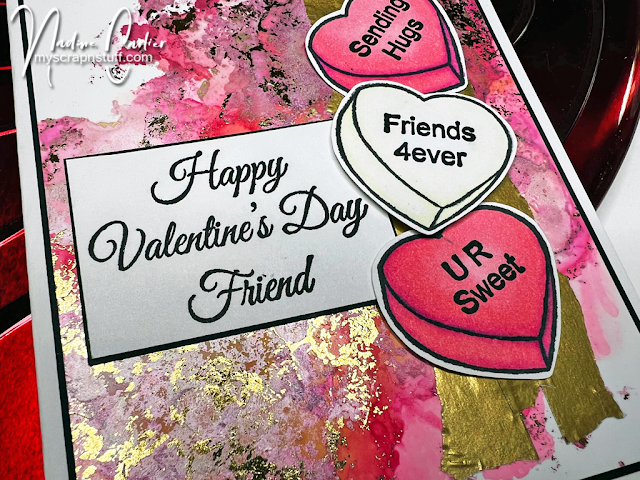
For the stamps, I used Crackerbox Stamps Candy Heart and Sweet Sayings. The hearts, I colored them in with Copic Markers and then fussy cut them out.


For the sentiment, I used Crackerbox Stamps Happy Valentine's Day Freind sentiment and matted it with black cardstock, and adhered it to the front of the alcohol ink card front. Then I added some stripes of the Gold Washi Tape then adhered the candy hearts.


Interested in the products I used? Products that are still available are linked to multiple shops below, for your convenience. Lists may contain affiliate links where possible at no cost to you, whatsoever. Affiliate and product disclosure can be found here.
I design for several companies because I genuinely love their products! Anything I recommend on my blog is something that I genuinely love and regularly use. I buy most of my own supplies. However, I do receive some free products to work with, and I sometimes make money for the projects I make. I DO NOT get paid for product reviews, I give my honest opinion about the products I use, and I will never recommend a product that I do not like or would not use.

January 13, 2022

How To Create Plaid Hearts For Valentine's Day Cards

 Hello! Today I am sharing how I created my plaid heart slimline Valentine's Day card with dies and a stencil.

Some of the products I have used in this post have been provided to me by various companies. The opinions I share are solely my own. Affiliate links may be used where possible at no cost to you. However, I do earn a small commission when you click on my link and make a purchase from them. Thank you, and I appreciate your support!

Below is a video tutorial showing exactly how I created my project.
Make sure to subscribe to my YouTube channel and click the bell so you will get updates when I post a new video.


To create the plaid hearts, I used The Crafter's Workshop TCW955 Buffalo Plaid Square Stencil on a piece of red cardstock and used an ink blender and black ink to create the pattern. As shown below....


This is what it looked like completed. 


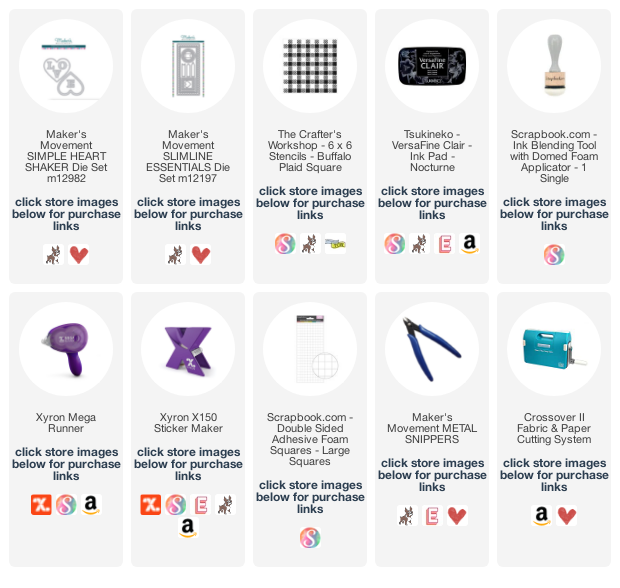
Then I used Maker's Movement new Simple Heart Shaker Die to die cut out hearts from the plaid design I created and used the same die to die cut the Love letters from white cardstock. I also used the Maker's Movement Slimline Essentials Die to create the card front.
To adhere it all together using my Xyron Mega Runner and a few foam squares to raise up a couple of the hearts.


Interested in the products I used? Products that are still available are linked to multiple shops below, for your convenience. Lists may contain affiliate links where possible at no cost to you, what so ever. Affiliate and product disclosure can be found here.
I design for several companies because I genuinely love their products! Anything I recommend on my blog is something that I genuinely love and regularly use. I buy most of my own supplies. However, I do receive some free products to work with, and I sometimes make money for the projects I make. I DO NOT get paid for product reviews, I give my honest opinion about the products I use, and I will never recommend a product that I do not like or would not use.

January 11, 2022

Ribbon Weave Valentine's Day Card

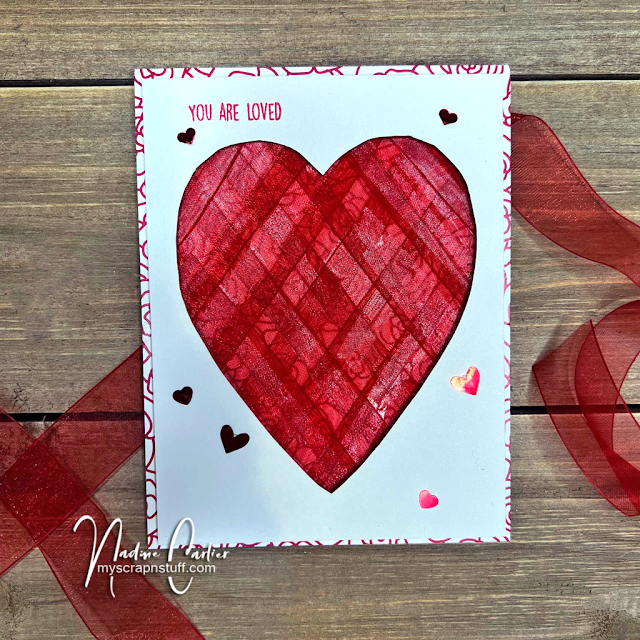
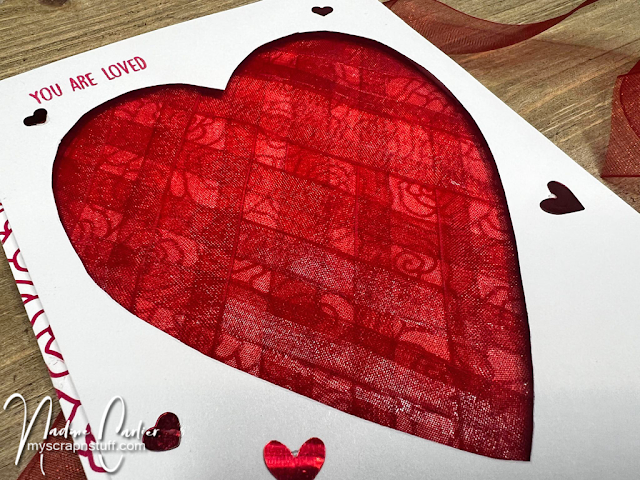
Hello crafty friends! Today I am sharing a ribbon weaved heart Valentine's Day card. This card is easier than it looks to create and has such a pretty outcome.

Some of the products I have used in this post have been provided to me by various companies. The opinions I share are solely my own. Affiliate links may be used where possible at no cost to you. However, I do earn a small commission when you click on my link and make a purchase from them. Thank you, and I appreciate your support!

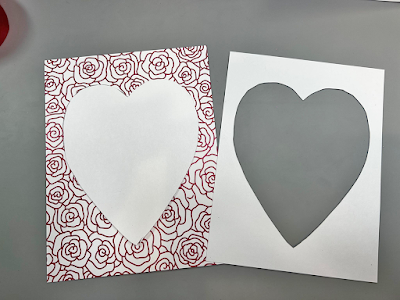
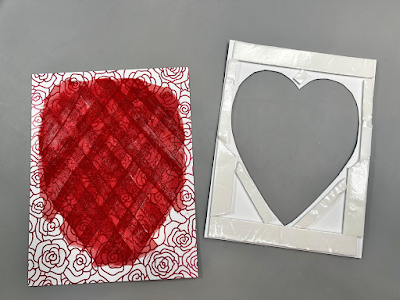
The first step was to cut out a heart from a 4" x 5.25" white piece of cardstock and then I used the cutout heart to trace onto a 4.25" x 5.50" piece of patterned paper.


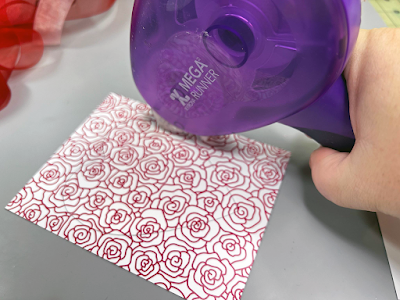
Then using my Xyron Mega Runner, I ran adhesive around the traced heart and through the middle of the heart too.


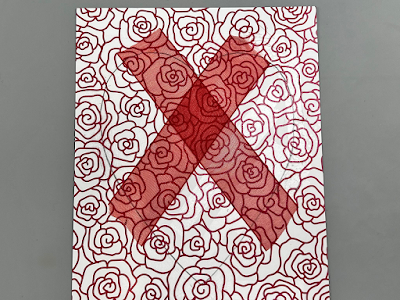
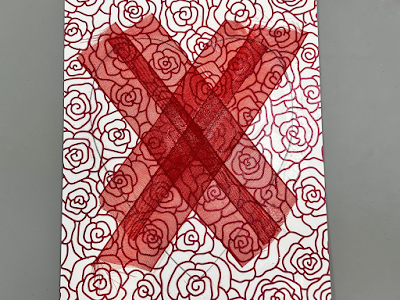
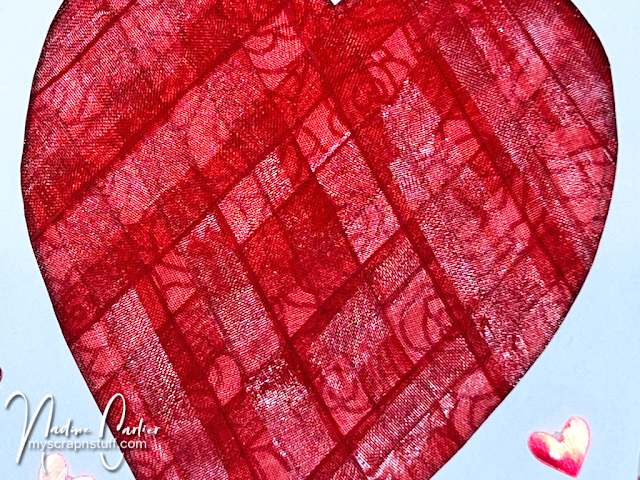
Next, I cut strips of the Gwen Studios Red Sheer Ribbon and started cross layering starting from the top center of the heart.


I continued laying until the heart was covered. Then cut all of the ends of the ribbon to make sure they were not too close to the edge of the card front. Then added foam tape to the white cardstock piece that I cut the heart out of and added it to the woven ribbon card front.


Then I added some heart sequins and stamped a small sentiment on the front.


Interested in the products I used? Products that are still available are linked to multiple shops below, for your convenience. Lists may contain affiliate links where possible at no cost to you, what so ever. Affiliate and product disclosure can be found here.
I design for several companies because I genuinely love their products! Anything I recommend on my blog is something that I genuinely love and regularly use. I buy most of my own supplies. However, I do receive some free products to work with, and I sometimes make money for the projects I make. I DO NOT get paid for product reviews, I give my honest opinion about the products I use, and I will never recommend a product that I do not like or would not use.

December 30, 2021

Simple Valentine's Day Cards Using A Stencil

 Hello! Today I am sharing a couple of simple Valentine's Day cards using a stencil.

Some of the products I have used in this post have been provided to me by various companies. The opinions I share are solely my own. Affiliate links may be used where possible at no cost to you. However, I do earn a small commission when you click on my links and make a purchase from them. Thank you, and I appreciate your support!

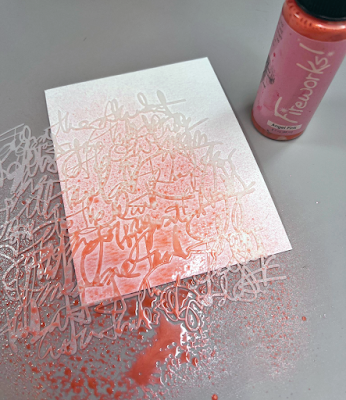
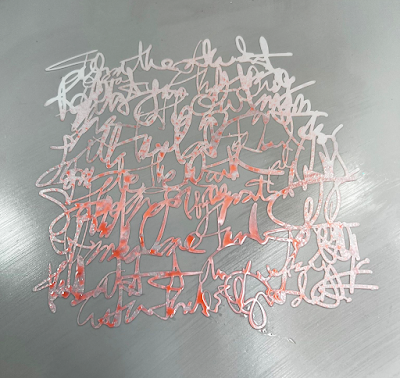
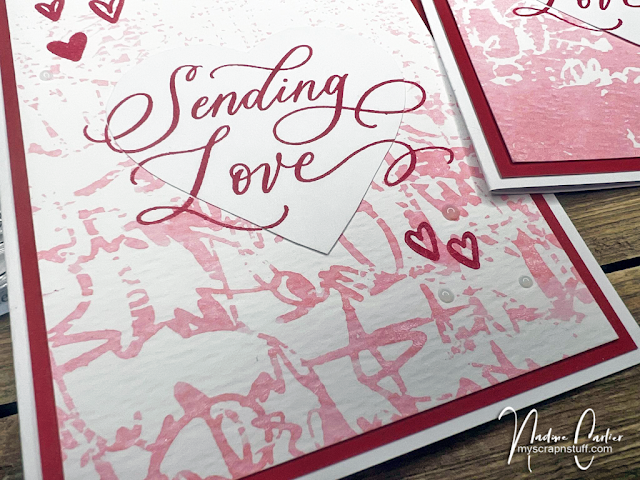
Using some The Crafter's Workshop TCW9051 Watercolor Paper Pack cut down to 5" x 3.75" and laying The Crafter's Workshop TCW936 Messy Writing Stencil onto the watercolor paper then spraying it with some color spray. Spraying heavier on the bottom corner and lighter towards the top corner.


After spraying quickly pick up the stencil and place paper to the side to dry. The stencil should still have a lot of color spray on it and instead of wasting it, lay the stencil down making sure that the wettest part of the stencil is facing up.


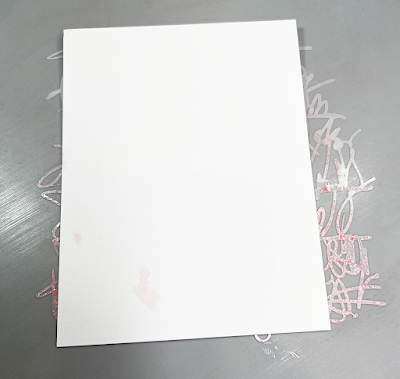
Then lay another piece of watercolor paper down onto the stencil. Make sure to press the paper down onto the stencil well so the color spray is soaked up into the paper. Then pull the paper back up off of the stencil.


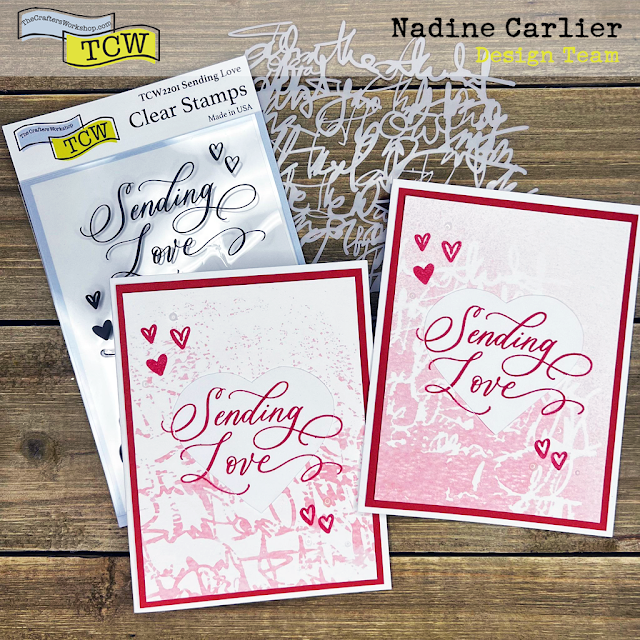
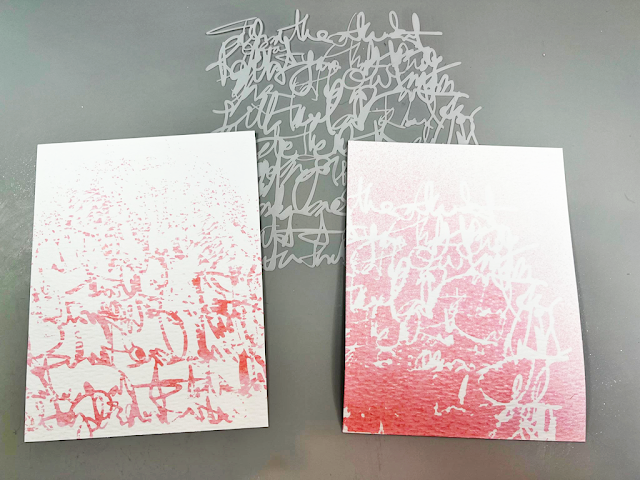
Here is what both card fronts look like after drying.


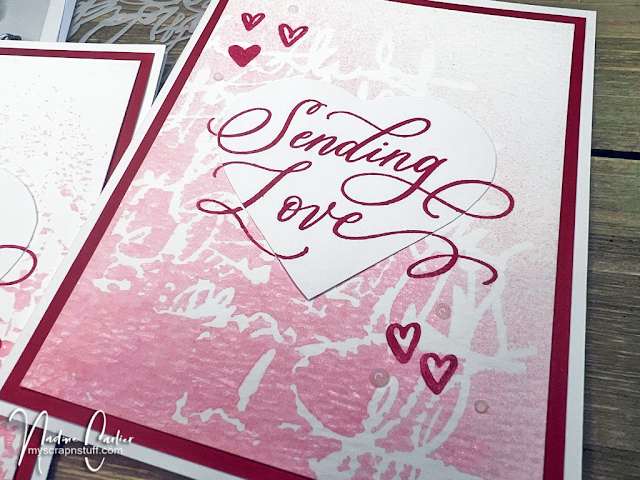
Next, I die cut out a heart from white cardstock and adhered it to the center of each one of the card fronts. Then over the heart, I stamped the Sending Love sentiment from The Crafter's Workshop TCW2201 Sending Love 4x6 Clear Stamps Set and some of the hearts that are also from the set using VersaFine Clair Glamorous Ink. Then adhered the card front to red cardstock from the Scrapbook.com Peppermint Smooth Cardstock Paper Pack and then to an A2 card base. I also randomly added some Clear Nuvo Crystal Drops.


Which one is your favorite?

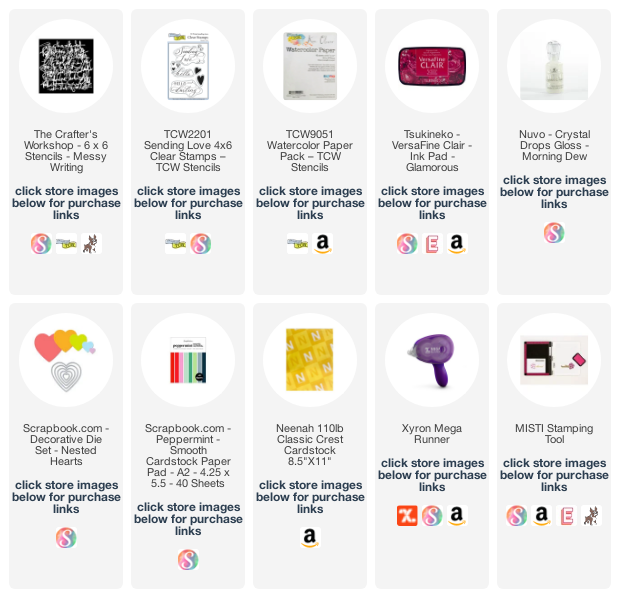
Interested in the products I used? Products that are still available are linked to multiple shops below, for your convenience.
Lists may contain affiliate links where possible at no cost to you, what so ever. Affiliate and product disclosure can be found here.
I design for several companies because I genuinely love their products! Anything I recommend on my blog is something that I genuinely love and regularly use. I buy most of my own supplies. However, I do receive some free products to work with, and I sometimes make money for the projects I make. I DO NOT get paid for product reviews, I give my honest opinion about the products I use, and I will never recommend a product that I do not like or would not use.

February 3, 2021

Cute Hedgehog Valentine's Day Card With Video Tutorial

A cute hedgehog Valentine's Day card I made with an ink resist technique.

Some of the products I have used in this post have been provided to me by various companies. The opinions I share are solely my own. Affiliate links may be used where possible at no cost to you. However, I do earn a small commission when you click on my links and make a purchase from them. Thank you, and I appreciate your support!

Below is a video tutorial showing exactly how I created my project.
Make sure to subscribe to my YouTube channel and click the bell so you will get updates when I post a new video.


I used the Crackerbox & Suzy Stamps Hedgehog Stamp and colored him in with Copic Markers. The Crackerbox & Suzy Stamps Hogs & Kisses sentiment I stamped with VersaMark and heat embossed it with white embossing powder. For the hearts on the background, I used The Crafter's Workshop Heart Background Stencil. I also used one of my favorites adhesives, Xyron Tape Runner.


Interested in the products I used? Products that are still available are linked to multiple shops below, for your convenience.
Lists may contain affiliate links where possible at no cost to you, what so ever. Affiliate and product disclosure can be found here.
I design for several companies because I genuinely love their products! Anything I recommend on my blog is something that I genuinely love and regularly use. I buy most of my own supplies. However, I do receive some free products to work with, and I sometimes make money for the projects I make. I DO NOT get paid for product reviews, I give my honest opinion about the products I use, and I will never recommend a product that I do not like or would not use.