Showing posts with label Maker's Movement. Show all posts

January 22, 2023

Sweet & Snarky Giraffe Card Perfect For A Friend

 I had trouble deciding which sentiment to use on my card, snarky or sweet, so I used both. :)

Some of the products I have used in this post have been provided to me by various companies. The opinions I share are solely my own. Affiliate links may be used where possible at no cost to you. However, I will earn a small commission when you click on my link and purchase from them. Thank you, and I appreciate your support!

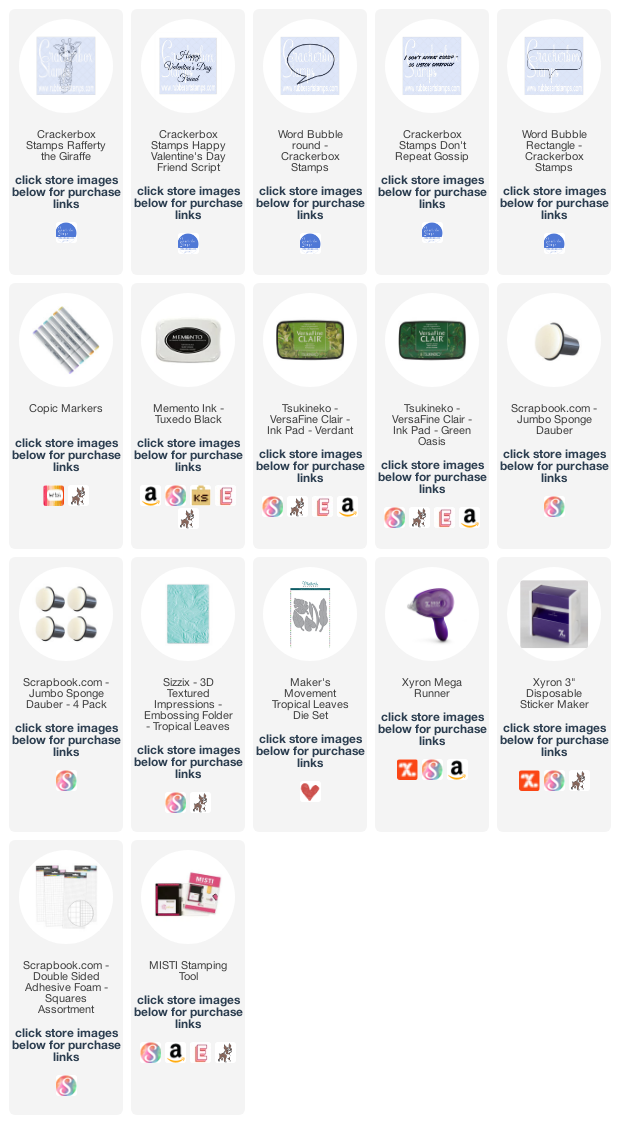
I went with sweet on my first card and used the Crackerbox Stamps Happy Valentine's Day Friend Script sentiment and stamped it in the Crackerbox Stamps Word Bubble Round.

For my second card, I went with snarky by using the Crackerbox Stamps Don't Repeat Gossip sentiment stamp and stamped it in the Crackerbox Stamps Word Bubble Rectangle.

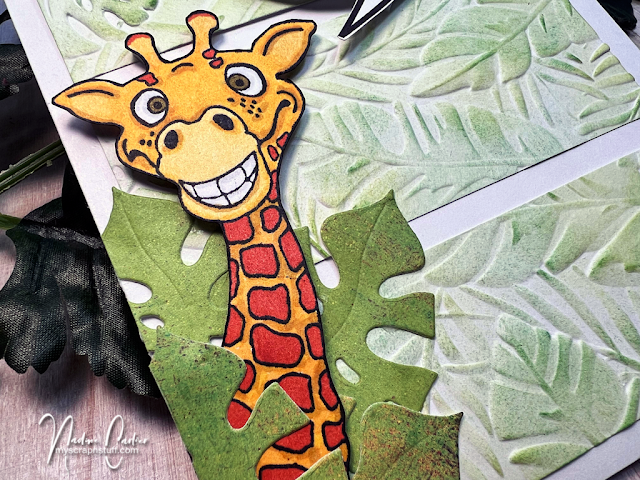
I used Crackerbox Stamps Rafferty The Giraffe on both cards and colored him in with Copic Markers. For the background, I used the Sizzix Tropical Leaves embossing folder on a white piece of cardstock, and some green ink on the raised embossed parts with an ink dauber, then cut it into 3 pieces. Then I added some die-cut leaves with the Maker's Movement Tropical Leaves Die around the Giraffe and attached him with some 3D foam squares.

So what do you think? Which one do you like better, sweet or snarky?


Interested in the products I used? For your convenience, products that are still available are linked to multiple shops below. Lists may contain affiliate links where possible at no additional cost to you. When you click on my links and make a purchase, I earn a small percentage of the sale. This helps me to keep creating and maintaining this website. Even though I design for several companies, I still purchase many supplies on my own. I do receive some free products to work with, and I sometimes make money for the projects I make. I DO NOT get paid for product reviews, I give my honest opinion about the products I use, and I will never recommend a product that I do not like or would not use. Affiliate and product disclosure and privacy policy can be found here.
December 20, 2022

Christmas Card With Xyron

 Hello! Today I am sharing a Christmas card I made.

Some of the products I have used in this post have been provided to me by various companies. The opinions I share are solely my own. Affiliate links may be used where possible at no cost to you. However, I will earn a small commission when you click on my link and purchase from them. Thank you, and I appreciate your support!

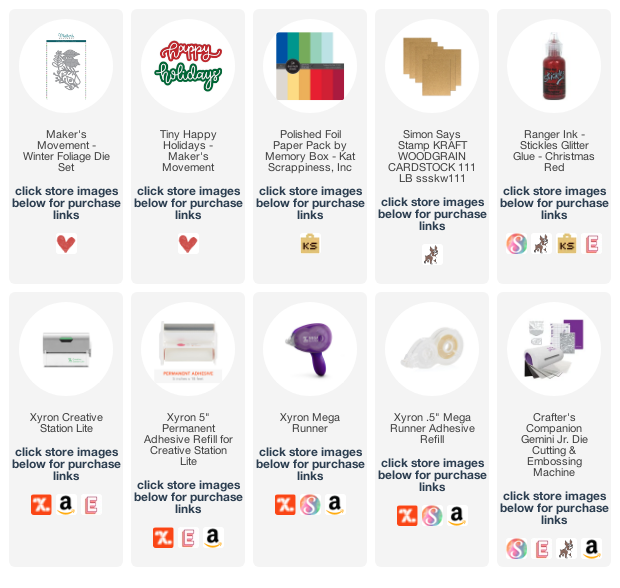
The best and easiest way to adhere small diecuts is with the Xyron Creative Stations. I used some woodgrain cardstock for my card front and adhered it to a white card base with my Xyron Mega Runner. Then I die cut out several leaves using the Maker's Movement Winter Foliage Die Set and some foiled paper. For the sentiment, I used the Maker's Movement Tiny Happy Holidays Die and cut it out 3 times with white cardstock to layer them and cut the shadow and top layer of the sentiment out with foiled paper. Then I ran all the die cut pieces through my Xyron Creative Station Lite and adhered them to the front of my card. I added some red Stickles to create the berries.

Interested in the products I used? For your convenience, products that are still available are linked to multiple shops below. Lists may contain affiliate links where possible at no additional cost to you. When you click on my links and make a purchase, I earn a small percentage of the sale. This helps me to be able to keep creating and maintaining this website. Even though I design for several companies, I still purchase many supplies on my own. I do receive some free products to work with, and I sometimes make money for the projects I make. I DO NOT get paid for product reviews, I give my honest opinion about the products I use, and I will never recommend a product that I do not like or would not use. Affiliate and product disclosure and privacy policy can be found here.

September 26, 2022

Give Thanks Pumpkin Card

 Hello! Today I am sharing a give thanks pumpkin card that I made with a slight whimsical twist.

Some of the products I have used in this post have been provided to me by various companies. The opinions I share are solely my own. Affiliate links may be used where possible at no cost to you. However, I do earn a small commission when you click on my link and make a purchase from them. Thank you, and I appreciate your support!

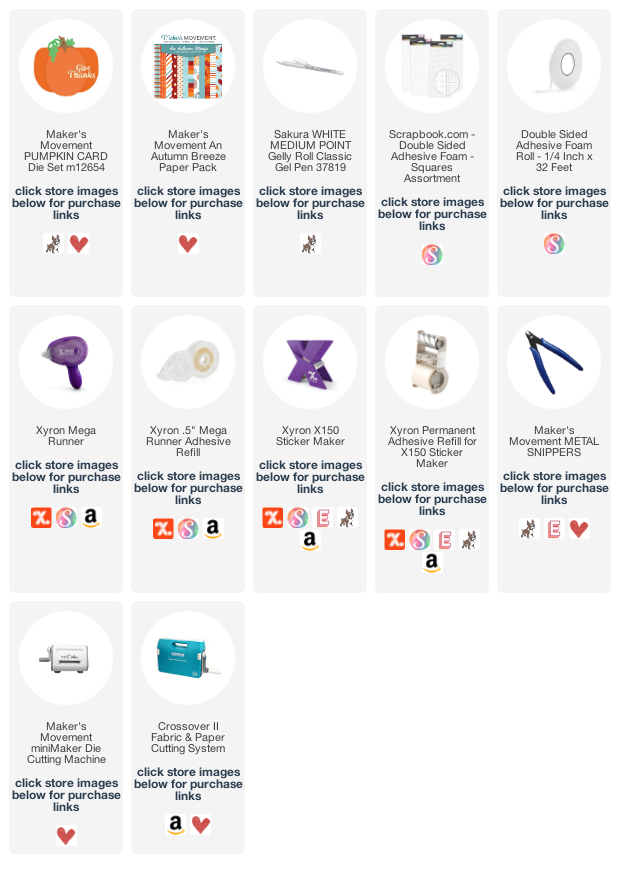
I decided to make my card in nontraditional colors by using the Maker's Movement An Autumn Breeze Paper Pack. I used one of the polka dot papers from the paper pad and die-cut out the pumpkin using the Maker's Movement Pumpkin Card Die Set from the center of the paper. I used the remaining polka dot paper to adhere to my 6x6 card front. Using another piece of paper from the paper, with a light blue and plus signs on it, I adhered that over the polka dot piece so you couldn't see the missing area of where I cut the pumpkin out. I attached the pumpkin to the front of the card using some foam adhesive tape.

I cut out some leaves using another piece of paper from the Maker's Movement An Autumn Breeze Paper Pack and the Maker's Movement Pumpkin Card Die Set. Using a piece of brown cardstock, I cut out the stem and vines for the pumpkin. I inked up the edges slightly, and using a brown pen, I traced the embossed areas of the die cuts, so they stood out more. I used a white gel pen on the leaves to draw the lines on them and also drew a frame around the outside of the pumpkin and on the background piece. To finish my card, I die-cut out the sentiment using the same paper I used for the leaves and added it to the front of my card, then added a bow to the stem.


Interested in the products I used? For your convenience, products that are still available are linked to multiple shops below. Lists may contain affiliate links where possible at no additional cost to you. When you click on my links and make a purchase, I earn a small percentage of the sale. This helps me to be able to keep creating and maintaining this website. Even though I design for several companies, I still purchase many of my own supplies. However, I do receive some free products to work with, and I sometimes make money for the projects I make. I DO NOT get paid for product reviews, I give my honest opinion about the products I use, and I will never recommend a product that I do not like or would not use.
Affiliate and product disclosure and privacy policy can be found here.

August 23, 2022

Pink Flower Thank You Card

 Hello! With Autumn almost here, I thought I would get in one more flower card before summer ends.

Some of the products I have used in this post have been provided to me by various companies. The opinions I share are solely my own. Affiliate links may be used where possible at no cost to you. However, I do earn a small commission when you click on my link and make a purchase from them. Thank you, and I appreciate your support!

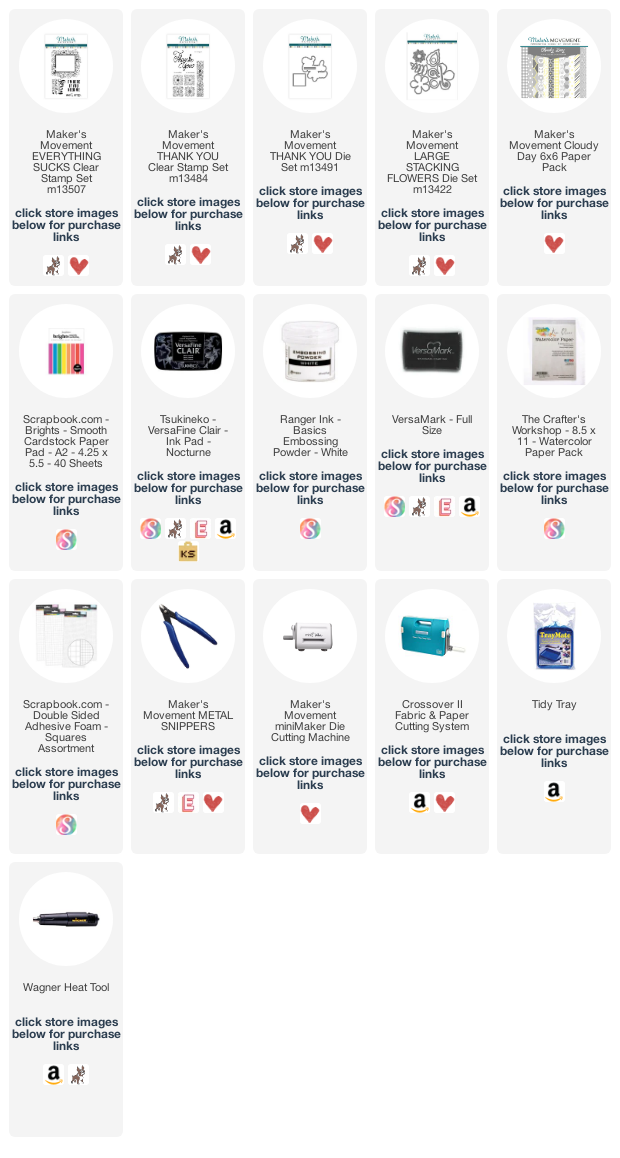
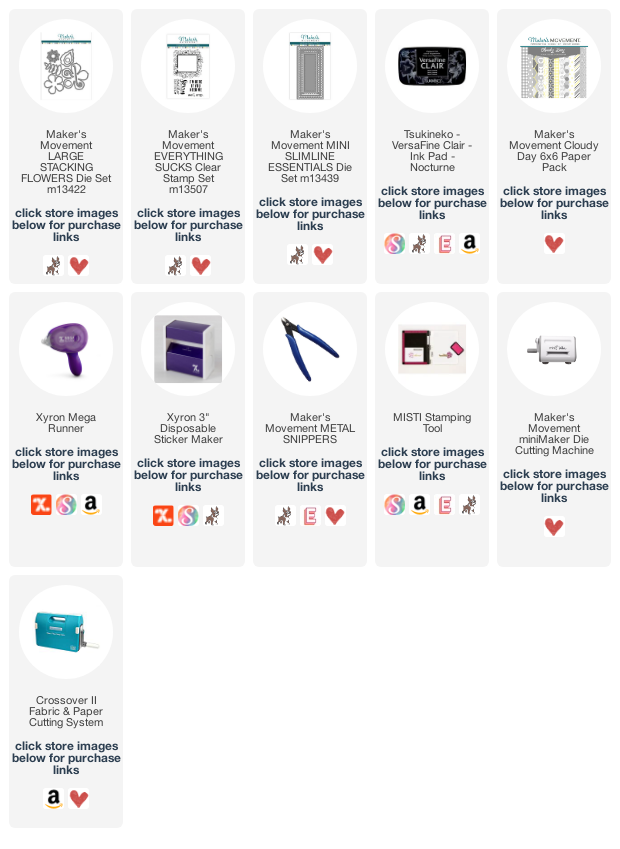
I started with a piece of TCW Watercolor Paper, and with VersaMark, I stamped the flower frame from the Maker's Movement Everything Sucks stamp set and heat embossed it with white embossing powder. Then with a paintbrush, I added some water around the stamped embossed frame and then added some fuchsia watercolor around it. The embossed area created a resistance to the watercolor.
I stamped the thank you with the Maker's Movement Thank You Stamp Set and then die cut it out using the Maker's Movement Thank You Die Set. I used the same thank you stamp set to stamp the "you are amazing" sentiment. Then I used the Maker's Movement Large Stacking Flowers Die Set for the flowers. To attach the Thank You, I used foam squares.


Interested in the products I used? For your convenience, products that are still available are linked to multiple shops below. Lists may contain affiliate links where possible at no additional cost to you. Affiliate and product disclosure can be found here.
I design for several companies because I genuinely love their products! Anything I recommend on my blog is something that I genuinely love and regularly use. I buy most of my own supplies. However, I do receive some free products to work with, and I sometimes make money for the projects I make. I DO NOT get paid for product reviews, I give my honest opinion about the products I use, and I will never recommend a product that I do not like or would not use.

August 11, 2022

Everything Sucks Mini Slimline Card

Hello! Sometimes things just are not going the way people want them to in life, and everything just sucks. Here is a card that is perfect for those times in life.

Some of the products I have used in this post have been provided to me by various companies. The opinions I share are solely my own. Affiliate links may be used where possible at no cost to you. However, I do earn a small commission when you click on my link and make a purchase from them. Thank you, and I appreciate your support!

I first started by using the Maker's Movement Mini Slimline Die, some white cardstock, and some patterned paper from the Maker's Movement Cloudy Day 6x6 Paper Pack to cut out the background layers of my card. Then adhered them to a black card base.
Next, I die cut out some of the flowers from the Maker's Movement Large Stacking Flowers Die Set in black cardstock.

Then stamped the sentiment using the Maker's Movement Everything Sucks Stamp Set and added some enamel dots. A super easy card to make and cute enough to hopefully brighten someone's day.

Interested in the products I used? For your convenience, products that are still available are linked to multiple shops below. Lists may contain affiliate links where possible at no additional cost to you whatsoever. Affiliate and product disclosure can be found here.
I design for several companies because I genuinely love their products! Anything I recommend on my blog is something that I genuinely love and regularly use. I buy most of my own supplies. However, I do receive some free products to work with, and I sometimes make money for the projects I make. I DO NOT get paid for product reviews, I give my honest opinion about the products I use, and I will never recommend a product that I do not like or would not use.

July 5, 2022

Summer Fun Card

 Summer! I love summer! So I made a bright and cheerful summer card. :)

Some of the products I have used in this post have been provided to me by various companies. The opinions I share are solely my own. Affiliate links may be used where possible at no cost to you. However, I do earn a small commission when you click on my link and make a purchase from them. Thank you, and I appreciate your support!

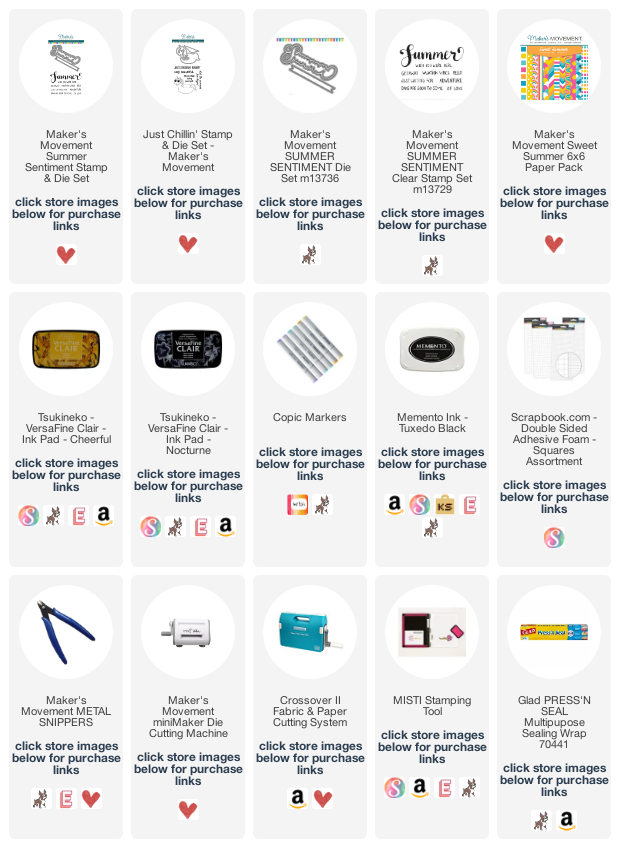
Using the Maker's Movement Sweet Summer Paper Pad and the Maker's Movement Summer Stamp & Die Set, I die cut out the shadow of the word summer several times. Then I stamped the word summer from the Maker's Movement Summer Stamp & Die Set using VersaFine Clair in Cheerful and then die cut them out. Then I adhered the two together and then placed the die cuts on my card front how I wanted them.
Once I had them laid out how I wanted them, I then placed a piece of Glad Press'n Seal over them making them stick to the Press'n Seal so they stay in place where I want them. Next, I carefully pulled the die pieces up making sure they were still stuck to the Press'n Seal, and then applied adhesive to the back of the dies and then placed them back down onto my card front.
Then using several of the word stamps from the Maker's Movement Summer Stamp & Die Set, I stamped the words randomly in between the summer dies.


Next, I stamped the Unicorn floaty from the Maker's Movement Just Chillin' Stamp & Die Set and colored it with Copic Markers. Then I die cut the Unicorn out and adhered it to the front of my card with foam squares.


Interested in the products I used? Products that are still available are linked to multiple shops below, for your convenience. Lists may contain affiliate links where possible at no cost to you, whatsoever. Affiliate and product disclosure can be found here.
I design for several companies because I genuinely love their products! Anything I recommend on my blog is something that I genuinely love and regularly use. I buy most of my own supplies. However, I do receive some free products to work with, and I sometimes make money for the projects I make. I DO NOT get paid for product reviews, I give my honest opinion about the products I use, and I will never recommend a product that I do not like or would not use.

June 28, 2022

Summer Flamingo Card

Hello again! Today I am sharing a cute pink summer flamingo card.

Some of the products I have used in this post have been provided to me by various companies. The opinions I share are solely my own. Affiliate links may be used where possible at no cost to you. However, I do earn a small commission when you click on my link and make a purchase from them. Thank you, and I appreciate your support!

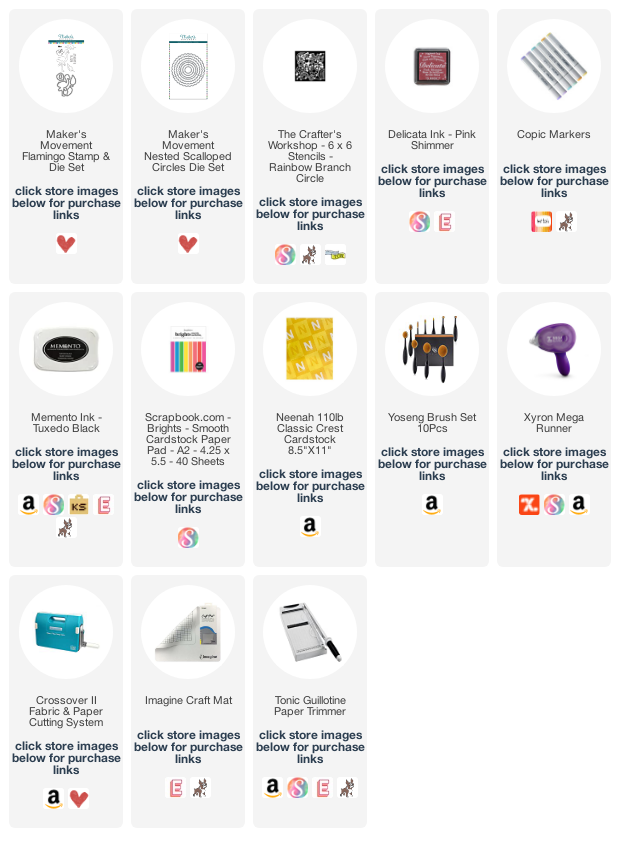
To create the background on my card, I used The Crafter's Workshop TCW959 Rainbow Branch Circle Stencil with some Delicata Ink in Pink Shimmer and a blending brush. Then I used the Maker's Movement Flamingo Stamp & Die Set by stamping some of the images and coloring them with Copic Markers and then die-cut them out.


Behind the flamingo, I adhered some circles that I die cut out using the Maker's Movement Nested Scalloped Circles Dies. Then on the bottom of the card, I stamped the sentiment that comes with the Maker's Movement Flamingo Stamp & Die Set using Memento Rose Bud Ink. I adhered everything together using my Xyron Mega Runner.


Interested in the products I used? Products that are still available are linked to multiple shops below, for your convenience. Lists may contain affiliate links where possible at no cost to you, whatsoever. Affiliate and product disclosure can be found here.
I design for several companies because I genuinely love their products! Anything I recommend on my blog is something that I genuinely love and regularly use. I buy most of my own supplies. However, I do receive some free products to work with, and I sometimes make money for the projects I make. I DO NOT get paid for product reviews, I give my honest opinion about the products I use, and I will never recommend a product that I do not like or would not use.

June 15, 2022

Gumball Machine Birthday Card

 Hello! Today I am sharing a cute gumball machine birthday card with you all that I made.

Some of the products I have used in this post have been provided to me by various companies. The opinions I share are solely my own. Affiliate links may be used where possible at no cost to you. However, I do earn a small commission when you click on my link and make a purchase from them. Thank you, and I appreciate your support!

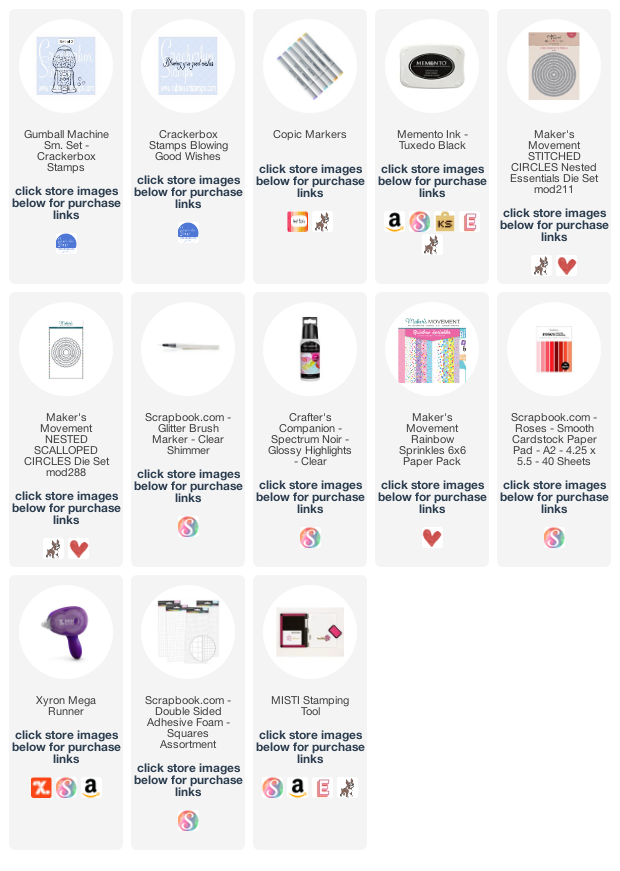
I first started by using the Crackerbox Stamps Gumball Machine Sm. Stamp and then colored it in with Copic Markers and fussy cutting it out. I used a clear glitter marker on the silver part of the machine to give it a metal look and glossy highlights over the glass part of the machine.

I then stamped the sentiment using the Crackerbox Stamps Blowing Good Wishes Stamp and then cutting it into a banner and added it just below the Gumball Machine. I added some fun polka dot patterned paper and die-cut out some circles to create a focal point behind the gumball machine.

Interested in the products I used? Products that are still available are linked to multiple shops below, for your convenience. Lists may contain affiliate links where possible at no cost to you, whatsoever. Affiliate and product disclosure can be found here.
I design for several companies because I genuinely love their products! Anything I recommend on my blog is something that I genuinely love and regularly use. I buy most of my own supplies. However, I do receive some free products to work with, and I sometimes make money for the projects I make. I DO NOT get paid for product reviews, I give my honest opinion about the products I use, and I will never recommend a product that I do not like or would not use.

May 31, 2022

Flip Flop Summer Beach Vibes Card

 Hello! I love the beach and this flip flop summer beach vibes card makes me want to put my flip flops on and head to the beach.

Some of the products I have used in this post have been provided to me by various companies. The opinions I share are solely my own. Affiliate links may be used where possible at no cost to you. However, I do earn a small commission when you click on my link and make a purchase from them. Thank you, and I appreciate your support!

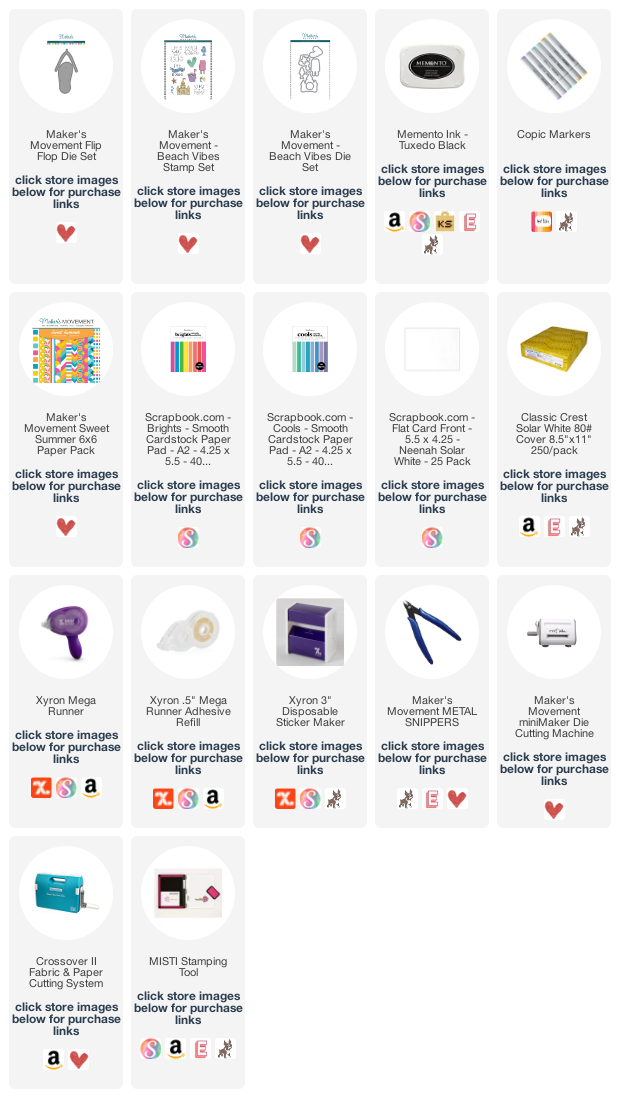
These little flip flops are so cute and easy to make using the Maker's Movement Flip Flop Die Set. I used a combo of Maker's Movement Sweet Summer 6x6 Paper Pad for the fun patterned papers and Brights Smooth Cardstock Paper Pack & Cools Smooth Cardstock Paper Pack from Scrapbook.com for the solid colors.

For the sentiment and beach ball, I used the Maker's Movement Beach Vibes Stamp Set & Die Set. Then adhered everything together using Xyron Adhesives.

Interested in the products I used? Products that are still available are linked to multiple shops below, for your convenience. Lists may contain affiliate links where possible at no cost to you, whatsoever. Affiliate and product disclosure can be found here.
I design for several companies because I genuinely love their products! Anything I recommend on my blog is something that I genuinely love and regularly use. I buy most of my own supplies. However, I do receive some free products to work with, and I sometimes make money for the projects I make. I DO NOT get paid for product reviews, I give my honest opinion about the products I use, and I will never recommend a product that I do not like or would not use.

January 13, 2022

How To Create Plaid Hearts For Valentine's Day Cards

 Hello! Today I am sharing how I created my plaid heart slimline Valentine's Day card with dies and a stencil.

Some of the products I have used in this post have been provided to me by various companies. The opinions I share are solely my own. Affiliate links may be used where possible at no cost to you. However, I do earn a small commission when you click on my link and make a purchase from them. Thank you, and I appreciate your support!

Below is a video tutorial showing exactly how I created my project.
Make sure to subscribe to my YouTube channel and click the bell so you will get updates when I post a new video.


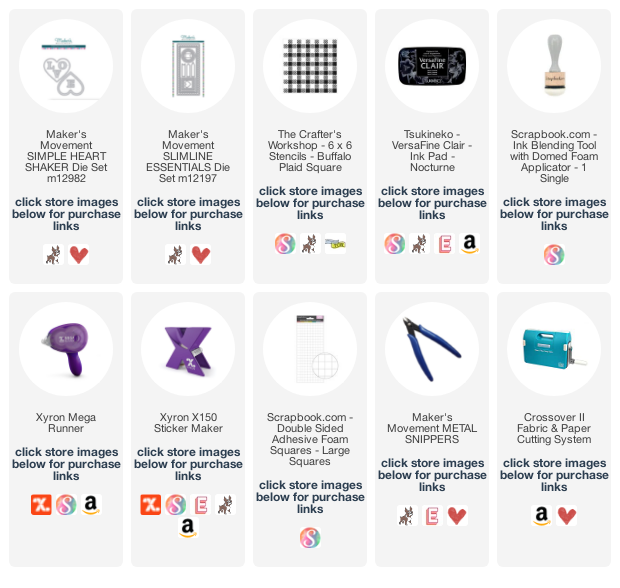
To create the plaid hearts, I used The Crafter's Workshop TCW955 Buffalo Plaid Square Stencil on a piece of red cardstock and used an ink blender and black ink to create the pattern. As shown below....


This is what it looked like completed. 


Then I used Maker's Movement new Simple Heart Shaker Die to die cut out hearts from the plaid design I created and used the same die to die cut the Love letters from white cardstock. I also used the Maker's Movement Slimline Essentials Die to create the card front.
To adhere it all together using my Xyron Mega Runner and a few foam squares to raise up a couple of the hearts.


Interested in the products I used? Products that are still available are linked to multiple shops below, for your convenience. Lists may contain affiliate links where possible at no cost to you, what so ever. Affiliate and product disclosure can be found here.
I design for several companies because I genuinely love their products! Anything I recommend on my blog is something that I genuinely love and regularly use. I buy most of my own supplies. However, I do receive some free products to work with, and I sometimes make money for the projects I make. I DO NOT get paid for product reviews, I give my honest opinion about the products I use, and I will never recommend a product that I do not like or would not use.