Showing posts with label Gift Ideas. Show all posts

December 6, 2021

Easy To Make Snowman Candy Wrappers With Xyron

Looking for some cute but easy-to-make gift ideas for stocking stuffers? These would make great teacher gifts or for kids or anyone who likes candy. These are also good to have on hand for when you have unexpected company.
*Make sure to read all the way to the bottom to find out how you could have a chance to win more than $900 in prizes from Xyron.

Some of the products I have used in this post have been provided to me by various companies. The opinions I share are solely my own. Affiliate links may be used where possible at no cost to you. However, I do earn a small commission when you click on my links and make a purchase from them. Thank you, and I appreciate your support!

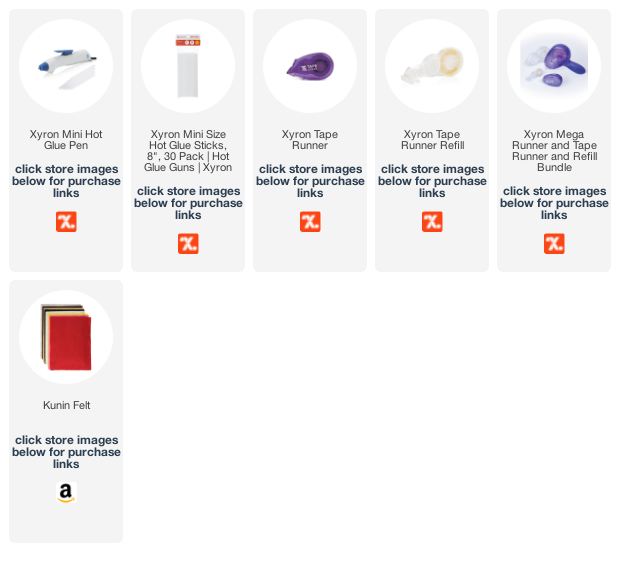
To start, I found a cute printable snowman image on google and printed it out on plain white copy paper. I did have to adjust the sizing until I got it to the size I wanted. Then I gathered up some of my favorite Xyron products, the Xyron Mini Hot Glue Pen and Xyron Tape Runner. I also grabbed some yummy full-size candy bars to use inside the snowman wrappers.


All Xyron Products are 15% OFF until Dec. 31, 2021, when you use the code READY15 at checkout!


Once I had my snowman printout sized and cut to size, I then wrapped it around the candy bar and adhered it into place using the Xyron Tape Runner.


Next, using a piece of felt that I measured to be able to wrap around the candy. I then added a line of hot glue using the Xyron Mini Hot Glue Pen along the bottom edge of the felt and folded it up to create about a 1/2" hem. I chose the Xyron Mini Hot Glue Pen because I love how you can do a thin line of glue exactly where you want it.


Then added another line of hot glue and wrapped the felt around the top end of the snowman candy wrapper all the way around so it overlaps slightly.


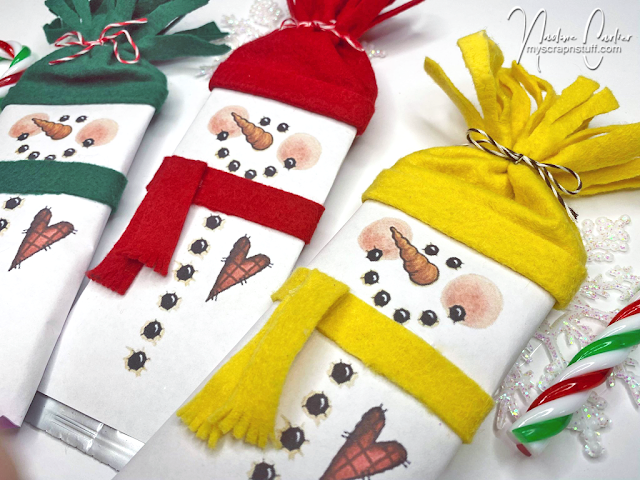
I then tied a piece of twine about halfway up the felt into a bow and the top half of the felt was cut down to the twine in strips to create a fringe. For the scarf, I cut a long strip of felt to wrap all the way around the wrapper and adhered it in the back slightly overlapping using the Xyron Mini Hot Glue Pen. Then using a shorter strip of felt, I folded it in half and cut the ends of the felt to create a fringe. I adhered it to one side of the felt strip that was wrapped around the candy.


See how cute they turned out? All you have to do is slide the candy bar of your choice inside and they can be reused on a new candy bar after their original candy bar has been eaten.


If you love hot glue guns you want to make sure to get the Xyron Mini Hot Glue Pen! There is no better glue gun for precision craft projects that you want to add fine lines of glue without creating a mess.

PLUS.... All Xyron Products are 15% OFF until Dec. 31, 2021, when you use the code READY15 at checkout!


Xyron Holly Days Giveaway:

You won’t want to miss out on Xyron’s Holly Days Giveaway where you have a chance to win more than $900 in prizes for yourself and your craftiest friend!

Must be 18+ years old and live in the United States. The giveaway closes at 11:59 pm PT on 12/15/2021.

Interested in the products I used? Products that are still available are linked to multiple shops below, for your convenience.
Lists may contain affiliate links where possible at no cost to you, what so ever. Affiliate and product disclosure can be found here.
I design for several companies because I genuinely love their products! Anything I recommend on my blog is something that I genuinely love and regularly use. I buy most of my own supplies. However, I do receive some free products to work with, and I sometimes make money for the projects I make. I DO NOT get paid for product reviews, I give my honest opinion about the products I use, and I will never recommend a product that I do not like or would not use.
December 2, 2021

Artesprix Blog Hop With Designer Crafts Connection

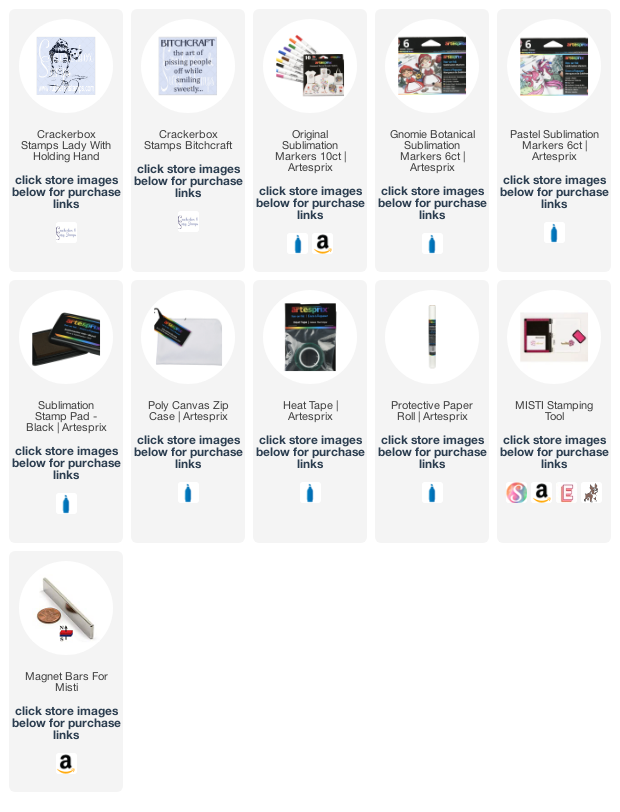
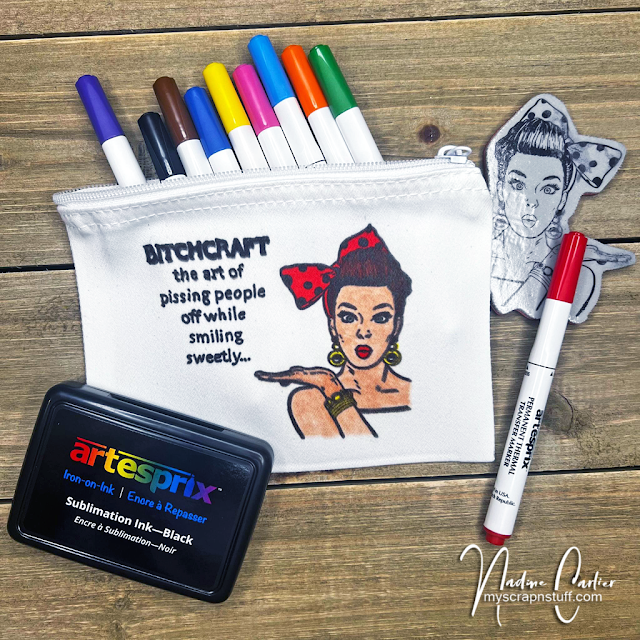
 Hello, crafty friends! Today I am sharing how to do a sublimation transfer onto canvas. This would make a great gift for your craft friends or anyone since you can customize the canvas bag using any kind of stamp image.

Some of the products I have used in this post have been provided to me by various companies. The opinions I share are solely my own. Affiliate links may be used where possible at no cost to you. However, I do earn a small commission when you click on my links and make a purchase from them. Thank you, and I appreciate your support!

I know many of us have a lot of stamps that we do not use. Using them as a sublimation transfer onto canvas is a fun and different way to use them. All of the sublimation products I used are from Artesprix. The snarky stamps are from Crackerbox Stamps.
Below is a video tutorial showing exactly how I created my project.
Make sure to subscribe to my YouTube channel and click the bell so you will get updates when I post a new video.


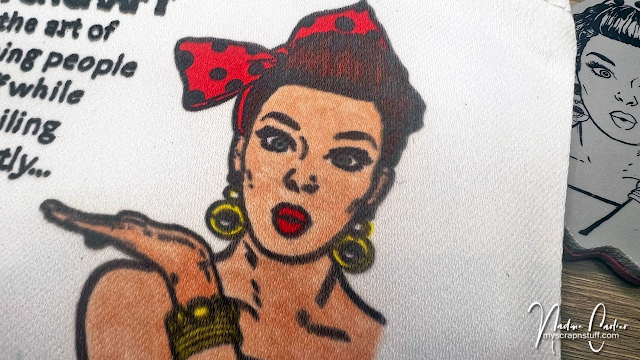
My close-up photos below show how well the images transferred onto the canvas.


Want more inspiration using Artesprix products? Visit the Designer Crafts Connection Blog Post to see what their other designers have created.

Interested in the products I used? Products that are still available are linked to multiple shops below, for your convenience.
Lists may contain affiliate links where possible at no cost to you, what so ever. Affiliate and product disclosure can be found here.
I design for several companies because I genuinely love their products! Anything I recommend on my blog is something that I genuinely love and regularly use. I buy most of my own supplies. However, I do receive some free products to work with, and I sometimes make money for the projects I make. I DO NOT get paid for product reviews, I give my honest opinion about the products I use, and I will never recommend a product that I do not like or would not use.
August 26, 2021

Personalize Your Own Dog Frame For Your Fur Baby

 Happy International Dog Day! To help celebrate I made a personalized dog frame that would make a great gift or to keep for yourself.


Some of the products I have used in this post have been provided to me by various companies. The opinions I share are solely my own. Affiliate links may be used where possible at no cost to you. However, I do earn a small commission when you click on my links and make a purchase from them. Thank you, and I appreciate your support!

To create my frame, I first found an old frame that I have had for a long time and not using. A dollar store is also a great place to pick up frames if you do not have one already. My frame was already painted black which made things a little easier since I didn't have to paint it. Then I grabbed some dog treats, I used the small Milkbones and laid them onto my frame so I knew how many I was going to need and to figure out the best layout for them. Once I figured out how I was going to put them on my frame, I then decide the bones were too light in color, you can see their original color in the photo above. So I painted them with some paint and then sealed them to give them a glossy finish.


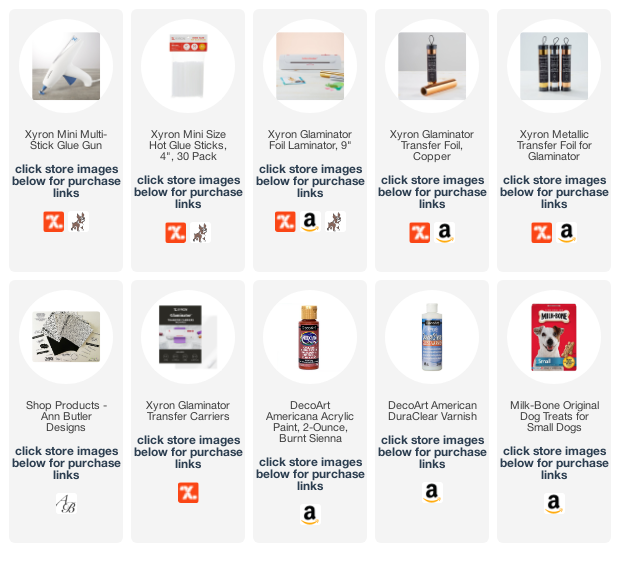
Next, I adhered the bones onto the frame using my Xyron Mini Multi-Stick Glue Gun. One awesome feature of this glue gun is that it holds 3 glue sticks at once so you do not have to refill it as often, which is a huge time saver.


To create the shiny mat around the photo of my cute pup Cocoa, I cut a mat out of Toner Cardstock and then laying a piece of Xyron Copper Transfer Foil over it with the shiny pretty side facing up and dull side against the mat frame and placing it in a Xyron Glaminator Transfer Carrier. Then I ran it through the Xyron Glaminator, placed it around my photo, and added it to the frame. Added some letter stickers for her name and viola, it was done and ready to gift to someone or display in your home.


Save 25% on all Xyron Glue Guns and glue sticks. Use code GS20 (ends Aug. 31, 2021)
or
Save 25% off Creative Stations, Sticker Makers, Glaminator, and Mead Cold Seal Laminator. Use code CREATE25 (ends Aug. 31, 2021)

Interested in the products I used? Products that are still available are linked to multiple shops below, for your convenience.
Lists may contain affiliate links where possible at no cost to you, what so ever. Affiliate and product disclosure can be found here.
I design for several companies because I genuinely love their products! Anything I recommend on my blog is something that I genuinely love and regularly use. I buy most of my own supplies. However, I do receive some free products to work with, and I sometimes make money for the projects I make. I DO NOT get paid for product reviews, I give my honest opinion about the products I use, and I will never recommend a product that I do not like or would not use.

May 6, 2021

Customized Color Changing Beer Mug For Father's Day

 Have you started thinking about Father's Day yet? I think guys are hard to buy for, there are just so many tools you can get them. So this year I went with a customized beer mug. Not only is it customized, but it also changes colors!


Some of the products I have used in this post have been provided to me by various companies. The opinions I share are solely my own. Affiliate links may be used where possible at no cost to you. However, I do earn a small commission when you click on my links and make a purchase from them. Thank you, and I appreciate your support!

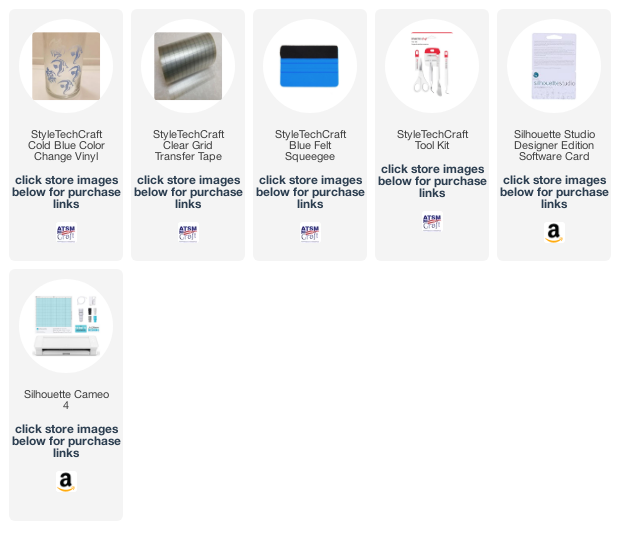
The first thing I did was search google for an image that I liked. Then I went through all of my color-changing vinyl from StyleTechCrafts and decided to use the Cold Blue Vinyl and cut it out using my Silhouette Cameo 4 and Studio Designer Program. After the image was cut out, I used my StyleTechCraft Tools to weed the vinyl and Clear Transfer Tape to transfer the image onto a mug that I got at the Dollar Store.

Before adding anything cold to the mug the vinyl looks almost like it is etched into the glass.

But then when you add a nice cold drink to it, it changes to a cool blue right before your eyes.

Interested in the products I used? Products that are still available are linked to multiple shops below, for your convenience.
Lists may contain affiliate links where possible at no cost to you, what so ever. Affiliate and product disclosure can be found here.
I design for several companies because I genuinely love their products! Anything I recommend on my blog is something that I genuinely love and regularly use. I buy most of my own supplies. However, I do receive some free products to work with, and I sometimes make money for the projects I make. I DO NOT get paid for product reviews, I give my honest opinion about the products I use, and I will never recommend a product that I do not like or would not use.

February 8, 2021

Cute Custom Keychains Using Vinyl

 Last year at Creativation at the SytleTechCraft booth, I was showing people how easy it is to use their vinyl to create cute custom keychains. They were a big hit!
So I thought I would share with you all here too how I made them.


Some of the products I have used in this post have been provided to me by various companies. The opinions I share are solely my own. Affiliate links may be used where possible at no cost to you. However, I do earn a small commission when you click on my links and make a purchase from them. Thank you, and I appreciate your support!

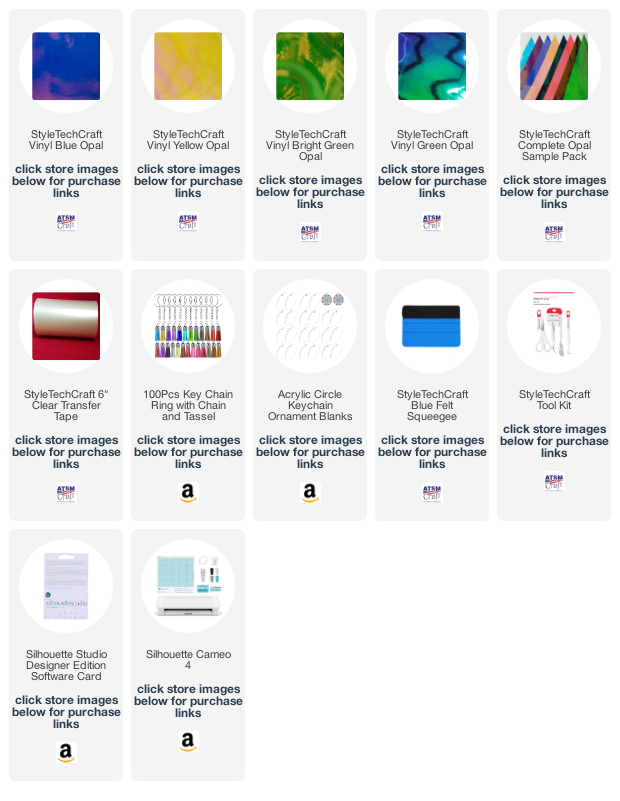
I first searched the internet and found some images that would easy to cut using my Silhouette Cameo 4. Then I cut the images out using the SytleTechCraft Opal Vinyls, which are my favorite.
Then using some StyleTechCraft Clear Transfer Tape, I transferred the images to the front of the acrylic keychains. Add some little tassels and I was done.


I tried to take some photos from different angles so you could see how pretty the SytleTechCraft Opal Vinyls are and see how they change colors from different angles. I can't even tell you how much I love all these opal vinyls! Right now, SytleTechCraft has a sample pack of all of their opal colors and it is on sale too.


Interested in the products I used? Products that are still available are linked to multiple shops below, for your convenience.
Lists may contain affiliate links where possible at no cost to you, what so ever. Affiliate and product disclosure can be found here.
I design for several companies because I genuinely love their products! Anything I recommend on my blog is something that I genuinely love and regularly use. I buy most of my own supplies. However, I do receive some free products to work with, and I sometimes make money for the projects I make. I DO NOT get paid for product reviews, I give my honest opinion about the products I use, and I will never recommend a product that I do not like or would not use.
August 5, 2020

DIY Wood Plaque Sign For Grandma Using Vinyl

Did you know that Grandparent's day is September 13th? I created a fun DIY wood plaque sign for Grandma. It would make a great gift!


Some of the products I have used in this post have been provided to me by various companies. The opinions I share are solely my own. Affiliate links may be used where possible at no cost to you. However, I do earn a small commission when you click on my links and make a purchase from them. Thank you, and I appreciate your support!

I found the cut file that I used in the Silhouette Design Store by searching for Grandma Life. Then I used my Silhouette Design Studio to adjust the cut file to the size I wanted and to separate the words so I could cut them all out at the same time but using two different color vinyl.
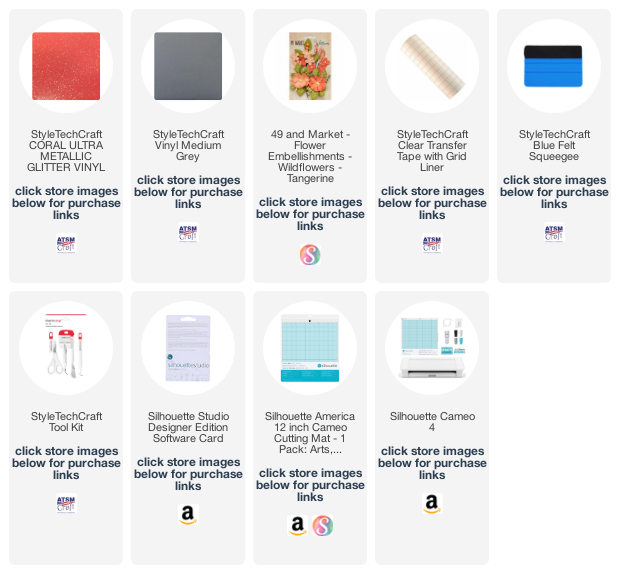
For the cursive words, I cut them out using StyleTechCraft Ultra Metallic Vinyl in Coral, and the other words I cut out using StyleTechCraft Glossy Vinyl in Medium Grey.


I put the settings on metallic vinyl and then sent it to my Silhouette Cameo 4 to be cut out.


Once it was cut out, I then weeded the vinyl pieces out that were not needed.


Then I transferred the vinyl words to some StyleTechCraft Clear Grid Transfer Tape and then transferred them to a wood plaque.


In one of the corners, I adhered some 49 and Market Wildflowers in Tangerine.


Interested in the products I used? Products that are still available are linked to multiple shops below, for your convenience.
Lists may contain affiliate links where possible at no cost to you, what so ever. Affiliate and product disclosure can be found here.
I design for several companies because I genuinely love their products! Anything I recommend on my blog is something that I genuinely love and regularly use. I buy most of my own supplies. However, I do receive some free products to work with, and I sometimes make money for the projects I make. I DO NOT get paid for product reviews, I give my honest opinion about the products I use, and I will never recommend a product that I do not like or would not use.

July 5, 2020

How To Make A Magnetic Frame For School Photos


School is still a little over a month away before it starts back up again but I saw these cute school frames and had to make them now. I used a photo of my daughter from her 8th grade year before everything switched to homeschooling.


Some of the products I have used have been provided to me from various companies I design for. The opinions I share are solely my own, and I only design for companies that I completely love their products. Affiliate links may be used where possible at no cost to you. However, I do earn a small commission when you click on my links and make a purchase from them. Thank you, and I appreciate your support!

I found these cute SVG school photo frames and used my Silhouette Designer Studio Software to create my cut file.


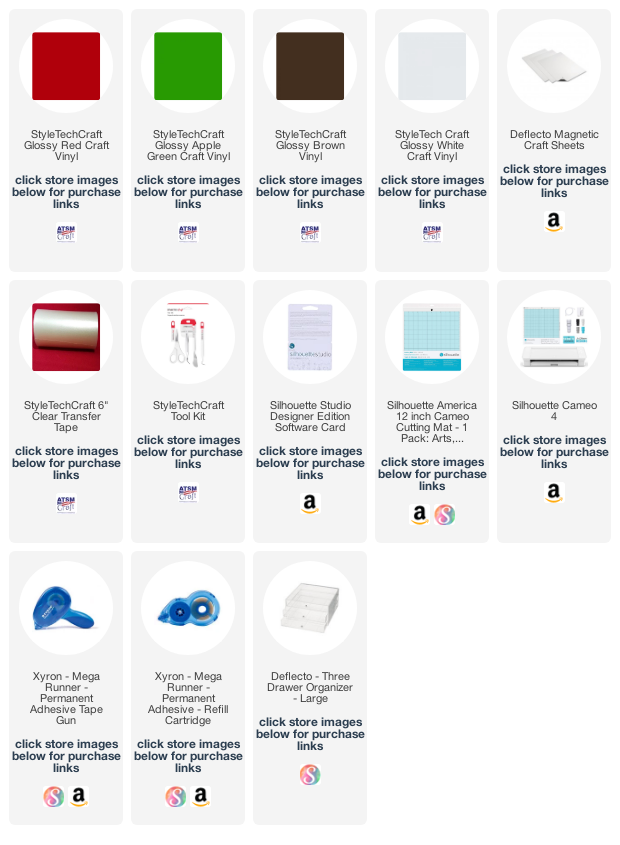
I cut a square of the StyleTechCraft Glossy Craft Vinyl in Apple Green, Brown, Red, and White and put them in each corner of my cutting mat to match where I have placed each element of the frame to be cut in the Designer Studio.


 Then I cut them out using the Silhouette Cameo 4.


Next, I used a Deflecto Magnetic Sheet. These magnetic sheets are great, they are white on one side making them perfect to customize almost any way you want. They are 8" x 15" and come 3 in a pack. They are super easy to cut with scissors or with a craft knife.


and with my Xyron Mega Runner, I adhered a photo of my daughter onto it.


After adhering the photo, I then placed the frame of the apple that was cut from the StyleTechCraft Glossy Red Craft Vinyl onto the photo. Then added the stem and the leaf to the top of the apple and then cut it out along the outer edge of the apple, leaf, and stem.


Next, using the StyleTechCraft Clear Transfer Tape, I transferred the wording onto the front of the apple.


Then I was done and ready to hang on the fridge. These would also make great gifts for Grandparents. Or change it up some and add a photo of your favorite teacher and have it say greatest teacher or world's best teacher to give as a teacher gift.


To help me organize my Vinyl I use the Deflecto Large Three-Drawer Organizer. I organized my vinyl by rainbow colors with the top drawer being reds, oranges, and yellows. Middle drawer are greens, blues, and purples and bottom drawer are all the neutral colors like black, white, and browns.


Interested in the products I used? Products that are still available are linked to multiple shops below, for your convenience.
Lists may contain affiliate links where possible at no cost to you, what so ever. Affiliate and product disclosure can be found here.
I design for several companies because I genuinely love their products! Anything I recommend on my blog is something that I genuinely love and regularly use. I buy most of my own supplies. However, I do receive some free products to work with, and I sometimes make money for the projects I make. I DO NOT get paid for product reviews, I give my honest opinion about the products I use, and I will never recommend a product that I do not like or would not use.