

School is still a little over a month away before it starts back up again but I saw these cute school frames and had to make them now. I used a photo of my daughter from her 8th grade year before everything switched to homeschooling.

Some of the products I have used have been provided to me from various companies I design for. The opinions I share are solely my own, and I only design for companies that I completely love their products. Affiliate links may be used where possible at no cost to you. However, I do earn a small commission when you click on my links and make a purchase from them. Thank you, and I appreciate your support!
I found these cute SVG school photo frames and used my Silhouette Designer Studio Software to create my cut file.

I cut a square of the StyleTechCraft Glossy Craft Vinyl in Apple Green, Brown, Red, and White and put them in each corner of my cutting mat to match where I have placed each element of the frame to be cut in the Designer Studio.

Then I cut them out using the Silhouette Cameo 4.

Next, I used a Deflecto Magnetic Sheet. These magnetic sheets are great, they are white on one side making them perfect to customize almost any way you want. They are 8" x 15" and come 3 in a pack. They are super easy to cut with scissors or with a craft knife.

and with my Xyron Mega Runner, I adhered a photo of my daughter onto it.

After adhering the photo, I then placed the frame of the apple that was cut from the StyleTechCraft Glossy Red Craft Vinyl onto the photo. Then added the stem and the leaf to the top of the apple and then cut it out along the outer edge of the apple, leaf, and stem.

Next, using the StyleTechCraft Clear Transfer Tape, I transferred the wording onto the front of the apple.

Then I was done and ready to hang on the fridge. These would also make great gifts for Grandparents. Or change it up some and add a photo of your favorite teacher and have it say greatest teacher or world's best teacher to give as a teacher gift.

To help me organize my Vinyl I use the Deflecto Large Three-Drawer Organizer. I organized my vinyl by rainbow colors with the top drawer being reds, oranges, and yellows. Middle drawer are greens, blues, and purples and bottom drawer are all the neutral colors like black, white, and browns.


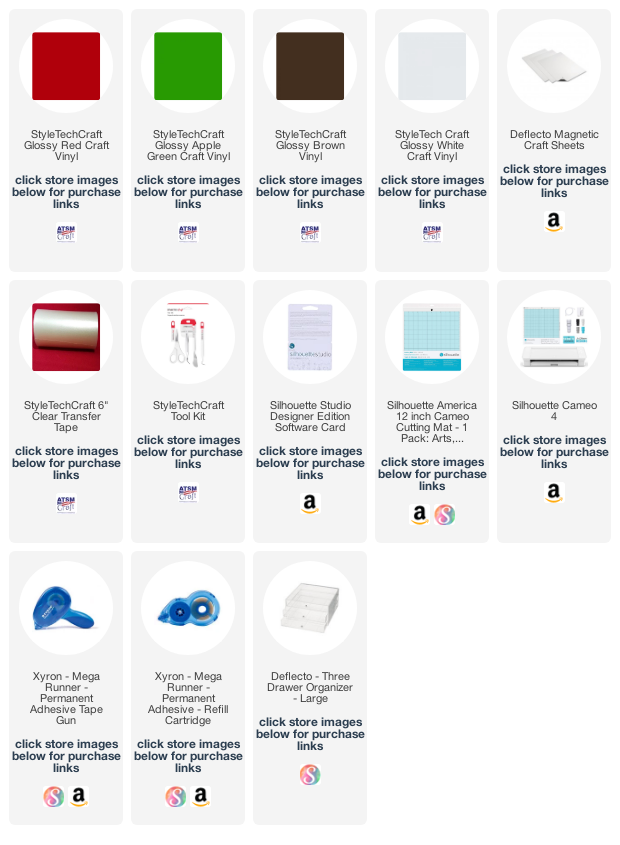
Interested in the products I used? Products that are still available are linked to multiple shops below, for your convenience.
Lists may contain affiliate links where possible at no cost to you, what so ever. Affiliate and product disclosure can be found here.
I design for several companies because I genuinely love their products! Anything I recommend on my blog is something that I genuinely love and regularly use. I buy most of my own supplies. However, I do receive some free products to work with, and I sometimes make money for the projects I make. I DO NOT get paid for product reviews, I give my honest opinion about the products I use, and I will never recommend a product that I do not like or would not use.


Nadine, this is so cute! This would be an easy, fun way to display photos at her graduation someday. So cute!
ReplyDeleteThank you, Carrie!
Delete