Showing posts with label Creative Embellishments. Show all posts

July 19, 2023

Cruise Ship Porthole Scrapbook Layout

Hello! Today I am sharing a cruise ship porthole frame scrapbook layout.

Some of the products I have used in this post have been provided to me by various companies. The opinions I share are solely my own. Affiliate links may be used where possible at no cost to you. However, I will earn a small commission when you click on my link and purchase from them. Thank you, and I appreciate your support!

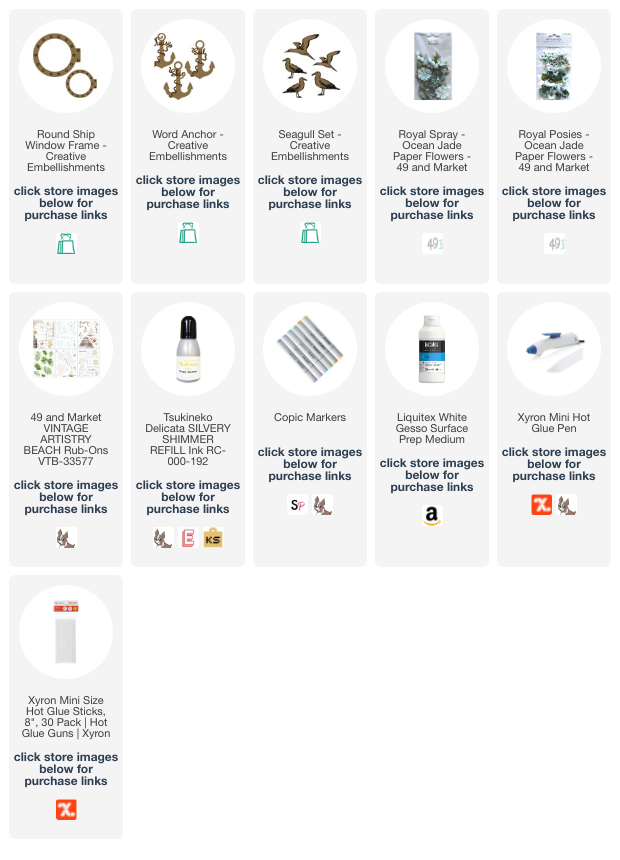
I painted the Creative Embellishments Round Ship Window Frames by dipping a paper towel in some white gesso and rubbing it onto the frame to give it a whitewashed look. Then I sprayed them with a gold color spray. On the smaller window, I cut my photo to fit the back of it, and for the bigger one, I cut a piece of patterned paper from 49 and Market Island Paradise Collection (retired) to fit that one.
On the Creative Embellishments Word Anchor, I painted it with Delicata Silvery Shimmer Ink Refill and used a brown Copic Marker to color the title and rope a darker brown. Around the porthole frames I also used some fishnet rub ons from 49 and Market.


For the Creative Embellishments Seagulls, I whitewashed them also with a paper towel and white gesso. Then for the beak and feet, I used an orange Copic Marker.


I added a flower cluster using flowers from 49 and Market. I adhered all of the chipboard pieces and flowers using my Xyron Mini Hot Glue Gun Pen.


Interested in the products I used? For your convenience, products that are still available are linked to multiple shops below. Lists may contain affiliate links where possible at no additional cost to you. When you click on my links and make a purchase, I earn a small percentage of the sale. This helps me to keep creating and maintaining this website. Even though I design for several companies, I still purchase many supplies on my own. I do receive some free products to work with, and I sometimes make money for the projects I make. I DO NOT get paid for product reviews, I give my honest opinion about the products I use, and I will never recommend a product that I do not like or would not use. Affiliate and product disclosure and privacy policy can be found here.

May 9, 2023

Graduation Shaker Card

 Hello! Today I am sharing a 2023 Graduation Shaker Card.

Some of the products I have used in this post have been provided to me by various companies. The opinions I share are solely my own. Affiliate links may be used where possible at no cost to you. However, I will earn a small commission when you click on my link and purchase from them. Thank you, and I appreciate your support!

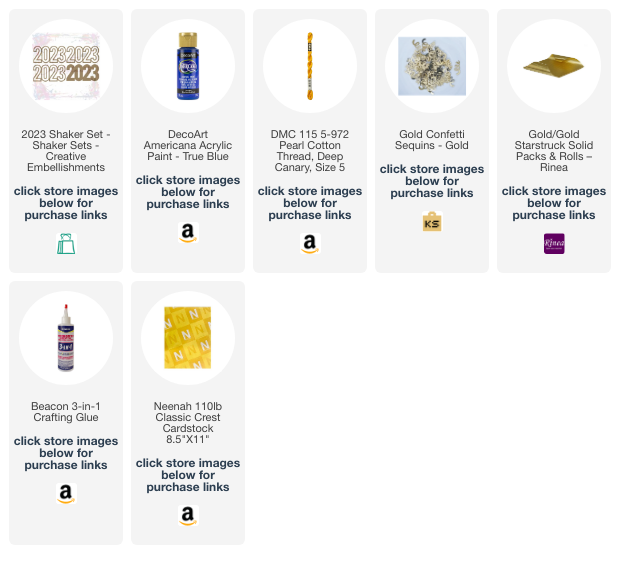
I used the Creative Embellishments 2023 Chipboard Shaker Set and painted all the chipboard pieces. I used blue acrylic paint, but you can paint them any color to match your graduates school colors. Once all pieces were painted, I adhered two layers of the chipboard shaker pieces together and adhered them to the solid back chipboard piece. Then I added some black and gold shaker pieces, and then adhered the acetate piece, and then adhered the final chipboard of the shaker over the acetate piece. I used some gold thread, made a mini tassel, and tied it to the shaker. On my card base, I added some Rinea Gold Foiled Paper and then adhered the shaker to the front of my card. To finish it off, I add a few Gold Confetti Sequins.


Interested in the products I used? For your convenience, products that are still available are linked to multiple shops below. Lists may contain affiliate links where possible at no additional cost to you. When you click on my links and make a purchase, I earn a small percentage of the sale. This helps me to keep creating and maintaining this website. Even though I design for several companies, I still purchase many supplies on my own. I do receive some free products to work with, and I sometimes make money for the projects I make. I DO NOT get paid for product reviews, I give my honest opinion about the products I use, and I will never recommend a product that I do not like or would not use. Affiliate and product disclosure and privacy policy can be found here.

March 11, 2023

Jeep Girl Scrapbook Layout

 Hello! Today I am sharing a Jeep Girl scrapbook layout.

Some of the products I have used in this post have been provided to me by various companies. The opinions I share are solely my own. Affiliate links may be used where possible at no cost to you. However, I will earn a small commission when you click on my link and purchase from them. Thank you, and I appreciate your support!

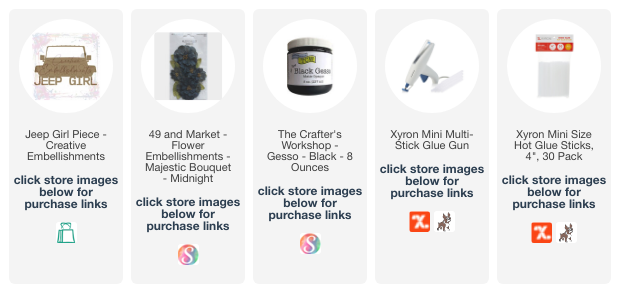
I painted the Creative Embellishment Jeep Girl chipboard piece with The Crafter's Workshop Black Gesso. For the headlights, I used a silver paint marker. Since the windshield of the chipboard piece was open, I added a photo behind it to make it look like my daughter was sitting in the chipboard piece. Then I cut off the excess of the photo. I added several flowers and a few other embellishments to complete my layout.

Interested in the products I used? For your convenience, products that are still available are linked to multiple shops below. Lists may contain affiliate links where possible at no additional cost to you. When you click on my links and make a purchase, I earn a small percentage of the sale. This helps me to keep creating and maintaining this website. Even though I design for several companies, I still purchase many supplies on my own. I do receive some free products to work with, and I sometimes make money for the projects I make. I DO NOT get paid for product reviews, I give my honest opinion about the products I use, and I will never recommend a product that I do not like or would not use. Affiliate and product disclosure and privacy policy can be found here.

October 12, 2022

Homecoming Scrapbook Layout

 Hello! Today I am sharing a layout I created using a photo of my daughter from homecoming this year.


Some of the products I have used in this post have been provided to me by various companies. The opinions I share are solely my own. Affiliate links may be used where possible at no cost to you. However, I do earn a small commission when you click on my link and make a purchase from them. Thank you, and I appreciate your support!

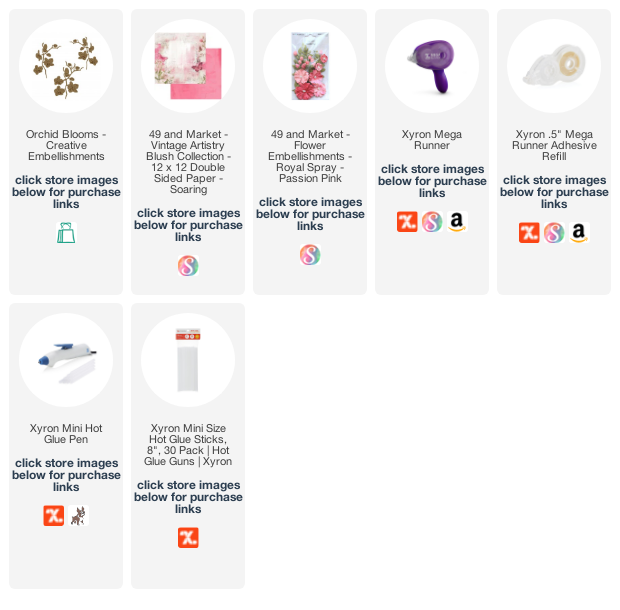
I first started with one of the papers from 49 and Market Vintage Artistry Mini Blush Collection and added a torn black and pink strips to the middle. I then used the Creative Embellishments Orchid Blooms chipboard pieces. I pressed them into a VermaMark Ink pad, poured some glitter black embossing powder on them, and heat set them.

Three flower pieces come in this flower set. I used two on the right side of the photo and tucked them under the flower clusters. I used the third one on the left side of the photo but cut a few sections off it and tucked the pieces under the flower cluster. I used 49 and Market Royal Spray in Passion Pink for the flower clusters.

I love the little sentiment cards and butterflies on the laser cut sheet included in the 49 and Market Vintage Artistry Mini Blush Collection.


Interested in the products I used? For your convenience, products that are still available are linked to multiple shops below. Lists may contain affiliate links where possible at no additional cost to you. When you click on my links and make a purchase, I earn a small percentage of the sale. This helps me to be able to keep creating and maintaining this website. Even though I design for several companies, I still purchase many of my own supplies. However, I do receive some free products to work with, and I sometimes make money for the projects I make. I DO NOT get paid for product reviews, I give my honest opinion about the products I use, and I will never recommend a product that I do not like or would not use. Affiliate and product disclosure and privacy policy can be found here.
September 8, 2022

Large Halloween Tag

 Hello! Today I have a large Halloween tag that I made to share with you all.


Some of the products I have used in this post have been provided to me by various companies. The opinions I share are solely my own. Affiliate links may be used where possible at no cost to you. However, I do earn a small commission when you click on my link and make a purchase from them. Thank you, and I appreciate your support!

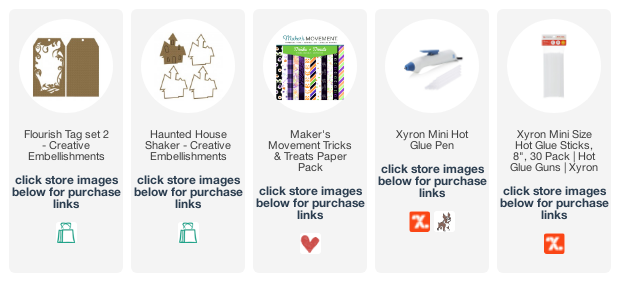
I used the large Creative Embellishments Flourish Tag Set 2 and added some spooky Halloween patterned paper to the back tag.  Then I sprayed the top flourish piece of the tag with some Walnut Spray to give it a distressed wood look and adhered to the back piece I adhered to the Halloween paper. I also sprayed all the layers of the Haunted House Shaker with walnut spray, adhered the layers together, and added some black star shaker sequins inside before adding the clear layer and last layer of the shaker.
Then I added some flowers and cheesecloth that I had sprayed black around the shaker piece and adhered it all together.


Interested in the products I used? For your convenience, products that are still available are linked to multiple shops below. Lists may contain affiliate links where possible at no additional cost to you. When you click on my links and make a purchase, I earn a small percentage of the sale. This helps me to be able to keep creating and maintaining this website. Even though I design for several companies, I still purchase many of my own supplies. However, I do receive some free products to work with, and I sometimes make money for the projects I make. I DO NOT get paid for product reviews, I give my honest opinion about the products I use, and I will never recommend a product that I do not like or would not use.
Affiliate and product disclosure and privacy policy can be found here.

August 26, 2022

Spooky Halloween Cards

 Hello! Today I am sharing some spooky or not-so-spooky Halloween cards I made.

Some of the products I have used in this post have been provided to me by various companies. The opinions I share are solely my own. Affiliate links may be used where possible at no cost to you. However, I do earn a small commission when you click on my link and make a purchase from them. Thank you, and I appreciate your support!

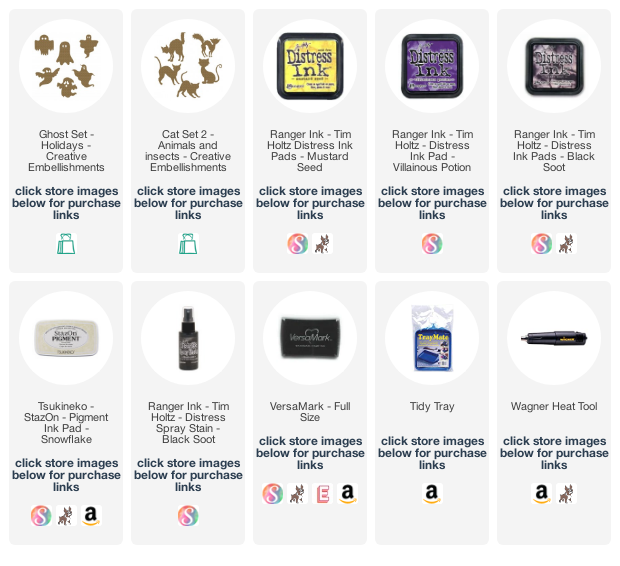
I started by creating the background for the cards. I used a smooshing technique by smooshing purple and yellow Distress Ink onto my craft mat and spraying them with water. Then smooshed a piece of white cardstock into the ink and water. Next, I embossed the background piece with a spider web embossing folder and ran StazOn Pigment Ink in Snowflake and Distress Ink in Black Soot over the raised embossed area. Then I flicked on some Distress Spray Stain in Black Soot to give it a slightly spatter look.

Then I heat embossed a Creative Embellishments Ghost with white sparkly embossing powder and adhered it over some black fish net in the center of the card front of one of the cards.

On the other card, I heat embossed a chipboard Creative Embellishment Cat with some black sparkly embossing powder and adhered it over some cheesecloth in the center of the card front.


Interested in the products I used? For your convenience, products that are still available are linked to multiple shops below. Lists may contain affiliate links where possible at no additional cost to you. Affiliate and product disclosure can be found here.
I design for several companies because I genuinely love their products! Anything I recommend on my blog is something that I genuinely love and regularly use. I buy most of my own supplies. However, I do receive some free products to work with, and I sometimes make money for the projects I make. I DO NOT get paid for product reviews, I give my honest opinion about the products I use, and I will never recommend a product that I do not like or would not use.

August 16, 2022

Foiled Chipboard Feather Cards

 Hello! Today I am sharing how I used transfer foil on chipboard pieces to create some pretty cards.

Some of the products I have used in this post have been provided to me by various companies. The opinions I share are solely my own. Affiliate links may be used where possible at no cost to you. However, I do earn a small commission when you click on my link and make a purchase from them. Thank you, and I appreciate your support!

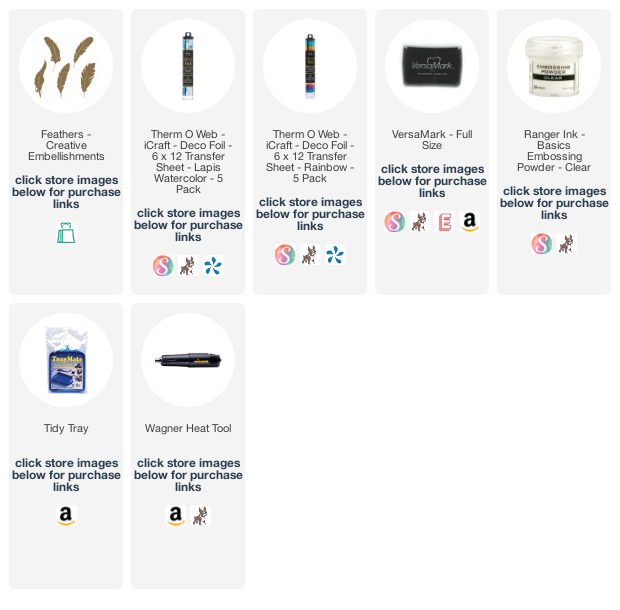
Using the Creative Embellishments Feathers, I added some VersaMark and then heat embossed them with clear embossing powder. Next, I used some Deco Foil in Lapis Watercolor and Rainbow, making sure the dull white side was facing the feathers and that the pretty foil side was facing away from them and then ran them through a laminate machine. The laminate machine remelts the embossing powder making the foil stick to the chipboard creating beautiful foiled chipboard pieces.

Then I adhered the feathers to a card front, foiled some sentiments, and my cards were done. This was a fun and different way to embellish chipboard.


Interested in the products I used? For your convenience, products that are still available are linked to multiple shops below. Lists may contain affiliate links where possible at no additional cost to you whatsoever. Affiliate and product disclosure can be found here.
I design for several companies because I genuinely love their products! Anything I recommend on my blog is something that I genuinely love and regularly use. I buy most of my own supplies. However, I do receive some free products to work with, and I sometimes make money for the projects I make. I DO NOT get paid for product reviews, I give my honest opinion about the products I use, and I will never recommend a product that I do not like or would not use.

August 13, 2022

Softball Scrapbook Layout

 Hello! Today I am sharing a softball scrapbook layout of my daughter.

Some of the products I have used in this post have been provided to me by various companies. The opinions I share are solely my own. Affiliate links may be used where possible at no cost to you. However, I do earn a small commission when you click on my link and make a purchase from them. Thank you, and I appreciate your support!

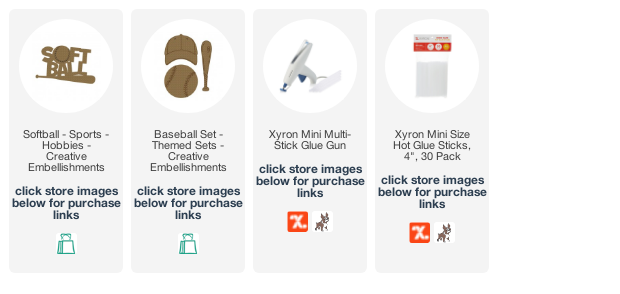
I used the ball and bat chipboard pieces from the Creative Embellishments Baseball Set and painted them with some acrylic paint. To get the lacing on the ball I used a red acrylic paint pen.

I used the Creative Embellishments Softball title and also painted it with acrylic paints and did the same thing with the acrylic paint pen on the lacing on the ball.

Interested in the products I used? For your convenience, products that are still available are linked to multiple shops below. Lists may contain affiliate links where possible at no additional cost to you whatsoever. Affiliate and product disclosure can be found here.
I design for several companies because I genuinely love their products! Anything I recommend on my blog is something that I genuinely love and regularly use. I buy most of my own supplies. However, I do receive some free products to work with, and I sometimes make money for the projects I make. I DO NOT get paid for product reviews, I give my honest opinion about the products I use, and I will never recommend a product that I do not like or would not use.

July 11, 2022

School Picture Scrapbook Layout

My daughter just finished 10th grade, so before she started 11th grade I thought maybe I should get her 10th grade school photo scrapped first.

Some of the products I have used in this post have been provided to me by various companies. The opinions I share are solely my own. Affiliate links may be used where possible at no cost to you. However, I do earn a small commission when you click on my link and make a purchase from them. Thank you, and I appreciate your support!

I used the Creative Embellishments School Rules ruler and left it natural just like the wood rulers and tucked it under the photo. The ruler actually says school rules on it but I decided to hide that part since my daughter doesn't really think it rules... lol
I also used a few Creative Embellishments Paper Clips and used some metallic silver ink on them and slide them over some of the papers. I really love these paper clips and they can be used on pretty much any kind of layout as accent pieces.

I also added a pretty flower cluster using flowers from 49 & Market to make the layout a little more girly. The paper is from the 49 & Market Old School Collection.


June 21, 2022

4th of July Mixed Media Tag

It is hard to believe it is almost the 4th of July already. Seems like this year just started. So in honor of the 4th, I decided to create a 4th of July mixed media tag.

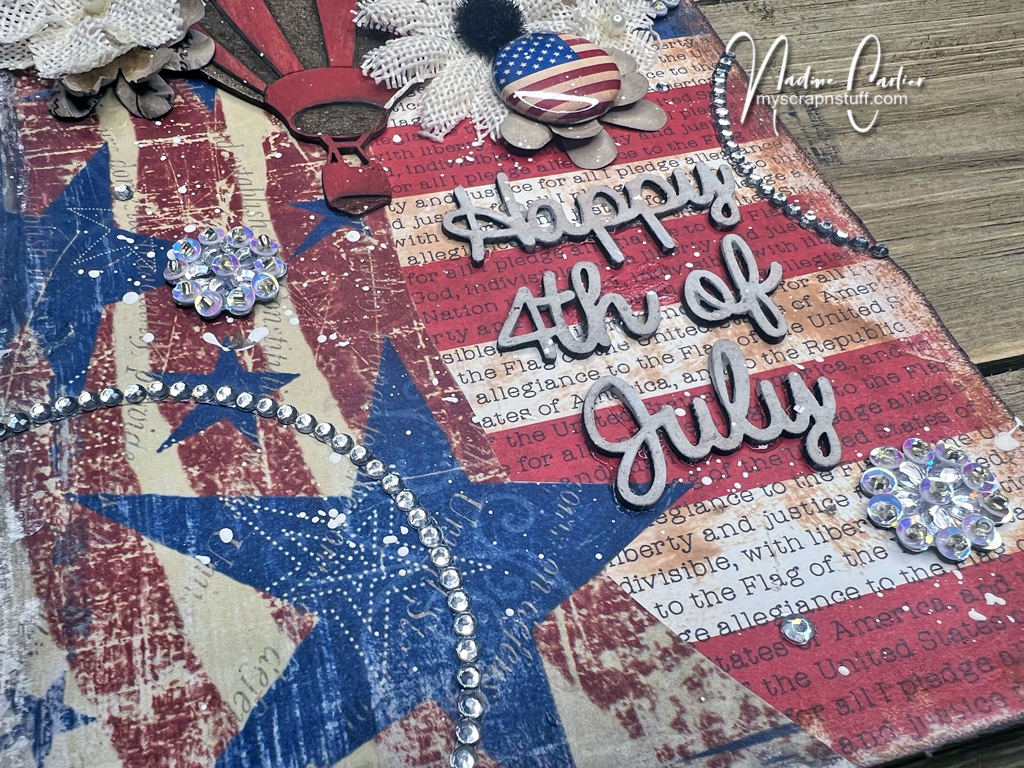
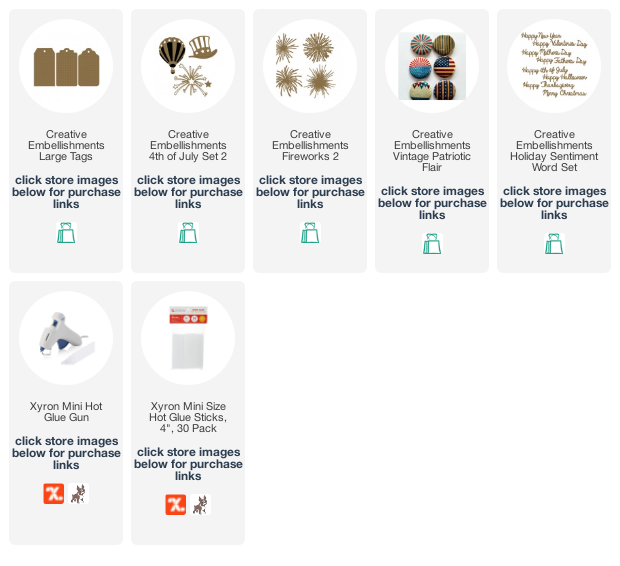
I used one of the Large Chipboard Tags from Creative Embellishments and adhered some patterned paper onto it and sanded the edges to distress it a little. Then I painted the hot air balloon from the Creative Embellishments Summer 4th of July Set 2 with a thin layer of blue and red acrylic paint. I also painted one of the Creative Embellishments Fireworks 2 with a thin layer of white acrylic paint.

I adhered the firework and hot air balloon with some flowers to the front of the tag with Xyron Mini Glue Gun. I also added one of the flairs from the Creative Embellishments Vintage Patriotic Flair Set. Lastly, I painted the Happy 4th of July sentiment from the Creative Embellishments Holiday Sentiment Word Set with white acrylic paint.

Interested in the products I used? Products that are still available are linked to multiple shops below, for your convenience. Lists may contain affiliate links where possible at no cost to you, whatsoever. Affiliate and product disclosure can be found here.
I design for several companies because I genuinely love their products! Anything I recommend on my blog is something that I genuinely love and regularly use. I buy most of my own supplies. However, I do receive some free products to work with, and I sometimes make money for the projects I make. I DO NOT get paid for product reviews, I give my honest opinion about the products I use, and I will never recommend a product that I do not like or would not use.