Showing posts with label Designer Crafts Connection. Show all posts

September 14, 2022

Never Lose Hope Card

Hello! Today I am sharing a pretty card reminding a friend to never lose hope.

Some of the products I have used in this post have been provided to me by various companies. The opinions I share are solely my own. Affiliate links may be used where possible at no cost to you. However, I do earn a small commission when you click on my link and make a purchase from them. Thank you, and I appreciate your support!

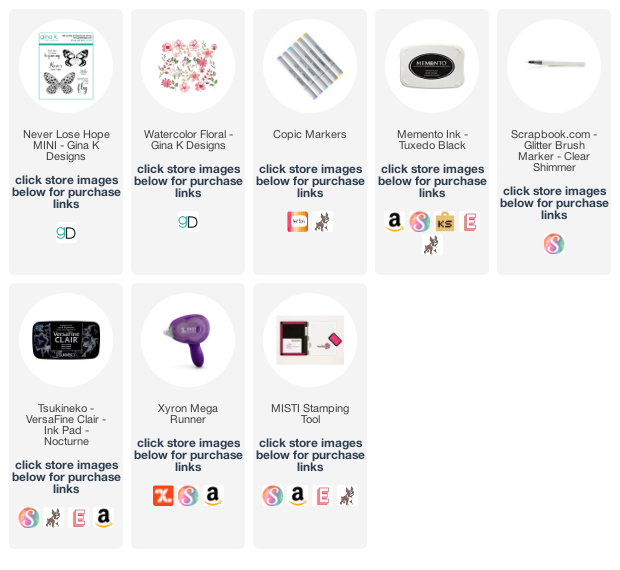
I first found some scrap patterned paper, matted it with some black cardstock, and adhered it to my card front. Then die cut out a diamond in white and another slightly bigger in black and adhered them to the center of my card.


Then using the Gina K. Designs Watercolor Floral Ephemera Pack to make a pretty flower cluster. Above the flower cluster, I stamped the Never Lose Hope sentiment from Gina K. Designs Never Lose Hope Mini Stamp Set.


I also stamped one of the butterflies from the Gina K. Designs Never Lose Hope Mini Stamp Set and colored it with some pink Copic Markers. Then added some sparkle by coloring it with a glitter brush marker.


Want more inspiration using Gina K. Design products? Visit the Designer Crafts Connection Blog Post to see what their other designers have created.


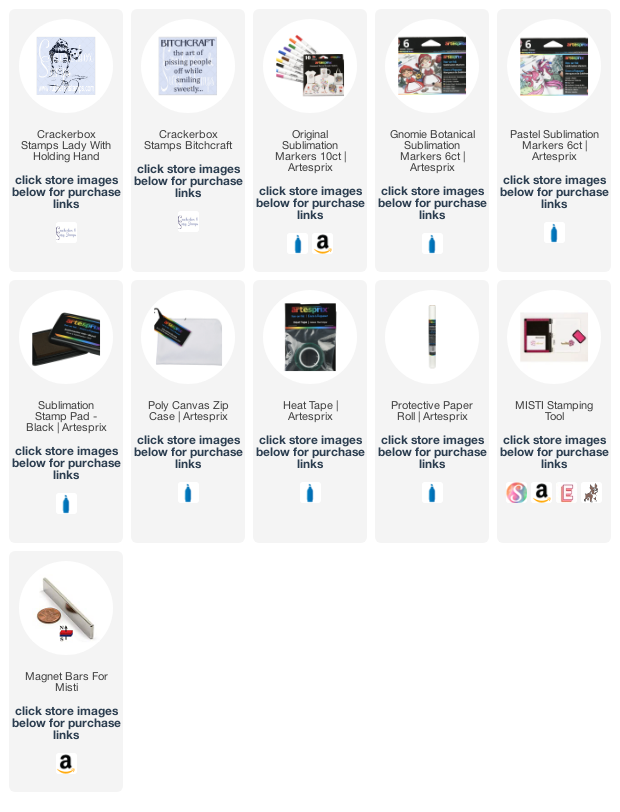
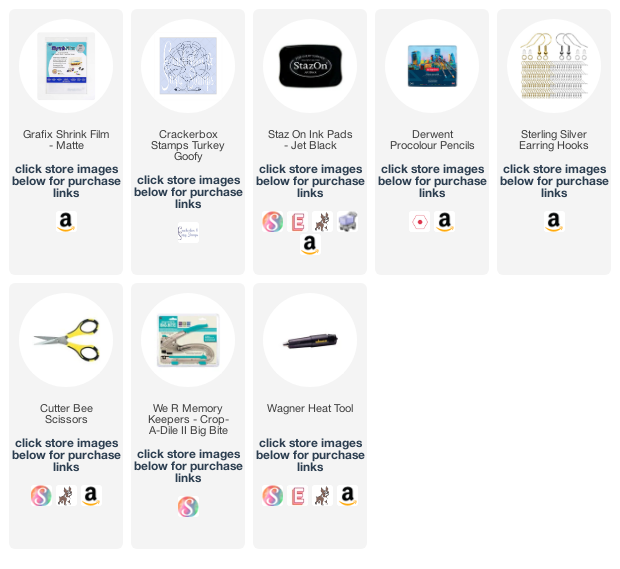
Interested in the products I used? For your convenience, products that are still available are linked to multiple shops below. Lists may contain affiliate links where possible at no additional cost to you. When you click on my links and make a purchase, I earn a small percentage of the sale. This helps me to be able to keep creating and maintaining this website. Even though I design for several companies, I still purchase many of my own supplies. However, I do receive some free products to work with, and I sometimes make money for the projects I make. I DO NOT get paid for product reviews, I give my honest opinion about the products I use, and I will never recommend a product that I do not like or would not use.
Affiliate and product disclosure and privacy policy can be found here.

December 8, 2021

DIY Rainbow Wall Hanger

 Hello! Today I am sharing a girly rainbow wall hanger that would be a great decoration for a little girl's room.

Some of the products I have used in this post have been provided to me by various companies. The opinions I share are solely my own. Affiliate links may be used where possible at no cost to you. However, I do earn a small commission when you click on my links and make a purchase from them. Thank you, and I appreciate your support!

I love the rainbow colors of the Gwen Studios Solid & Polka Dot Grosgrain Ribbon. I cut a strip of each ribbon and adhered each one on using the Xyron Mini Multistick Glue Gun.


Then I adhered on the Gwen Studios Rainbow Sequin Unicorn Patch to the top center of the wall hanger. Then added some Gwen Studios Gold Star Patches and Gwen Studios Rainbow Patches onto some of the ribbons hanging down.

Interested in the products I used? Products that are still available are linked to multiple shops below, for your convenience.
Lists may contain affiliate links where possible at no cost to you, what so ever. Affiliate and product disclosure can be found here.
I design for several companies because I genuinely love their products! Anything I recommend on my blog is something that I genuinely love and regularly use. I buy most of my own supplies. However, I do receive some free products to work with, and I sometimes make money for the projects I make. I DO NOT get paid for product reviews, I give my honest opinion about the products I use, and I will never recommend a product that I do not like or would not use.

December 2, 2021

Artesprix Blog Hop With Designer Crafts Connection

 Hello, crafty friends! Today I am sharing how to do a sublimation transfer onto canvas. This would make a great gift for your craft friends or anyone since you can customize the canvas bag using any kind of stamp image.

Some of the products I have used in this post have been provided to me by various companies. The opinions I share are solely my own. Affiliate links may be used where possible at no cost to you. However, I do earn a small commission when you click on my links and make a purchase from them. Thank you, and I appreciate your support!

I know many of us have a lot of stamps that we do not use. Using them as a sublimation transfer onto canvas is a fun and different way to use them. All of the sublimation products I used are from Artesprix. The snarky stamps are from Crackerbox Stamps.
Below is a video tutorial showing exactly how I created my project.
Make sure to subscribe to my YouTube channel and click the bell so you will get updates when I post a new video.


My close-up photos below show how well the images transferred onto the canvas.


Want more inspiration using Artesprix products? Visit the Designer Crafts Connection Blog Post to see what their other designers have created.

Interested in the products I used? Products that are still available are linked to multiple shops below, for your convenience.
Lists may contain affiliate links where possible at no cost to you, what so ever. Affiliate and product disclosure can be found here.
I design for several companies because I genuinely love their products! Anything I recommend on my blog is something that I genuinely love and regularly use. I buy most of my own supplies. However, I do receive some free products to work with, and I sometimes make money for the projects I make. I DO NOT get paid for product reviews, I give my honest opinion about the products I use, and I will never recommend a product that I do not like or would not use.

November 11, 2021

Kunin Felt Christmas Craft Idea

 Hello! Today I am sharing a cute way to decorate a sanitizer or soap bottle. These would make great gifts too for a teacher or anyone really.

Some of the products I have used in this post have been provided to me by various companies. The opinions I share are solely my own. Affiliate links may be used where possible at no cost to you. However, I do earn a small commission when you click on my links and make a purchase from them. Thank you, and I appreciate your support!

To create the Santa suit on the bottle I used Kunin Felts and the Xyron Mini Hot Glue Pen. First, I cut a strip of red felt and measured it to fit around the bottle, and added hot glue to adhere it to the bottle.

Some fun facts about Kunin Felt:

1. Kunin Felt Brand is manufactured in the US from recycled plastic bottles reclaimed from landfills. It takes 10 bottles to make a pound of fiber.
2. Kunin Felt comes in two weights, Classic and Premium. Craft cuts 9” by 12”, 12” by 18” and by the yard.
3. Kunin Felt is fade and weather resistant. Great for outdoor crafts too.
4. Kunin Felt can be purchased at Michael's (under the Creatology Brand), JoAnn, Walmart, Hobby Lobby, Fabric.com, and Amazon.

 I repeated the same thing with a strip of black and two strips of white felt. For the belt buckle, I used two small square dies to cut the buckle from yellow felt.

For the buttons on the Santa suit, I used some Nuvo Crystal Drops in Ebony Black.

Then I added a cute little tag and wrote "Hand Santa-itzer" on it.


Want more inspiration using Grafix products? Visit the Designer Crafts Connection Blog Post to see what their other designers have created.

Interested in the products I used? Products that are still available are linked to multiple shops below, for your convenience.
Lists may contain affiliate links where possible at no cost to you, what so ever. Affiliate and product disclosure can be found here.
I design for several companies because I genuinely love their products! Anything I recommend on my blog is something that I genuinely love and regularly use. I buy most of my own supplies. However, I do receive some free products to work with, and I sometimes make money for the projects I make. I DO NOT get paid for product reviews, I give my honest opinion about the products I use, and I will never recommend a product that I do not like or would not use.

October 14, 2021

Turkey Earrings With Grafix Shrink Film

Do you like to wear fun earrings for the holidays? I always see them in the stores for Halloween and Christmas but not sure I have ever seen any for Thanksgiving. So I made some!

Some of the products I have used in this post have been provided to me by various companies. The opinions I share are solely my own. Affiliate links may be used where possible at no cost to you. However, I do earn a small commission when you click on my links and make a purchase from them. Thank you, and I appreciate your support!

I thought the Crackerbox Stamps Turkey Goofy was so cute and that he would make adorable earrings. So using StazOn Ink in Jet Black, I stamped the turkey twice on a sheet of Grafix Shrink Film in Matte.


Then, I colored the turkeys in with Derwent Procolour Pencils and then fussy cut them out. You will get a richer color with pencils once it's shrunk than you will with markers.

After I fussy cut them out, I then punched a small hole in the top of the turkey. *Make sure to punch the hole BEFORE shrinking.

Next, using my heat tool, I shrunk the turkeys. I used a stick to hold the turkey while shrinking and as it shrinks it will curl all up but will flatten back out once it shrinks down to size. To make sure it is good and flat, while it is still hot place something flat on the top as it cools.

The photo below shows how much they shrunk from the original stamp size.


and here my daughter is being my model wearing the cute turkey earrings.


Shrink films are so much fun and easy to do. Grafix has several different types too. I wanted more of a solid base so I went with the matte but could of also probably used the white.

Want more inspiration using Grafix products? Visit the Designer Crafts Connection Blog Post to see what their other designers have created.

Interested in the products I used? Products that are still available are linked to multiple shops below, for your convenience.
Lists may contain affiliate links where possible at no cost to you, what so ever. Affiliate and product disclosure can be found here.
I design for several companies because I genuinely love their products! Anything I recommend on my blog is something that I genuinely love and regularly use. I buy most of my own supplies. However, I do receive some free products to work with, and I sometimes make money for the projects I make. I DO NOT get paid for product reviews, I give my honest opinion about the products I use, and I will never recommend a product that I do not like or would not use.

September 16, 2021

Super Cute Self Binding Accordion Mini Album

Hello! Today I am sharing a cute self-binding accordion mini album that I made using i-Crafter dies.


Some of the products I have used in this post have been provided to me by various companies. The opinions I share are solely my own. Affiliate links may be used where possible at no cost to you. However, I do earn a small commission when you click on my links and make a purchase from them. Thank you, and I appreciate your support!

First I assembled the mini-album by using the following dies from i-Crafter:


After assembling the album, I then added a ribbon to the front and back of the album using the Xyron Mega Runner.


Then I used the i-Crafter Water Lily, 3D Dimensional Embossing Folder By Lynda Kanase, and added them to the front and back covers.


This really was an easy album to make. It was just a little time-consuming to adhere all the little die cuts down but using my Xyron Disposable Sticker Maker really helped speed things up by adding adhesive to all of the little die cuts at once.


After adding adhesive to all the die cuts, I then started decorating all the pages with them.
The dies I used from i-Crafters were:
Alphabet, Haley Outline
Animalopes
Love Bugs


Several of the designers from Designer Crafts Connection also received fun products from i-Crafters and have created even more inspiration.

Visit the Designer Crafts Connection blog post HERE for the list of designers and to see what they created.

Interested in the products I used? Products that are still available are linked to multiple shops below, for your convenience.
Lists may contain affiliate links where possible at no cost to you, what so ever. Affiliate and product disclosure can be found here.
I design for several companies because I genuinely love their products! Anything I recommend on my blog is something that I genuinely love and regularly use. I buy most of my own supplies. However, I do receive some free products to work with, and I sometimes make money for the projects I make. I DO NOT get paid for product reviews, I give my honest opinion about the products I use, and I will never recommend a product that I do not like or would not use.