Showing posts with label Easter. Show all posts

March 23, 2023

Simple and Sweet Easter Card

 Hello! Today I am sharing a simple and sweet Easter Spring card.

Some of the products I have used in this post have been provided to me by various companies. The opinions I share are solely my own. Affiliate links may be used where possible at no cost to you. However, I will earn a small commission when you click on my link and purchase from them. Thank you, and I appreciate your support!

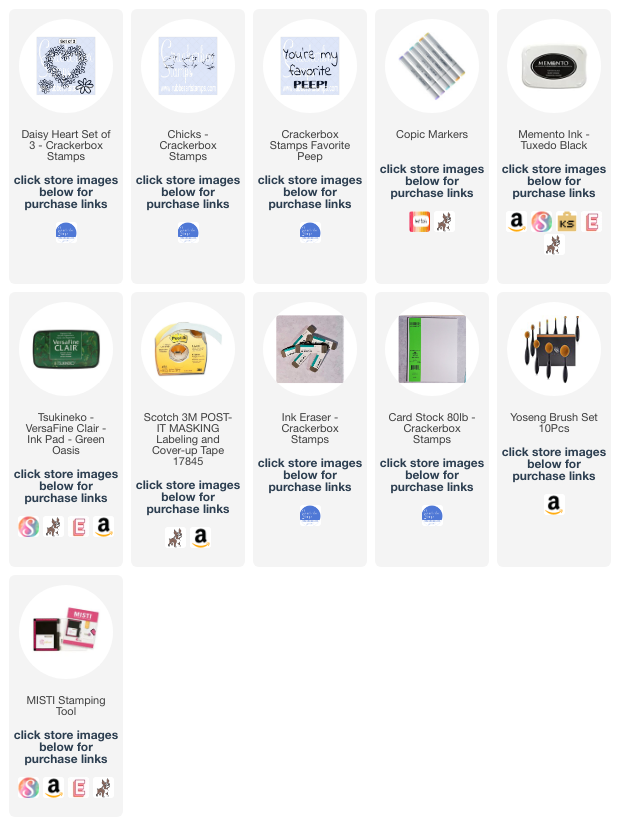
I started by creating the grass on the bottom of my card using a piece of mask tape and then using an ink blending brush to blend some VersaFine Clair Green Oasis. Then using the little flowers from the Crackerbox Stamps Daisy Heart Flower Set, I randomly stamped the flowers with the same color ink over the ink blended area.


Next, I removed the mask tape and stamped the Crackerbox Stamps Chicks and the Crackerbox Stamps Favorite Peep sentiment. Then colored the chicks with a yellow Copic Marker, matted my card front with yellow cardstock, and adhered it to my card base. Easy Peasy!
NOTE: When I removed the mask tape, I accidentally got some ink on my finger and then touched the white part of my card, leaving a fingerprint. Luckily I did not have to start all over. Instead, I used my Ink Eraser and erased it. Phew, I was saved!

Interested in the products I used? For your convenience, products that are still available are linked to multiple shops below. Lists may contain affiliate links where possible at no additional cost to you. When you click on my links and make a purchase, I earn a small percentage of the sale. This helps me to keep creating and maintaining this website. Even though I design for several companies, I still purchase many supplies on my own. I do receive some free products to work with, and I sometimes make money for the projects I make. I DO NOT get paid for product reviews, I give my honest opinion about the products I use, and I will never recommend a product that I do not like or would not use. Affiliate and product disclosure and privacy policy can be found here.
March 19, 2023

Chocolate Bunny Easter Card

 Hello! Today I have a funny chocolate bunny Easter card to share with you.

Some of the products I have used in this post have been provided to me by various companies. The opinions I share are solely my own. Affiliate links may be used where possible at no cost to you. However, I will earn a small commission when you click on my link and purchase from them. Thank you, and I appreciate your support!

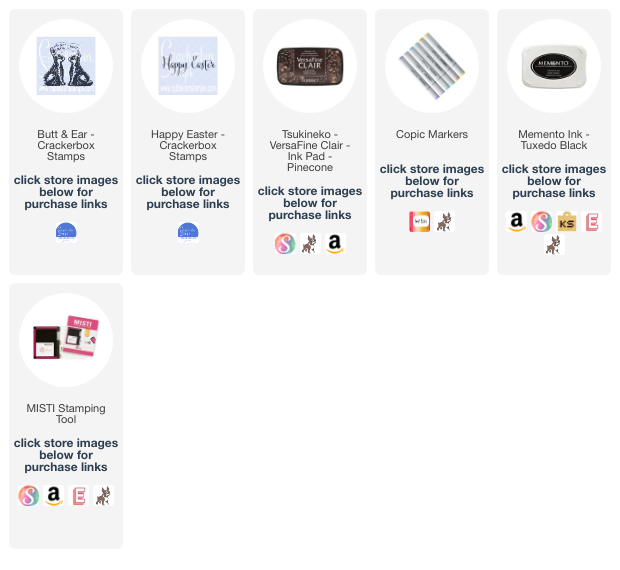
This was such a simple card to make! I stamped the Crackerbox Stamps Bunny Butt & Ear stamp with some VersaFine Clair in Pinecone and colored them in with a brown Copic Marker. Then stamped the Crackerbox Stamps Happy Easter sentiment with the VersaFine Clair in Pinecone.

Interested in the products I used? For your convenience, products that are still available are linked to multiple shops below. Lists may contain affiliate links where possible at no additional cost to you. When you click on my links and make a purchase, I earn a small percentage of the sale. This helps me to keep creating and maintaining this website. Even though I design for several companies, I still purchase many supplies on my own. I do receive some free products to work with, and I sometimes make money for the projects I make. I DO NOT get paid for product reviews, I give my honest opinion about the products I use, and I will never recommend a product that I do not like or would not use. Affiliate and product disclosure and privacy policy can be found here.

March 8, 2023

Easter Peep Card

 Hello! Today I am sharing an Easter Peep card with you that I made.

Some of the products I have used in this post have been provided to me by various companies. The opinions I share are solely my own. Affiliate links may be used where possible at no cost to you. However, I will earn a small commission when you click on my link and purchase from them. Thank you, and I appreciate your support!

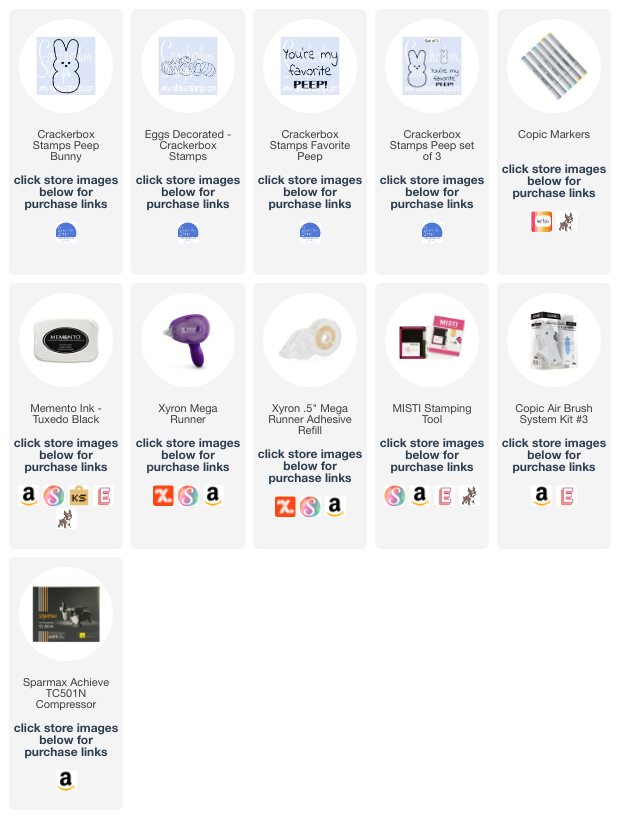
I stamped the Crackerbox Stamps Peep Bunny 3 different times and colored them by airbrushing them with Copic Markers. I stamped the Crackerbox Stamps Eggs Decorated and colored them with Copic Markers. Then I fussy cut the Peeps & Eggs out. I stamped the Crackerbox Stamps Favorite Peep stamp for the sentiment and used a die cut to cut it out. For the grass, I cut into some green cardstock creating a bunch of thin strips, but the part I tucked under the sentiment I did not cut, so they were all still attached. I then adhered everything together using my Xyron Mega Runner.

Interested in the products I used? For your convenience, products that are still available are linked to multiple shops below. Lists may contain affiliate links where possible at no additional cost to you. When you click on my links and make a purchase, I earn a small percentage of the sale. This helps me to keep creating and maintaining this website. Even though I design for several companies, I still purchase many supplies on my own. I do receive some free products to work with, and I sometimes make money for the projects I make. I DO NOT get paid for product reviews, I give my honest opinion about the products I use, and I will never recommend a product that I do not like or would not use. Affiliate and product disclosure and privacy policy can be found here.

February 24, 2023

Do I Smell Jellybeans Easter Bunny Card

 Hello, today I am sharing a cute Easter Bunny card I made.

Some of the products I have used in this post have been provided to me by various companies. The opinions I share are solely my own. Affiliate links may be used where possible at no cost to you. However, I will earn a small commission when you click on my link and purchase from them. Thank you, and I appreciate your support!

I created the card base using some pink cardstock and folding the top corner down of the card. I then adhered some patterned paper to the folded-down corner and the card front. Then adhered the folded corner down. On the inside of my card, I adhered some white cardstock. I stamped the Crackerbox Stamps Smell Jellybeans sentiment on the inside of the card on the white cardstock, so it showed above the folded-down corner. 


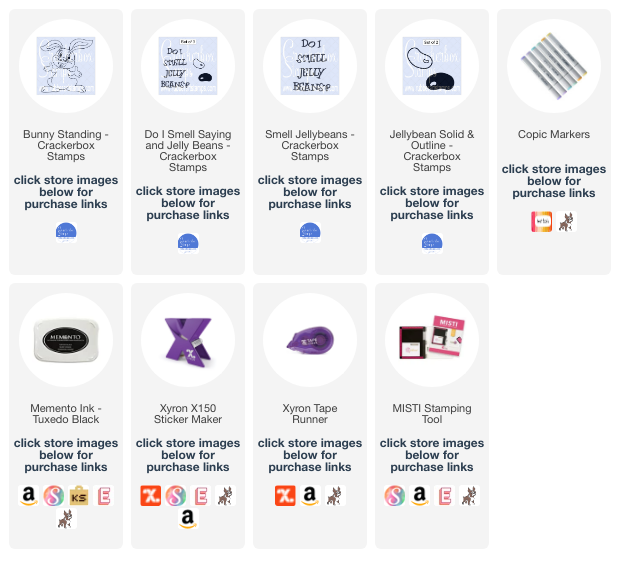
Then I stamped the solid Crackerbox Stamps Jellybeans in several different ink colors on white cardstock and fussy cut them out. I stamped and colored the Crackerbox Stamps Bunny Standing with Copic Markers, fussy cut him out, and then adhered the Jellybeans and Bunny to the front of my card.


Interested in the products I used? For your convenience, products that are still available are linked to multiple shops below. Lists may contain affiliate links where possible at no additional cost to you. When you click on my links and make a purchase, I earn a small percentage of the sale. This helps me to keep creating and maintaining this website. Even though I design for several companies, I still purchase many supplies on my own. I do receive some free products to work with, and I sometimes make money for the projects I make. I DO NOT get paid for product reviews, I give my honest opinion about the products I use, and I will never recommend a product that I do not like or would not use. Affiliate and product disclosure and privacy policy can be found here.

April 15, 2022

Lily Easter Card

 Hello friends! Today I would like to share a monochromatic lily Easter card I made. Just in time for Easter!

Some of the products I have used in this post have been provided to me by various companies. The opinions I share are solely my own. Affiliate links may be used where possible at no cost to you. However, I do earn a small commission when you click on my link and make a purchase from them. Thank you, and I appreciate your support!

To create the background for my card, I first started with a 2" strip of white cardstock and then ink blended a light purple ink over the entire piece.

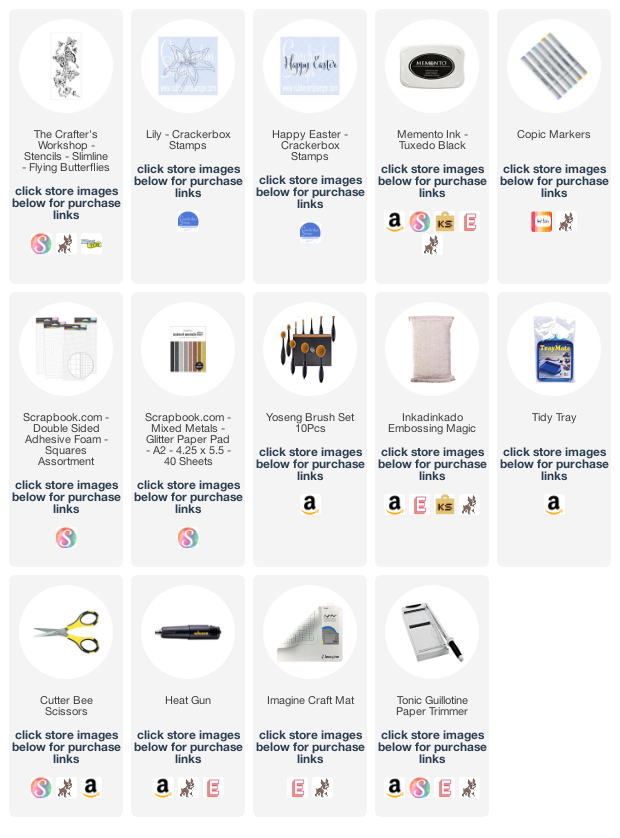
Next, I used The Crafter's Workshop TCW2318 Flying Butterflies Slimline Stencil with a slightly darker purple ink and after the lighter ink was fully dried, I ink blended the butterflies with blending brushes over the lighter purple. Then sprinkled some clear embossing powder over the stenciled area and heat embossed it to give the butterflies a shiny appearance.

Then on the front of the white card base on one side, I repeated the same thing with the butterfly stencil. Then I adhered the first strip I made onto the front of the card base on one side and added a thin strip of glitter paper. Stamped the Crackerbox Stamp Lily stamp several times on some white cardstock and colored them in with Copic Markers and fussy cut them out. 


Then added the lilies to the front and also stamped and added the Crackerbox Stamps Happy Easter sentiment to the front and some sequins and then my card was done.


Interested in the products I used? Products that are still available are linked to multiple shops below, for your convenience. Lists may contain affiliate links where possible at no cost to you, whatsoever. Affiliate and product disclosure can be found here.
I design for several companies because I genuinely love their products! Anything I recommend on my blog is something that I genuinely love and regularly use. I buy most of my own supplies. However, I do receive some free products to work with, and I sometimes make money for the projects I make. I DO NOT get paid for product reviews, I give my honest opinion about the products I use, and I will never recommend a product that I do not like or would not use.

March 31, 2022

Not Your Typical Easter Card

 Hello! Today I am sharing an Easter card that is not your typical Easter card.

Some of the products I have used in this post have been provided to me by various companies. The opinions I share are solely my own. Affiliate links may be used where possible at no cost to you. However, I do earn a small commission when you click on my link and make a purchase from them. Thank you, and I appreciate your support!

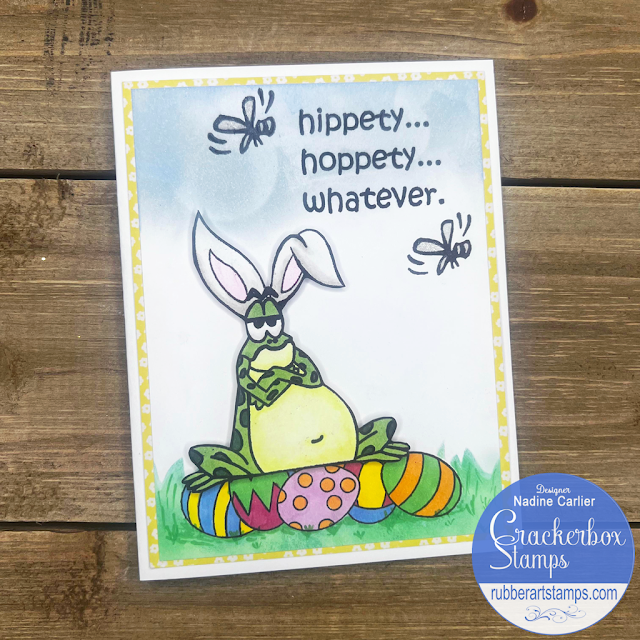
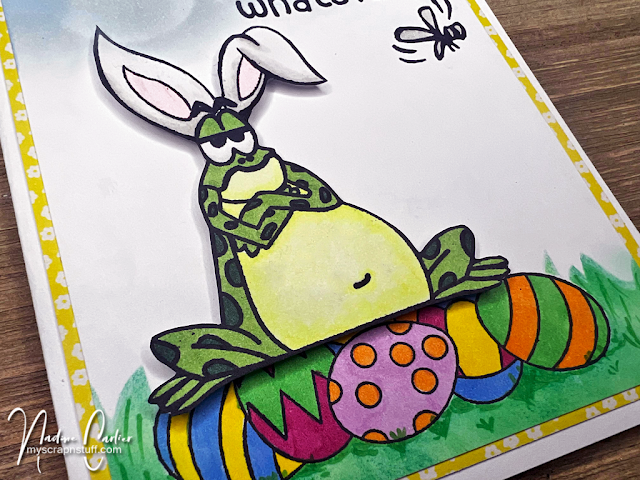
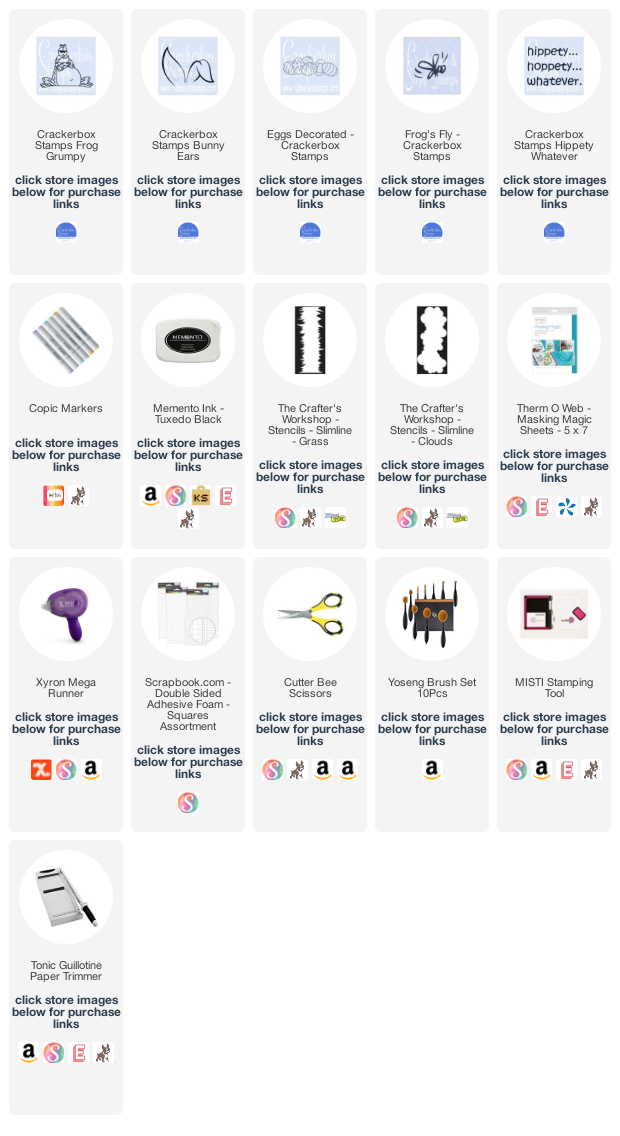
I love this Crackerbox Stamps Frog Grumpy Stamp I used, he kinda has a little bit of an attitude. I first stamped him on white cardstock and then stamped him again on some masking paper. Then I fussy cut out the image from the masking paper and laid it over the cardstock stamped image. Then took the Crackerbox Stamps Bunny Ears Stamp and stamped over the masked image so it looks like the frog is wearing the ears. Then I colored the image with Copic markers and fussy cut it out.
On another piece of white cardstock, I stamped the Crackerbox Stamps Eggs Decorated Stamp and colored them in with Copics. Around the eggs, I used a stencil and ink to create some grass. Then I attached the frog on top of the eggs using foam squares.

Next, I stamped the sentiment Crackerbox Stamps Hippety Whatever Stamp and the Crackerbox Stamps Frog's Fly a couple of times around the sentiment. With a blending brush and ink and a stencil, I created a cloud look around the sentiment and top of the card front.


Interested in the products I used? Products that are still available are linked to multiple shops below, for your convenience. Lists may contain affiliate links where possible at no cost to you, whatsoever. Affiliate and product disclosure can be found here.
I design for several companies because I genuinely love their products! Anything I recommend on my blog is something that I genuinely love and regularly use. I buy most of my own supplies. However, I do receive some free products to work with, and I sometimes make money for the projects I make. I DO NOT get paid for product reviews, I give my honest opinion about the products I use, and I will never recommend a product that I do not like or would not use.

March 19, 2022

Easter Peep Card

 Hello! Today I am sharing an Easter Peep card that is perfect for your favorite peep.

Some of the products I have used in this post have been provided to me by various companies. The opinions I share are solely my own. Affiliate links may be used where possible at no cost to you. However, I do earn a small commission when you click on my link and make a purchase from them. Thank you, and I appreciate your support!

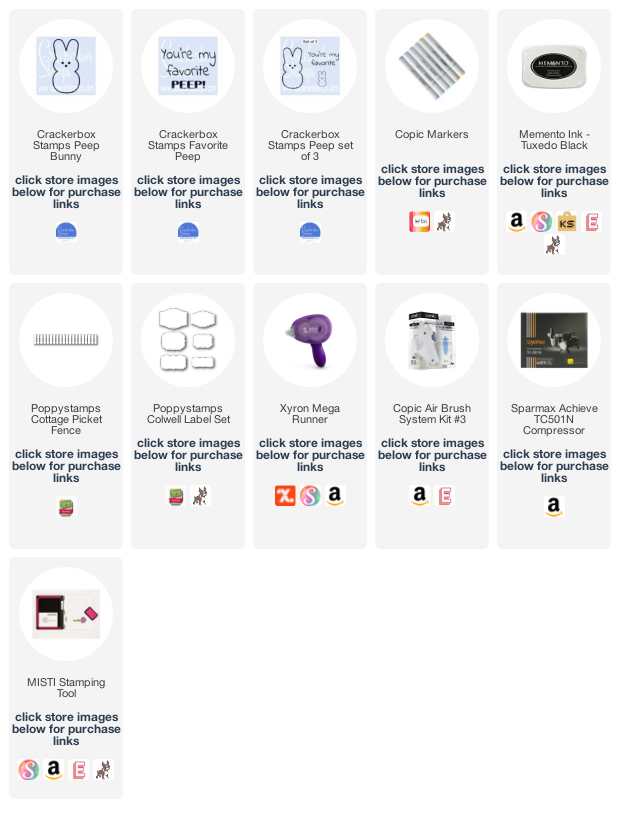
This really was a simple card to make. I stamped the Crackerbox Stamps Peep Bunny 3 times on white cardstock and spray airbrushed them with Copic Markers to give them a sugar look like real Peeps. Then I fussy cut them out and tucked them behind a cottage picket fence die cut. For the sentiment, I stamped the Crackerbox Stamps Favorite Peep stamp on a die cut label. For the background, I used some patterned paper that I had in my stash.


Interested in the products I used? Products that are still available are linked to multiple shops below, for your convenience. Lists may contain affiliate links where possible at no cost to you, whatsoever. Affiliate and product disclosure can be found here.
I design for several companies because I genuinely love their products! Anything I recommend on my blog is something that I genuinely love and regularly use. I buy most of my own supplies. However, I do receive some free products to work with, and I sometimes make money for the projects I make. I DO NOT get paid for product reviews, I give my honest opinion about the products I use, and I will never recommend a product that I do not like or would not use.

March 6, 2022

Easter Bunny Interactive Wobble Card

 Hello! Today I am sharing a cute Easter Bunny interactive wobble card.

Some of the products I have used in this post have been provided to me by various companies. The opinions I share are solely my own. Affiliate links may be used where possible at no cost to you. However, I do earn a small commission when you click on my link and make a purchase from them. Thank you, and I appreciate your support!

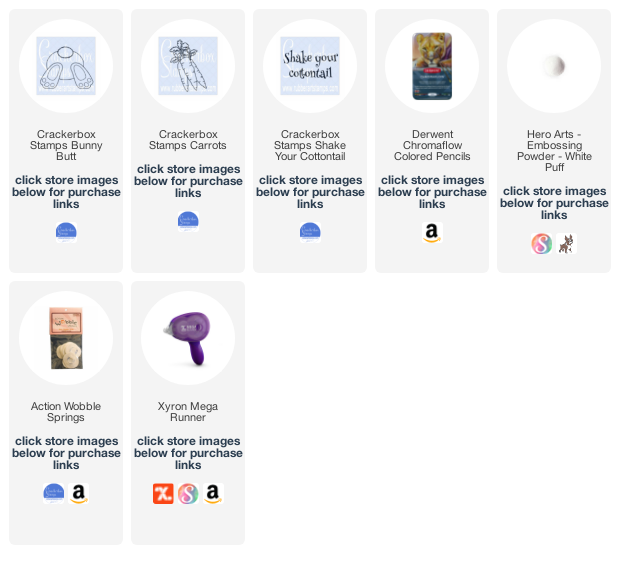
I colored the Crackerbox Stamps Bunny Butt stamp and Crackerbox Stamps Carrots stamp with Derwent Chromaflow Colored Pencils and then fussy cut them out. On a cream-colored piece of cardstock, I stamped the Crackerbox Stamps Shake Your Cottontail stamp. Then I attached the carrots and attached the Bunny Butt with an action wobble so he truly shakes his cottontail. I attached all the paper layers using my Xyron Mega Runner.

Watch the cute little bunny butt shake...

To create the texture on the bunny tail, I used some White Puff Embossing Powder.
Here is a closeup...

Interested in the products I used? Products that are still available are linked to multiple shops below, for your convenience. Lists may contain affiliate links where possible at no cost to you, whatsoever. Affiliate and product disclosure can be found here.
I design for several companies because I genuinely love their products! Anything I recommend on my blog is something that I genuinely love and regularly use. I buy most of my own supplies. However, I do receive some free products to work with, and I sometimes make money for the projects I make. I DO NOT get paid for product reviews, I give my honest opinion about the products I use, and I will never recommend a product that I do not like or would not use.

March 4, 2022

Easter Egg Card

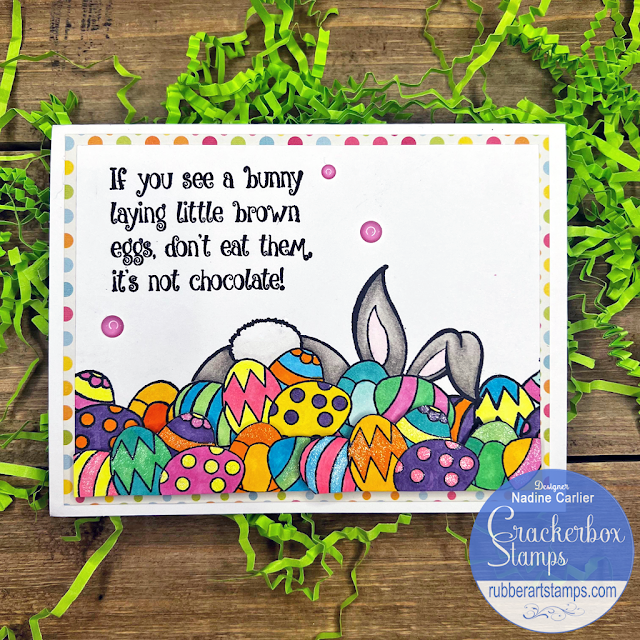
Hello, today I am sharing a cute Easter Egg card with a hidden bunny and funny sentiment.

Some of the products I have used in this post have been provided to me by various companies. The opinions I share are solely my own. Affiliate links may be used where possible at no cost to you. However, I do earn a small commission when you click on my link and make a purchase from them. Thank you, and I appreciate your support!

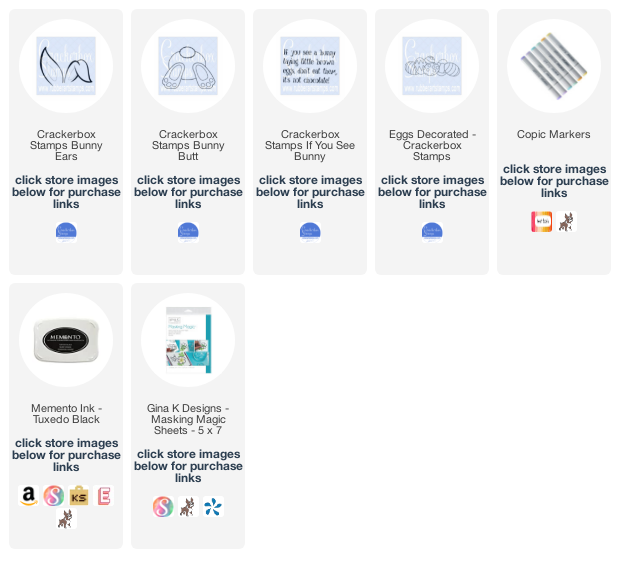
The first thing I did was stamp the Crackerbox Stamps Decorated Eggs stamp toward the bottom of the card front and in the middle. Then I stamped it again but on a piece of masking paper and then fussy cut out the eggs. Then stuck the cut out eggs over my previously stamped image making sure to line it up. Next, I stamped the Decorated Eggs again on either side of the masked area creating a line of eggs. Then on a separate piece of white cardstock, I stamped it two more times and fussy cut those two out.
Still keeping the masking paper piece in the same place, I then stamped the Crackerbox Stamps Bunny Butt and Bunny Ears so they were peeking over the eggs.
For the sentiment, I stamped the Crackerbox Stamps If You See Bunny in the top left corner. Then added the two decorated eggs I cut out with some 3D foam squares below the other eggs I had stamped to fill in the blank areas.


Then I had fun coloring everything in with my Copic Markers. I also added a sparkle to some of the eggs by using a glitter pen.

Interested in the products I used? Products that are still available are linked to multiple shops below, for your convenience. Lists may contain affiliate links where possible at no cost to you, whatsoever. Affiliate and product disclosure can be found here.
I design for several companies because I genuinely love their products! Anything I recommend on my blog is something that I genuinely love and regularly use. I buy most of my own supplies. However, I do receive some free products to work with, and I sometimes make money for the projects I make. I DO NOT get paid for product reviews, I give my honest opinion about the products I use, and I will never recommend a product that I do not like or would not use.

April 9, 2020

My Bunny Scrapbook Layout

Hello! Today I am sharing a scrapbook layout I created of my daughter when she was little with her favorite bunny that the Easter Bunny gave her.


Some of the products I have used have been provided to me from various companies I design for. The opinions I share are solely my own, and I only design for companies that I completely love their products. Affiliate links may be used where possible at no cost to you. However, I do earn a small commission when you click on my links and make a purchase from them. Thank you, and I appreciate your support!

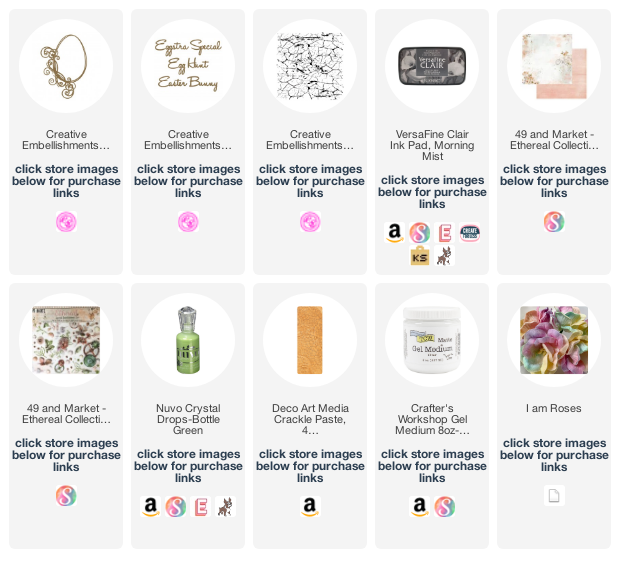
I started with a sheet of 49 and Market Daydream from the Ethereal Collection and then I used the Creative Embellishments Distressed Crackle Stamp with some VersaFine Clair Ink in Morning Mist and randomly stamped the background.


I then used some DecoArt Crackle Paste in white on the Creative Embellishments Easter Frame and on the word bunny from the Creative embellishments Egg Word Set. I cut a photo of my daughter to fit it the frame and adhered it to the back. Added a dollie and a bunch of I Am Roses flowers under and around the framed photo using The Crafter's Workshop Matte Gel Medium.


Then added some of the sticker embellishments from the 49 and Market Ethereal Layered Stickers and added some dots of the Nuvo Crystal Dots in Bottle Green.


Interested in the products I used? Products that are still available are linked to multiple shops below, for your convenience.
Lists may contain affiliate links where possible at no cost to you, what so ever. Affiliate and product disclosure can be found here.
I design for several companies because I genuinely love their products! Anything I recommend on my blog is something that I genuinely love and regularly use. I buy most of my own supplies. However, I do receive some free products to work with, and I sometimes make money for the projects I make. I DO NOT get paid for product reviews, I give my honest opinion about the products I use, and I will never recommend a product that I do not like or would not use.