Showing posts with label Mixed Media & Altered Projects. Show all posts

June 21, 2022

4th of July Mixed Media Tag

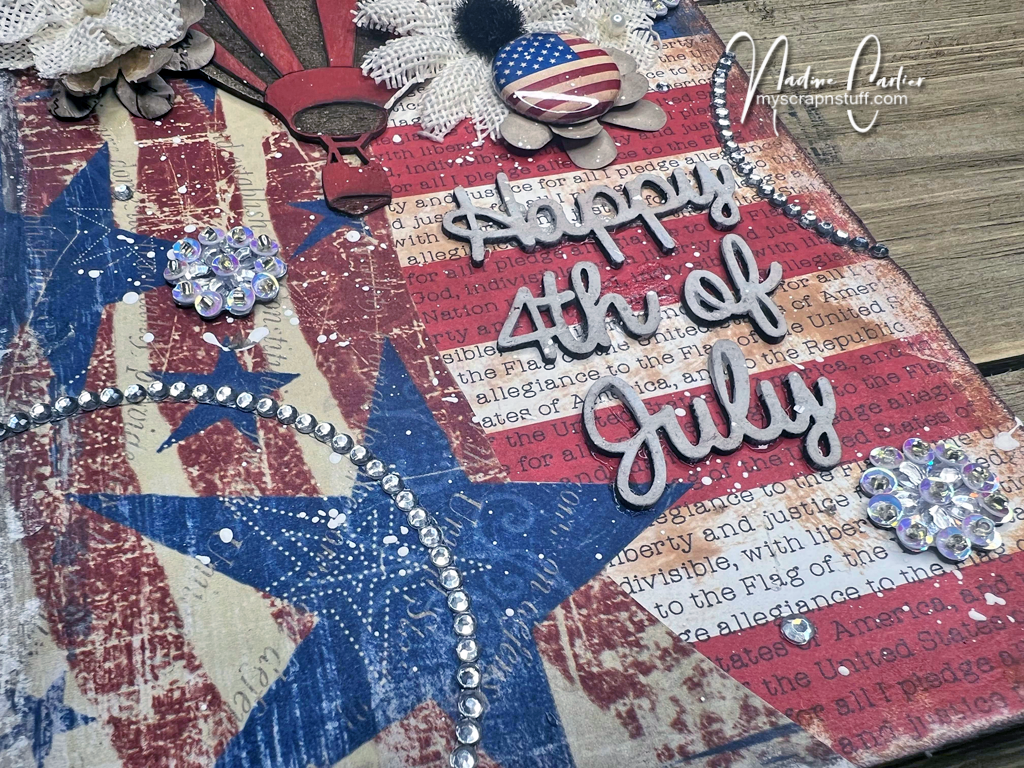
It is hard to believe it is almost the 4th of July already. Seems like this year just started. So in honor of the 4th, I decided to create a 4th of July mixed media tag.

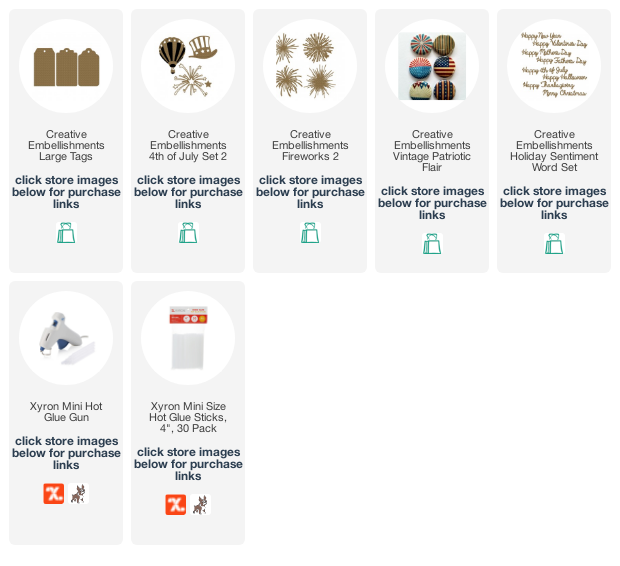
I used one of the Large Chipboard Tags from Creative Embellishments and adhered some patterned paper onto it and sanded the edges to distress it a little. Then I painted the hot air balloon from the Creative Embellishments Summer 4th of July Set 2 with a thin layer of blue and red acrylic paint. I also painted one of the Creative Embellishments Fireworks 2 with a thin layer of white acrylic paint.

I adhered the firework and hot air balloon with some flowers to the front of the tag with Xyron Mini Glue Gun. I also added one of the flairs from the Creative Embellishments Vintage Patriotic Flair Set. Lastly, I painted the Happy 4th of July sentiment from the Creative Embellishments Holiday Sentiment Word Set with white acrylic paint.
Interested in the products I used? Products that are still available are linked to multiple shops below, for your convenience. Lists may contain affiliate links where possible at no cost to you, whatsoever. Affiliate and product disclosure can be found here.
I design for several companies because I genuinely love their products! Anything I recommend on my blog is something that I genuinely love and regularly use. I buy most of my own supplies. However, I do receive some free products to work with, and I sometimes make money for the projects I make. I DO NOT get paid for product reviews, I give my honest opinion about the products I use, and I will never recommend a product that I do not like or would not use.
June 13, 2022

Mixed Media Large Chipboard Tag

Hello! Today I am sharing a large mixed media chipboard tag.

Some of the products I have used in this post have been provided to me by various companies. The opinions I share are solely my own. Affiliate links may be used where possible at no cost to you. However, I do earn a small commission when you click on my link and make a purchase from them. Thank you, and I appreciate your support!

I started with one of the Creative Embellishments Large Tags and used some Light and Fluffy Modeling Paste from The Crafter's Workshop, and The Crafter's Workshop Galaxy Stencil by using the stars and dots from it to create some texture on the tag. Then I painted the tag with The Crafter's Workshop White Gesso. Next, I sprinkled on some ColorSparx from The Crafter's Workshop in Wisteria, Turquoise, and Sepia and sprayed it with water so the powders spread over the tag. Then I dried it with a heat gun. I added a piece of corrugated cardstock and wrapped some twine around it and added some kraft paper flowers.

Then, I took the Creative Embellishments Grunge Heart Corner and painted it with white gesso and sprinkled some ColorSparx on it in Wisteria, and heat dried it. Then adhered it over the flower cluster with my Xyron Mini Multi-Stick Glue Gun. Added some pearls and stickers and then I was done.


Interested in the products I used? Products that are still available are linked to multiple shops below, for your convenience. Lists may contain affiliate links where possible at no cost to you, whatsoever. Affiliate and product disclosure can be found here.
I design for several companies because I genuinely love their products! Anything I recommend on my blog is something that I genuinely love and regularly use. I buy most of my own supplies. However, I do receive some free products to work with, and I sometimes make money for the projects I make. I DO NOT get paid for product reviews, I give my honest opinion about the products I use, and I will never recommend a product that I do not like or would not use.

August 26, 2021

Personalize Your Own Dog Frame For Your Fur Baby

 Happy International Dog Day! To help celebrate I made a personalized dog frame that would make a great gift or to keep for yourself.


Some of the products I have used in this post have been provided to me by various companies. The opinions I share are solely my own. Affiliate links may be used where possible at no cost to you. However, I do earn a small commission when you click on my links and make a purchase from them. Thank you, and I appreciate your support!

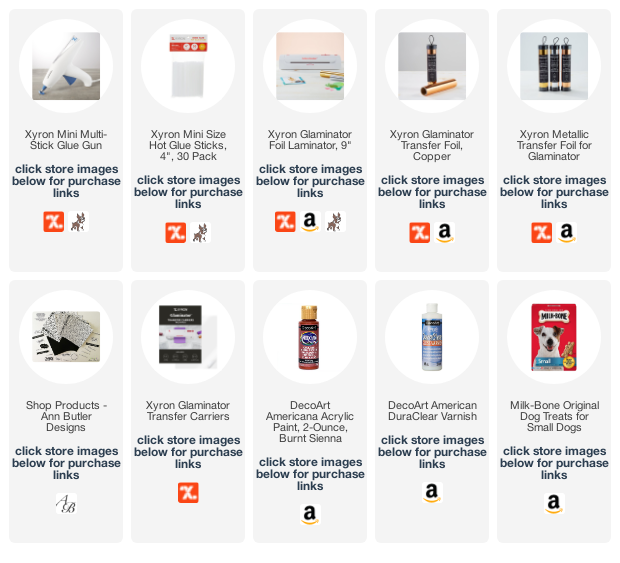
To create my frame, I first found an old frame that I have had for a long time and not using. A dollar store is also a great place to pick up frames if you do not have one already. My frame was already painted black which made things a little easier since I didn't have to paint it. Then I grabbed some dog treats, I used the small Milkbones and laid them onto my frame so I knew how many I was going to need and to figure out the best layout for them. Once I figured out how I was going to put them on my frame, I then decide the bones were too light in color, you can see their original color in the photo above. So I painted them with some paint and then sealed them to give them a glossy finish.


Next, I adhered the bones onto the frame using my Xyron Mini Multi-Stick Glue Gun. One awesome feature of this glue gun is that it holds 3 glue sticks at once so you do not have to refill it as often, which is a huge time saver.


To create the shiny mat around the photo of my cute pup Cocoa, I cut a mat out of Toner Cardstock and then laying a piece of Xyron Copper Transfer Foil over it with the shiny pretty side facing up and dull side against the mat frame and placing it in a Xyron Glaminator Transfer Carrier. Then I ran it through the Xyron Glaminator, placed it around my photo, and added it to the frame. Added some letter stickers for her name and viola, it was done and ready to gift to someone or display in your home.


Save 25% on all Xyron Glue Guns and glue sticks. Use code GS20 (ends Aug. 31, 2021)
or
Save 25% off Creative Stations, Sticker Makers, Glaminator, and Mead Cold Seal Laminator. Use code CREATE25 (ends Aug. 31, 2021)

Interested in the products I used? Products that are still available are linked to multiple shops below, for your convenience.
Lists may contain affiliate links where possible at no cost to you, what so ever. Affiliate and product disclosure can be found here.
I design for several companies because I genuinely love their products! Anything I recommend on my blog is something that I genuinely love and regularly use. I buy most of my own supplies. However, I do receive some free products to work with, and I sometimes make money for the projects I make. I DO NOT get paid for product reviews, I give my honest opinion about the products I use, and I will never recommend a product that I do not like or would not use.

February 16, 2021

Colorful Daisy Art Journal Page

Hello! Sometimes I like to sit down with no creative plan in mind and just create. Art journals work great for me to do this, I gather up some stencils and different mixed mediums and get to playing. I never know what the finished project will be until I am done. This time I ended up creating a daisy art journal page.


Some of the products I have used in this post have been provided to me by various companies. The opinions I share are solely my own. Affiliate links may be used where possible at no cost to you. However, I do earn a small commission when you click on my links and make a purchase from them. Thank you, and I appreciate your support!

For my art journal, I use an old planner and just glue some of the pages together to make them thicker. Then I painted them with some of The Crafter's Workshop TCW9001 White Gesso. Once the Gesso was dry and randomly prayed some color spray onto the background.


Then to finish my page off, I randomly stamped a brick stamp with a dark grey ink and added some rub-ons and sticker quotes.


Shop from my link HERE for 5% OFF your next $20 or more TCW purchase by using the code NLC5 at checkout.

Interested in the products I used? Products that are still available are linked to multiple shops below, for your convenience.
Lists may contain affiliate links where possible at no cost to you, what so ever. Affiliate and product disclosure can be found here.
I design for several companies because I genuinely love their products! Anything I recommend on my blog is something that I genuinely love and regularly use. I buy most of my own supplies. However, I do receive some free products to work with, and I sometimes make money for the projects I make. I DO NOT get paid for product reviews, I give my honest opinion about the products I use, and I will never recommend a product that I do not like or would not use.

December 30, 2020

Mixed Media Snowflake Home Decor

Hello! Nadine here today with a mixed media snowflake home decor piece. 


Watch my process video below to see how I created it... 


Some close-ups... 


Interested in the products I used? Products that are still available are linked to multiple shops below, for your convenience.
Lists may contain affiliate links where possible at no cost to you, what so ever. Affiliate and product disclosure can be found here.
I design for several companies because I genuinely love their products! Anything I recommend on my blog is something that I genuinely love and regularly use. I buy most of my own supplies. However, I do receive some free products to work with, and I sometimes make money for the projects I make. I DO NOT get paid for product reviews, I give my honest opinion about the products I use, and I will never recommend a product that I do not like or would not use.

June 16, 2020

How To Create An Ocean Scene Canvas Using Stencils


Hello! I have the beach on my mind a lot lately. Not sure if we will be able to make it to the beach this year so I am crafting about it instead.


Some of the products I have used have been provided to me from various companies I design for. The opinions I share are solely my own, and I only design for companies that I completely love their products. Affiliate links may be used where possible at no cost to you. However, I do earn a small commission when you click on my links and make a purchase from them. Thank you, and I appreciate your support!

Below is a video tutorial showing exactly how I created my project.
Make sure to subscribe to my YouTube channel and click the bell so you will get updates when I post a new video.


Interested in the products I used? Products that are still available are linked to multiple shops below, for your convenience.
Lists may contain affiliate links where possible at no cost to you, what so ever. Affiliate and product disclosure can be found here.
I design for several companies because I genuinely love their products! Anything I recommend on my blog is something that I genuinely love and regularly use. I buy most of my own supplies. However, I do receive some free products to work with, and I sometimes make money for the projects I make. I DO NOT get paid for product reviews, I give my honest opinion about the products I use, and I will never recommend a product that I do not like or would not use.

May 12, 2020

Quick and Easy Canvas Wall Art


Hello! Today I am sharing a quick and easy canvas wall art that I made for my daughter's newly remodeled room.


Some of the products I have used have been provided to me from various companies I design for. The opinions I share are solely my own, and I only design for companies that I completely love their products. Affiliate links may be used where possible at no cost to you. However, I do earn a small commission when you click on my links and make a purchase from them. Thank you, and I appreciate your support

Below is a video tutorial showing exactly how I created my project.
Make sure to subscribe to my YouTube channel and click the bell so you will get updates when I post a new video.


I first started with a mixed media board and used some turquoise color burst on the board. Once it was dry I then used The Crafter's Workshop Screen View Stencil with some VersaFine Clair Morning Mist ink.


When The Crafter's Workshop Tacky When Dry is wet it is white and when it is dry it will be clear. Once it was dry, I then added some transfer foil.


Interested in the products I used? Products that are still available are linked to multiple shops below, for your convenience.
Lists may contain affiliate links where possible at no cost to you, what so ever. Affiliate and product disclosure can be found here.
I design for several companies because I genuinely love their products! Anything I recommend on my blog is something that I genuinely love and regularly use. I buy most of my own supplies. However, I do receive some free products to work with, and I sometimes make money for the projects I make. I DO NOT get paid for product reviews, I give my honest opinion about the products I use, and I will never recommend a product that I do not like or would not use.