Showing posts with label Spring & Summer Craft Ideas. Show all posts

August 23, 2023

Summer's Wave Goodbye Autumn Card

Hello! Today, I am sharing a pretty pink Summer's wave goodbye Autumn card. I decided to do something different and not use the normal Fall colors and use pinks instead.

Some of the products I have used in this post have been provided to me by various companies. The opinions I share are solely my own. Affiliate links may be used where possible at no cost to you. However, I will earn a small commission when you click on my link and purchase from them. Thank you, and I appreciate your support!

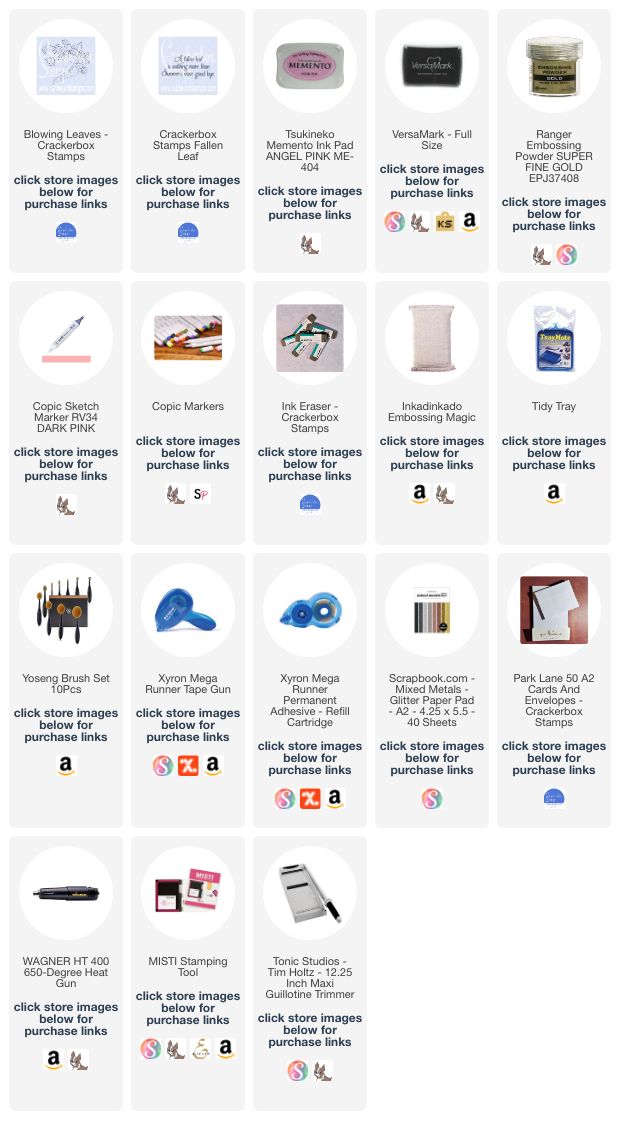
On the card front, I blended some Memento Angel Pink Ink using a blending brush. Then I stamped the Crackerbox Stamps Blowing Leaves with VersaMark, and heat embossed it with gold embossing powder. I used a Copic Marker RV34 to color the leaves.
Then I stamped the Crackerbox Stamps Fallen Leaf sentiment with VersaMark, and heat embossed it with gold embossing powder. Then I mounted it with some gold glitter cardstock and then on the card base.

Interested in the products I used? For your convenience, products that are still available are linked to multiple shops below. Lists may contain affiliate links where possible at no additional cost to you. When you click on my links and make a purchase, I earn a small percentage of the sale. This helps me to keep creating and maintaining this website. Even though I design for several companies, I still purchase many supplies on my own. I do receive some free products to work with, and I sometimes make money for the projects I make. I DO NOT get paid for product reviews. I give my honest opinion about the products I use, and I will never recommend a product that I do not like or would not use. Affiliate and product disclosure and privacy policy can be found here.
July 5, 2022

Summer Fun Card

 Summer! I love summer! So I made a bright and cheerful summer card. :)

Some of the products I have used in this post have been provided to me by various companies. The opinions I share are solely my own. Affiliate links may be used where possible at no cost to you. However, I do earn a small commission when you click on my link and make a purchase from them. Thank you, and I appreciate your support!

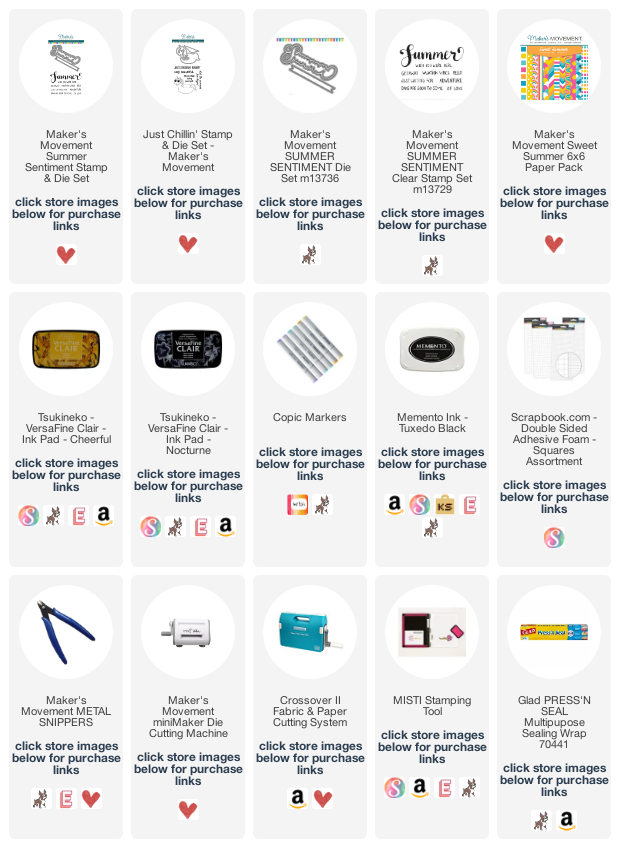
Using the Maker's Movement Sweet Summer Paper Pad and the Maker's Movement Summer Stamp & Die Set, I die cut out the shadow of the word summer several times. Then I stamped the word summer from the Maker's Movement Summer Stamp & Die Set using VersaFine Clair in Cheerful and then die cut them out. Then I adhered the two together and then placed the die cuts on my card front how I wanted them.
Once I had them laid out how I wanted them, I then placed a piece of Glad Press'n Seal over them making them stick to the Press'n Seal so they stay in place where I want them. Next, I carefully pulled the die pieces up making sure they were still stuck to the Press'n Seal, and then applied adhesive to the back of the dies and then placed them back down onto my card front.
Then using several of the word stamps from the Maker's Movement Summer Stamp & Die Set, I stamped the words randomly in between the summer dies.


Next, I stamped the Unicorn floaty from the Maker's Movement Just Chillin' Stamp & Die Set and colored it with Copic Markers. Then I die cut the Unicorn out and adhered it to the front of my card with foam squares.


Interested in the products I used? Products that are still available are linked to multiple shops below, for your convenience. Lists may contain affiliate links where possible at no cost to you, whatsoever. Affiliate and product disclosure can be found here.
I design for several companies because I genuinely love their products! Anything I recommend on my blog is something that I genuinely love and regularly use. I buy most of my own supplies. However, I do receive some free products to work with, and I sometimes make money for the projects I make. I DO NOT get paid for product reviews, I give my honest opinion about the products I use, and I will never recommend a product that I do not like or would not use.

May 31, 2022

Flip Flop Summer Beach Vibes Card

 Hello! I love the beach and this flip flop summer beach vibes card makes me want to put my flip flops on and head to the beach.

Some of the products I have used in this post have been provided to me by various companies. The opinions I share are solely my own. Affiliate links may be used where possible at no cost to you. However, I do earn a small commission when you click on my link and make a purchase from them. Thank you, and I appreciate your support!

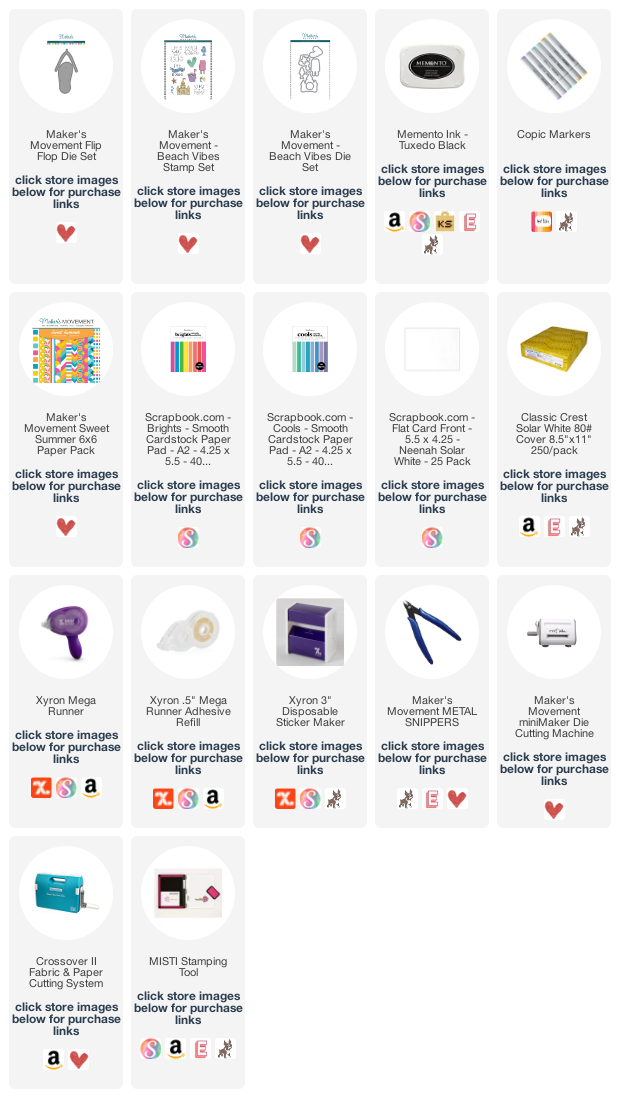
These little flip flops are so cute and easy to make using the Maker's Movement Flip Flop Die Set. I used a combo of Maker's Movement Sweet Summer 6x6 Paper Pad for the fun patterned papers and Brights Smooth Cardstock Paper Pack & Cools Smooth Cardstock Paper Pack from Scrapbook.com for the solid colors.

For the sentiment and beach ball, I used the Maker's Movement Beach Vibes Stamp Set & Die Set. Then adhered everything together using Xyron Adhesives.

Interested in the products I used? Products that are still available are linked to multiple shops below, for your convenience. Lists may contain affiliate links where possible at no cost to you, whatsoever. Affiliate and product disclosure can be found here.
I design for several companies because I genuinely love their products! Anything I recommend on my blog is something that I genuinely love and regularly use. I buy most of my own supplies. However, I do receive some free products to work with, and I sometimes make money for the projects I make. I DO NOT get paid for product reviews, I give my honest opinion about the products I use, and I will never recommend a product that I do not like or would not use.

January 6, 2022

DIY Sunflower Suncatcher

 Hello! Even though it seems like Winter has just started I am ready for Spring. I like Winter but don't like being cold. So I decided to add a little sunshine or should I say Sunflower into my home with this DIY Sunflower Suncatcher.

Some of the products I have used in this post have been provided to me by various companies. The opinions I share are solely my own. Affiliate links may be used where possible at no cost to you. However, I do earn a small commission when you click on my link and make a purchase from them. Thank you, and I appreciate your support!

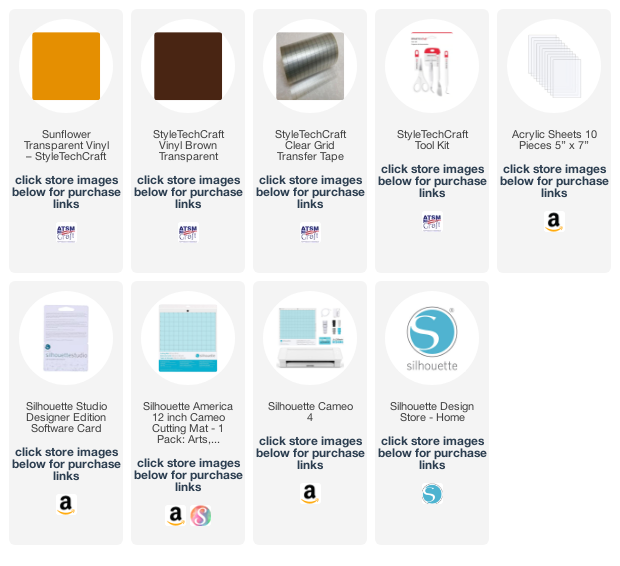
I first found a sunflower SVG file at the Silhouette Design Store that I liked and sized it using the Silhouette Design Studio. Then I found the perfect StyleTechCraft Transparent Vinyl colors in Sunflower and Brown. Then I cut the sunflower and word out using my Silhouette Cameo 4.


To transfer the image to the acrylic sheet, I used the StyleTechCraft Clear Grid Transfer Tape to help me line up all the pieces.


Here is what it looks like hanging in the window.


Interested in the products I used? Products that are still available are linked to multiple shops below, for your convenience. Lists may contain affiliate links where possible at no cost to you, what so ever. Affiliate and product disclosure can be found here.
I design for several companies because I genuinely love their products! Anything I recommend on my blog is something that I genuinely love and regularly use. I buy most of my own supplies. However, I do receive some free products to work with, and I sometimes make money for the projects I make. I DO NOT get paid for product reviews, I give my honest opinion about the products I use, and I will never recommend a product that I do not like or would not use.

May 21, 2020

DCWV Petal Paper Blog Hop With DCC


Hello! I was in a spring mood and decided to make some cute crate paper butterflies.


Some of the products I have used have been provided to me from various companies I design for. The opinions I share are solely my own, and I only design for companies that I completely love their products. Affiliate links may be used where possible at no cost to you. However, I do earn a small commission when you click on my links and make a purchase from them. Thank you, and I appreciate your support!

Below is a video tutorial showing exactly how I created my project.
Make sure to subscribe to my YouTube channel and click the bell so you will get updates when I post a new video.


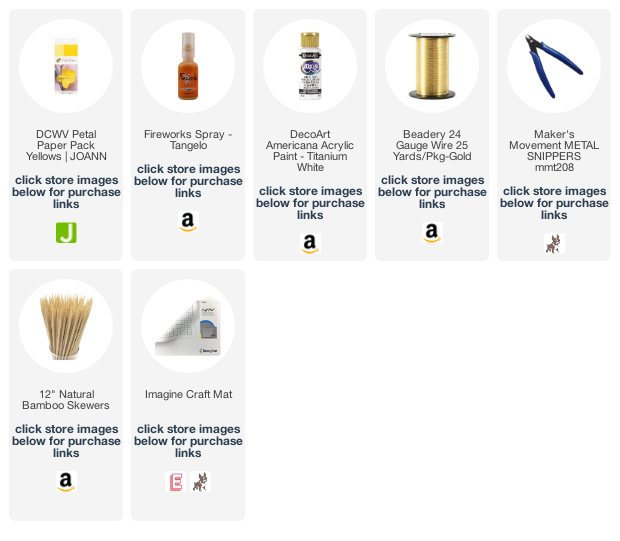
These would be super cute as a cupcake or cake toppers or even to into the pots of your plants in the house. I used DCWV Petal Paper and since it comes in such big sheets you could make huge butterflies as wall decor too.


Here is the template for the butterflies for you to print out for a small and large butterfly.
For more inspirational ideas on how to use DCWV Petal Paper visit the Designer Crafts Connection blog post HERE.

Interested in the products I used? Products that are still available are linked to multiple shops below, for your convenience.
Lists may contain affiliate links where possible at no cost to you, what so ever. Affiliate and product disclosure can be found here.
I design for several companies because I genuinely love their products! Anything I recommend on my blog is something that I genuinely love and regularly use. I buy most of my own supplies. However, I do receive some free products to work with, and I sometimes make money for the projects I make. I DO NOT get paid for product reviews, I give my honest opinion about the products I use, and I will never recommend a product that I do not like or would not use.