Showing posts with label Imagine Crafts. Show all posts

July 5, 2022

Summer Fun Card

 Summer! I love summer! So I made a bright and cheerful summer card. :)

Some of the products I have used in this post have been provided to me by various companies. The opinions I share are solely my own. Affiliate links may be used where possible at no cost to you. However, I do earn a small commission when you click on my link and make a purchase from them. Thank you, and I appreciate your support!

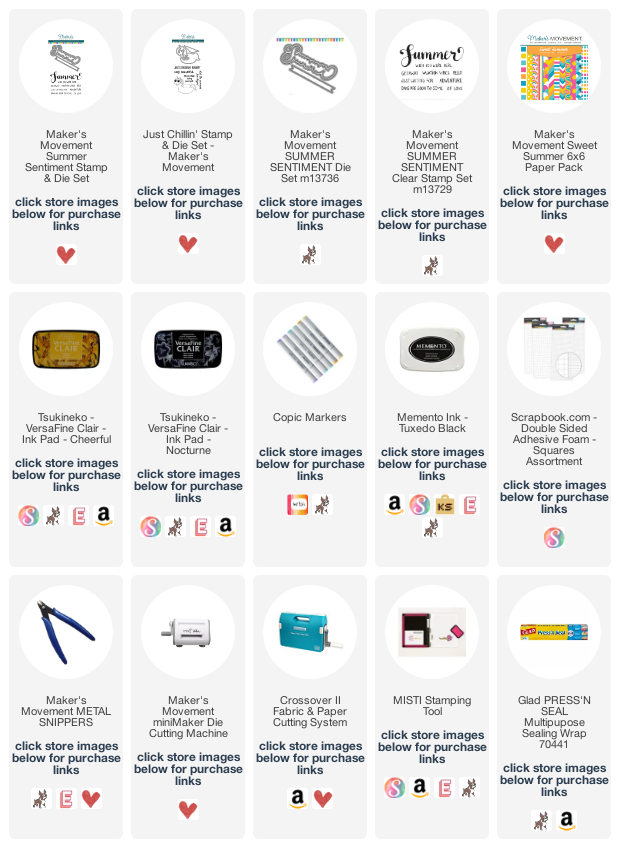
Using the Maker's Movement Sweet Summer Paper Pad and the Maker's Movement Summer Stamp & Die Set, I die cut out the shadow of the word summer several times. Then I stamped the word summer from the Maker's Movement Summer Stamp & Die Set using VersaFine Clair in Cheerful and then die cut them out. Then I adhered the two together and then placed the die cuts on my card front how I wanted them.
Once I had them laid out how I wanted them, I then placed a piece of Glad Press'n Seal over them making them stick to the Press'n Seal so they stay in place where I want them. Next, I carefully pulled the die pieces up making sure they were still stuck to the Press'n Seal, and then applied adhesive to the back of the dies and then placed them back down onto my card front.
Then using several of the word stamps from the Maker's Movement Summer Stamp & Die Set, I stamped the words randomly in between the summer dies.


Next, I stamped the Unicorn floaty from the Maker's Movement Just Chillin' Stamp & Die Set and colored it with Copic Markers. Then I die cut the Unicorn out and adhered it to the front of my card with foam squares.


Interested in the products I used? Products that are still available are linked to multiple shops below, for your convenience. Lists may contain affiliate links where possible at no cost to you, whatsoever. Affiliate and product disclosure can be found here.
I design for several companies because I genuinely love their products! Anything I recommend on my blog is something that I genuinely love and regularly use. I buy most of my own supplies. However, I do receive some free products to work with, and I sometimes make money for the projects I make. I DO NOT get paid for product reviews, I give my honest opinion about the products I use, and I will never recommend a product that I do not like or would not use.

September 23, 2021

Still Playing With A Full Deck Birthday Card

 Hello! Today I am sharing a fun birthday card with a little bit of snark.

Some of the products I have used in this post have been provided to me by various companies. The opinions I share are solely my own. Affiliate links may be used where possible at no cost to you. However, I do earn a small commission when you click on my links and make a purchase from them. Thank you, and I appreciate your support!

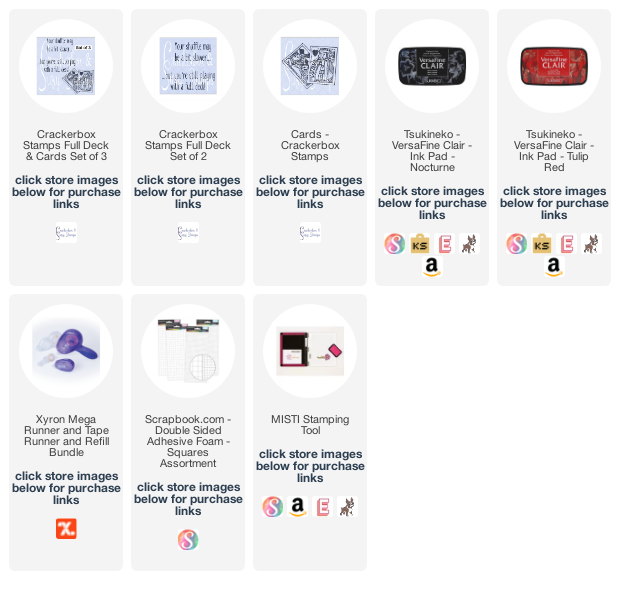
First, I layered up black and red cardstock and then a piece of patterned paper to create my base. Then I added a playing card into the center. For the stamps, I stamped the Crackerbox Stamps Cards in both black and red ink because I couldn't decide which color I wanted them in and then fussy cut them out. Since I couldn't decide which one I liked better I decided to layer them and adhere them with some 3D Foam Squares.

Then I stamped the Crackerbox Stamps Full Deck Set of 2 Sentiments in red and added the sentiment with 3D Foam Squares as well. The cards and sentiment can be purchased separately or as a bundle with the Crackerbox Stamps Full Deck & Cards Set of 3.
This card would make a great masculine birthday card or add some bling to make it a little more feminine.


Interested in the products I used? Products that are still available are linked to multiple shops below, for your convenience.
Lists may contain affiliate links where possible at no cost to you, what so ever. Affiliate and product disclosure can be found here.
I design for several companies because I genuinely love their products! Anything I recommend on my blog is something that I genuinely love and regularly use. I buy most of my own supplies. However, I do receive some free products to work with, and I sometimes make money for the projects I make. I DO NOT get paid for product reviews, I give my honest opinion about the products I use, and I will never recommend a product that I do not like or would not use.

February 14, 2021

Thank You For Being The Reason I Smile Card

Hello! Sharing a clean and simple thank you card I made. 

Some of the products I have used in this post have been provided to me by various companies. The opinions I share are solely my own. Affiliate links may be used where possible at no cost to you. However, I do earn a small commission when you click on my links and make a purchase from them. Thank you, and I appreciate your support!

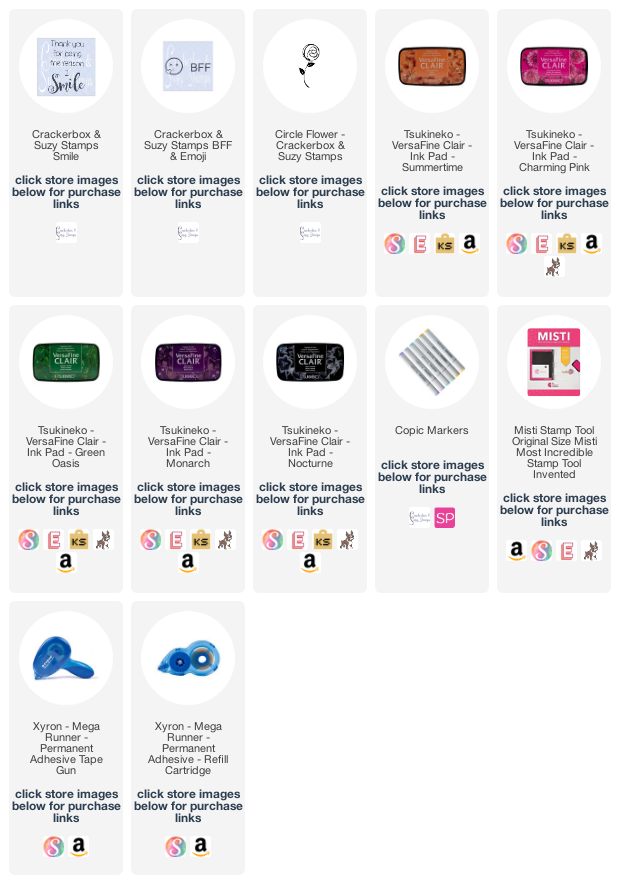
To create my card I used the Crackerbox & Suzy Stamps Smile Sentiment Stamp and then stamped the Crackerbox & Suzy Stamp Circle Flower several times using different ink colors around the sentiment. I then stamped the Crackerbox & Suzy Stamps BFF & Emoji Stamp and colored them in with Copic Markers.

To adhere all the layers together, I used my Xyron Mega Runner.


Interested in the products I used? Products that are still available are linked to multiple shops below, for your convenience.
Lists may contain affiliate links where possible at no cost to you, what so ever. Affiliate and product disclosure can be found here.
I design for several companies because I genuinely love their products! Anything I recommend on my blog is something that I genuinely love and regularly use. I buy most of my own supplies. However, I do receive some free products to work with, and I sometimes make money for the projects I make. I DO NOT get paid for product reviews, I give my honest opinion about the products I use, and I will never recommend a product that I do not like or would not use.

February 3, 2021

Cute Hedgehog Valentine's Day Card With Video Tutorial

A cute hedgehog Valentine's Day card I made with an ink resist technique.

Some of the products I have used in this post have been provided to me by various companies. The opinions I share are solely my own. Affiliate links may be used where possible at no cost to you. However, I do earn a small commission when you click on my links and make a purchase from them. Thank you, and I appreciate your support!

Below is a video tutorial showing exactly how I created my project.
Make sure to subscribe to my YouTube channel and click the bell so you will get updates when I post a new video.


I used the Crackerbox & Suzy Stamps Hedgehog Stamp and colored him in with Copic Markers. The Crackerbox & Suzy Stamps Hogs & Kisses sentiment I stamped with VersaMark and heat embossed it with white embossing powder. For the hearts on the background, I used The Crafter's Workshop Heart Background Stencil. I also used one of my favorites adhesives, Xyron Tape Runner.


Interested in the products I used? Products that are still available are linked to multiple shops below, for your convenience.
Lists may contain affiliate links where possible at no cost to you, what so ever. Affiliate and product disclosure can be found here.
I design for several companies because I genuinely love their products! Anything I recommend on my blog is something that I genuinely love and regularly use. I buy most of my own supplies. However, I do receive some free products to work with, and I sometimes make money for the projects I make. I DO NOT get paid for product reviews, I give my honest opinion about the products I use, and I will never recommend a product that I do not like or would not use.

January 20, 2021

Masculine Valentine's Day Card Idea

Hello! Today I am sharing a masculine Valentine's Day card with you that I created using rubber stamps and a stencil.

Some of the products I have used in this post have been provided to me by various companies. The opinions I share are solely my own. Affiliate links may be used where possible at no cost to you. However, I do earn a small commission when you click on my links and make a purchase from them. Thank you, and I appreciate your support!

I stamped the Crackerbox & Suzy Stamps Snake Hug Stamp and colored them in with Copic Markers. Next, I stamped the Crackerbox & Suzy Stamps Main Squeeze sentiment. Then using The Crafter's Workshop Tattered Lace Stencil and different greens and grey Memento Inks, I sponge daubed the inks over the stencil to create the background.


To see all of Crackerbox & Suzy Stamps Valentine's Day stamps click HERE.

Interested in the products I used? Products that are still available are linked to multiple shops below, for your convenience.
Lists may contain affiliate links where possible at no cost to you, what so ever. Affiliate and product disclosure can be found here.
I design for several companies because I genuinely love their products! Anything I recommend on my blog is something that I genuinely love and regularly use. I buy most of my own supplies. However, I do receive some free products to work with, and I sometimes make money for the projects I make. I DO NOT get paid for product reviews, I give my honest opinion about the products I use, and I will never recommend a product that I do not like or would not use.

December 11, 2020

Magic Of The Season Christmas Reindeer Card

 Today I am sharing a magic of the season Christmas reindeer card.

Some of the products I have used in this post have been provided to me by various companies. The opinions I share are solely my own. Affiliate links may be used where possible at no cost to you. However, I do earn a small commission when you click on my links and make a purchase from them. Thank you, and I appreciate your support!

The Crackerbox & Suzy Stamps Reindeer Stamp I used on my card is FREE with any order of $45 or more at Crackerbox & Suzy Stamps. All you have to do is mention "Reindeer" in the comment section of your cart. PLUS on all orders $45 or more you will get FREE shipping.
And if that is not already a great deal, ALL of their stamps are 15% OFF now until Dec. 13th.


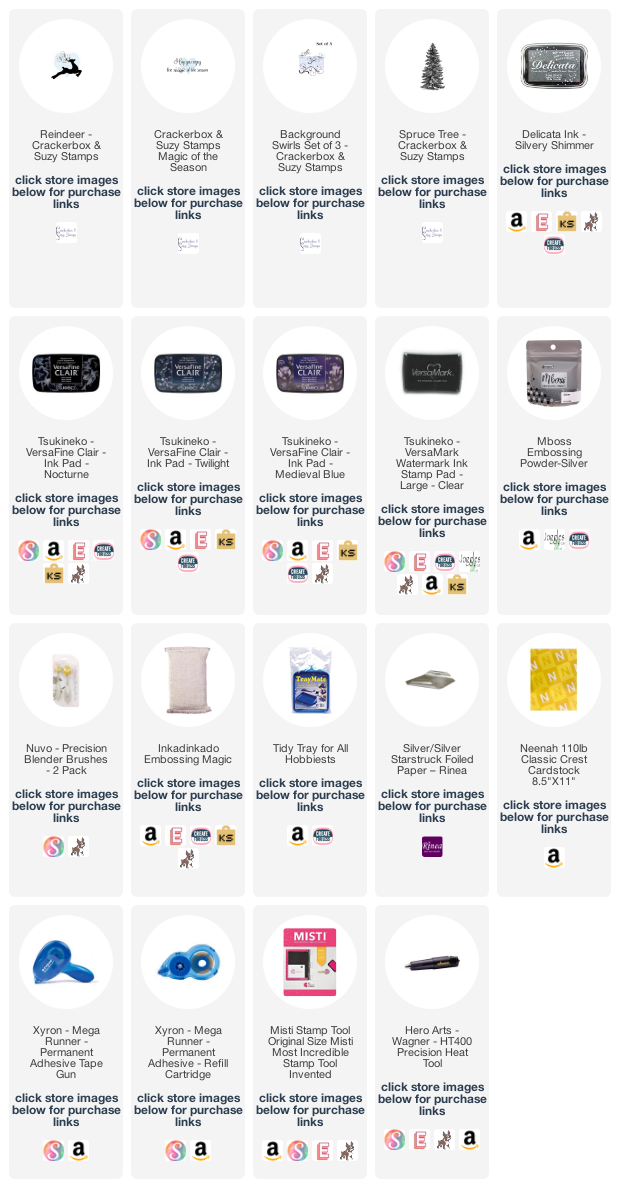
To create my card, I used the Crackerbox & Suzy Stamps Spruce Tree Stamp and stamped it with Delicata Silvery Shimmer on the card front, and then backed it with some Rinea Starstruck Silver Foiled Paper. To create the blue strip, I used Nuvo Brush Blenders and blended some VersaFine Clair Twilight and VersaFine Clair Medieval Blue. Then stamps it with the Crackerbox & Suzy Stamps Background Swirls in Delicata Silvery Shimmer and die cut out a partial circle and adhered it to the front of my card with my Xyron Mega Runner.


Using my Misti Stamp tool, I stamped the Crackerbox & Suzy Stamps Reindeer Stamp in VersaFine Clair Nocturne.

For the sentiment, I used the Crackerbox & Suzy Stamps Magic Of The Season Stamp and heat embossed it with silver embossing powder on black cardstock.

Crackerbox & Suzy Stamps has an entire line of Swirl Stamps that all pair together. Like the Crackerbox & Suzy Stamps Background Swirls and the Crackerbox & Suzy Stamps Reindeer Swirl Stamp I used on my card.

Interested in the products I used? Products that are still available are linked to multiple shops below, for your convenience.
Lists may contain affiliate links where possible at no cost to you, what so ever. Affiliate and product disclosure can be found here.
I design for several companies because I genuinely love their products! Anything I recommend on my blog is something that I genuinely love and regularly use. I buy most of my own supplies. However, I do receive some free products to work with, and I sometimes make money for the projects I make. I DO NOT get paid for product reviews, I give my honest opinion about the products I use, and I will never recommend a product that I do not like or would not use.
November 23, 2020

Charlie Brown Christmas Tree Card

Hello! Today I am sharing a Charlie Brown Christmas Tree card I made.


Some of the products I have used in this post have been provided to me by various companies. The opinions I share are solely my own. Affiliate links may be used where possible at no cost to you. However, I do earn a small commission when you click on my links and make a purchase from them. Thank you, and I appreciate your support!


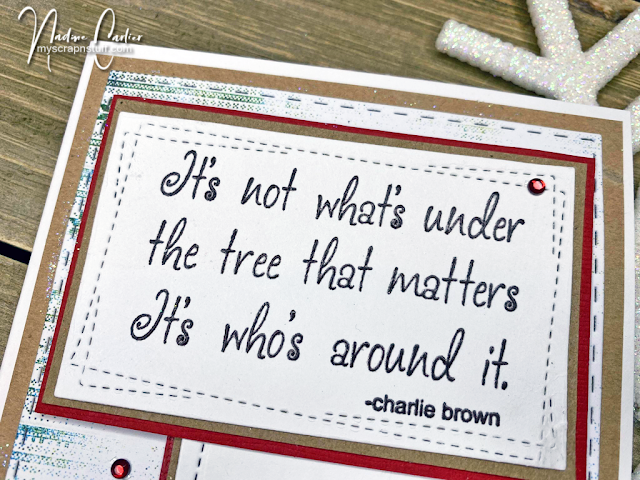
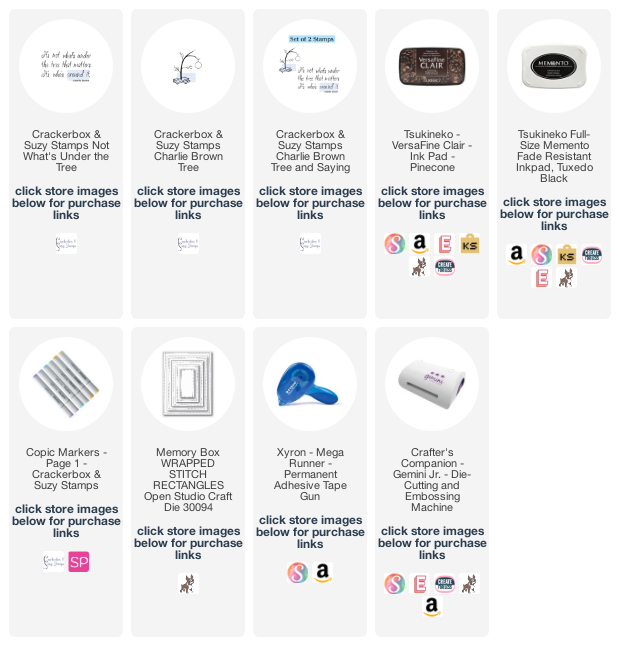
For the base of the tree, I colored it in with Copic Markers and added a red sequin for the ornament. The Charlie Brown Tree and Saying can be purchased separately or as a set.


Don't forget to visit the Crackerbox & Suzy Stamps Store and check out all of the Christmas & Winter stamps that are 20% OFF this month.
Just add them into your cart and you will then see the discount on the stamps once they are in your cart.


Interested in the products I used? Products that are still available are linked to multiple shops below, for your convenience.
Lists may contain affiliate links where possible at no cost to you, what so ever. Affiliate and product disclosure can be found here.
I design for several companies because I genuinely love their products! Anything I recommend on my blog is something that I genuinely love and regularly use. I buy most of my own supplies. However, I do receive some free products to work with, and I sometimes make money for the projects I make. I DO NOT get paid for product reviews, I give my honest opinion about the products I use, and I will never recommend a product that I do not like or would not use.

November 18, 2020

Colors Of Autumn Hello Card

Hello! Have you entered the Poppystamps PSC#74 Colors Of Autumn yet! The rules are simple, you just need to use a die or stamp from Poppystamps and create something that is crafty using colors of Autumn... reds, yellows, oranges, and everything in between. Not feeling like a color challenge? That's ok.. how about some fall foliage, pumpkins, apples, gourds, and cornstalks? Maybe some whittle fall critters? Gobble gobble!!! Just like the bounty of the harvest, there are lots of possibilities! Link up your projects... cards, tags, home decor, and more! It's your choice, just be sure to use at least one Poppystamps image (stamp or die) on your project!


Some of the products I have used in this post have been provided to me by various companies. The opinions I share are solely my own. Affiliate links may be used where possible at no cost to you. However, I do earn a small commission when you click on my links and make a purchase from them. Thank you, and I appreciate your support!

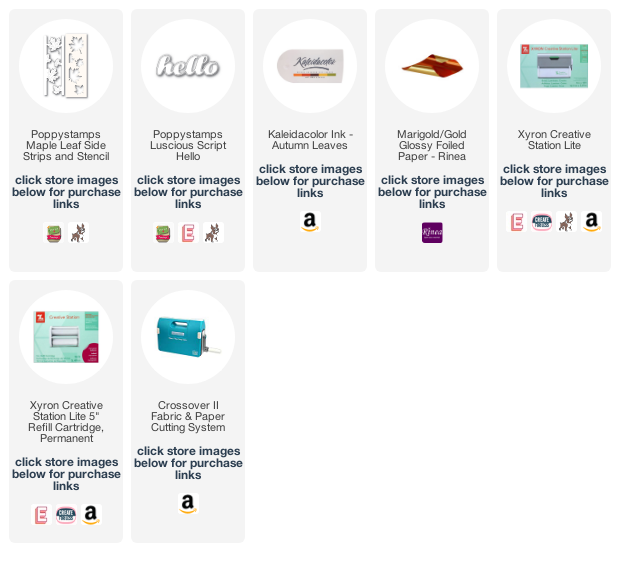
To help give you some inspiration, I created my card using the Poppystamps Maple Leaf Side Strips and Stencil. I die cut it out of white cardstock and then used the stencil to color in the leaves using Kaleidacolor Ink in Autumn Leave using a blending brush. Then I adhered the white panel to the front of an off white card base using Xyron Creative Station Lite.


For the sentiment, I used the Poppystamps Luscious Script Hello Die and cut it out using some Rinea Marigold Glossy Foiled Paper and adhered it also using the Xyron Creative Station Lite.


Now it's your turn! Need a little more motivation? How about a prize? The winner (chosen at random) of this challenge will receive a $20 Gift Certificate to spend on their favorites from the Poppystamps store!

You have until 12 am US EST on November 27 to link up your design HERE! We'll start a new challenge and announce the winners on December 1. 

Thanks for joining us! I can't wait to see what you make!

Interested in the products I used? Products that are still available are linked to multiple shops below, for your convenience.
Lists may contain affiliate links where possible at no cost to you, what so ever. Affiliate and product disclosure can be found here.
I design for several companies because I genuinely love their products! Anything I recommend on my blog is something that I genuinely love and regularly use. I buy most of my own supplies. However, I do receive some free products to work with, and I sometimes make money for the projects I make. I DO NOT get paid for product reviews, I give my honest opinion about the products I use, and I will never recommend a product that I do not like or would not use.

October 16, 2020

Funny Christmas Card Ideas

 Hello! Today I am sharing some fun Christmas cards that I made. Have a friend that loves wine or love to party and dance on the tables? Then these are the perfect cards!


Some of the products I have used in this post have been provided to me by various companies. The opinions I share are solely my own. Affiliate links may be used where possible at no cost to you. However, I do earn a small commission when you click on my links and make a purchase from them. Thank you, and I appreciate your support!

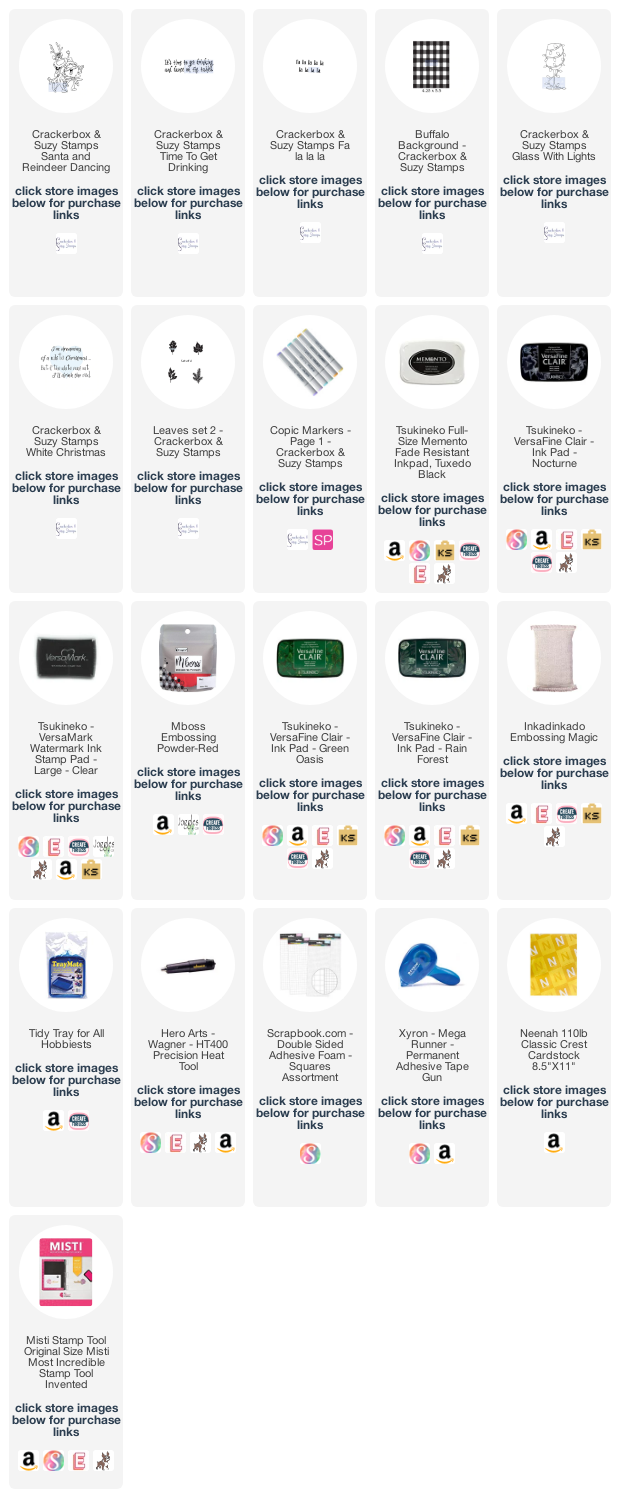
On my first card, I stamped the Crackerbox & Suzy Stamps Fa la la la stamp on the card front with green ink. Then on a strip of Kraft cardstock, I stamped the Crackerbox & Suzy Stamps Buffalo Background stamp with VersaMark and heat embossed it with red embossing powder. Colored the Crackerbox & Suzy Stamps Santa and Reindeer Dancing with Copic Markers and then stamped and added the Crackerbox & Suzy Stamps Time To Get Dancing sentiment.


On my second card, I stamped the Crackerbox & Suzy Stamps White Christmas sentiment and the Crackerbox & Suzy Stamps Glass With Lights and colored the glass with Copic Markers. In the top corner of my card, I stamped the pines using one of the stamps from the Crackerbox & Suzy Stamps Leaves Set 2 with different colors of green ink and then added some red sequins.

Several of the Christmas stamps I used are from the new Crackerbox & Suzy Stamps Christmas Release.

To celebrate their new Christmas release ALL of their new stamps are

now until Monday, Oct. 19th, 2020. Discount is automatically applied when added to the cart and at checkout.

For every $30 you spend in their store (not including shipping & tax) between Oct. 9th - Oct. 19th, 2020 you will receive a raffle ticket for a chance to win one of two prizes.
One winner will receive a $50 gift certificate to their store
and another winner will receive a $25 gift certificate to their store.
Winners will be drawn on October 31st and announced on their blog.


Interested in the products I used? Products that are still available are linked to multiple shops below, for your convenience.
Lists may contain affiliate links where possible at no cost to you, what so ever. Affiliate and product disclosure can be found here.
I design for several companies because I genuinely love their products! Anything I recommend on my blog is something that I genuinely love and regularly use. I buy most of my own supplies. However, I do receive some free products to work with, and I sometimes make money for the projects I make. I DO NOT get paid for product reviews, I give my honest opinion about the products I use, and I will never recommend a product that I do not like or would not use.