Showing posts with label The Crafter's Workshop. Show all posts

June 22, 2023

A Funny Frog Card With Stamp Layering

 Hello! Today I am sharing a funny frog card with stamp layering to create a scene.

Some of the products I have used in this post have been provided to me by various companies. The opinions I share are solely my own. Affiliate links may be used where possible at no cost to you. However, I will earn a small commission when you click on my link and purchase from them. Thank you, and I appreciate your support!

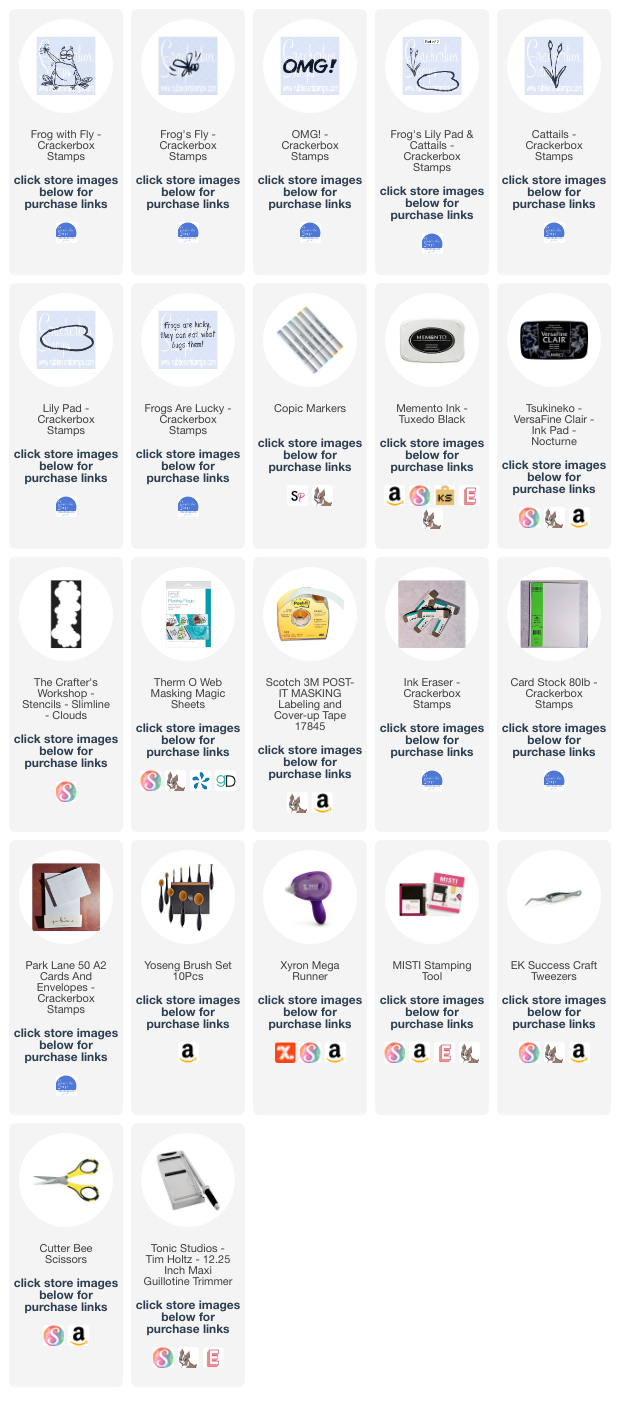
To create my card, I used several stamps from Crackerbox Stamps and layered them up using masking paper. First, I stamped the Crackerbox Stamps Frog with Fly on a white cardstock card front. I then stamped it again on some masking paper and fussy cut it out, and layered the masking paper over the frog. Next, I stamped the Crackerbox Stamps Lily Pad over the masked frog and then stamped the lily again on some masking paper, fussy cut it out, and masked off the lily too.  With the frog and lily still masked, I then stamped the Crackerbox Stamps Cattails on either side of the lily. Then masked the Cattails off. Then, I stamped the Crackerbox Stamps Frog's Fly with the Crackerbox Stamps OMG! and the Crackerbox Stamps Frogs Are Lucky sentiment. I also masked off the Frog's Fly. So all the stamp images were masked off except for the words. When layering stamps, you just need to remember that the image you want to be in the front is the image you stamp first and then mask off before stamping the next one.


Next, I used a strip of masking tape about at the same level as the frog's head, and below it, I ink blended some blue ink for water using blending brushes


I then removed the masking strip but still left all the stamp images masked. I used The Crafter's Workshop Cloud Stencil and some blue and grey inks to create a sky by blending ink with blending brushes. Then I lightly misted the ink blending with water, and placed a paper towel over it to soak up the water. This gave it a watercolor look. Once dry, I removed all the masking paper off all the images and colored them in with Copic Markers.


Interested in the products I used? For your convenience, products that are still available are linked to multiple shops below. Lists may contain affiliate links where possible at no additional cost to you. When you click on my links and make a purchase, I earn a small percentage of the sale. This helps me to keep creating and maintaining this website. Even though I design for several companies, I still purchase many supplies on my own. I do receive some free products to work with, and I sometimes make money for the projects I make. I DO NOT get paid for product reviews, I give my honest opinion about the products I use, and I will never recommend a product that I do not like or would not use. Affiliate and product disclosure and privacy policy can be found here.
April 2, 2023

You Are A Warrior Inspirational Card

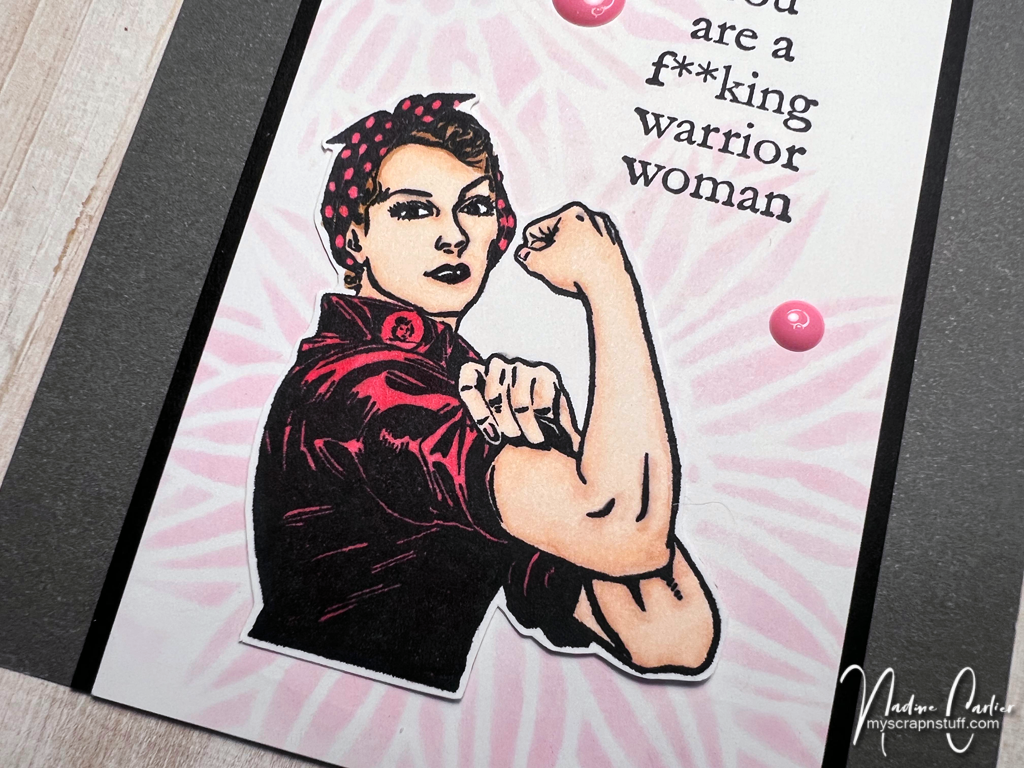
 Hello! The card I am sharing today is the perfect inspirational card to let her know she is a warrior.

Some of the products I have used in this post have been provided to me by various companies. The opinions I share are solely my own. Affiliate links may be used where possible at no cost to you. However, I will earn a small commission when you click on my link and purchase from them. Thank you, and I appreciate your support!

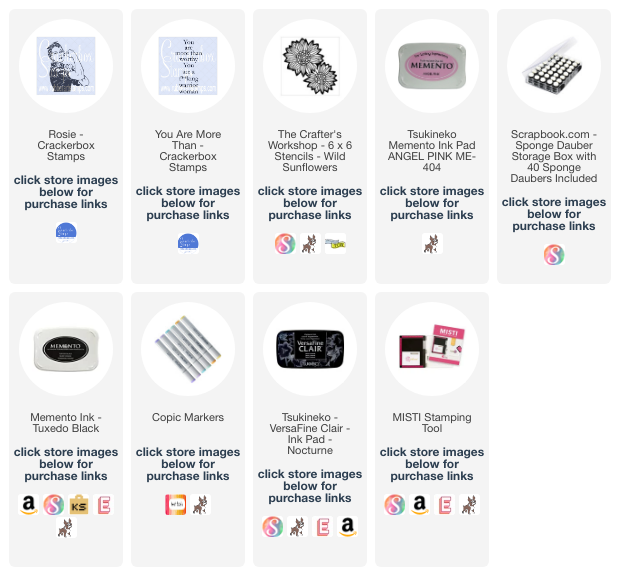
On the background, I used an ink dauber with The Crafter's Workshop Wild Sunflower Stencil and daubed on some Memento Angel Pink Ink over the stencil.

Next, I stamped the Crackerbox Stamps You Are More Than sentiment stamp with VersaFine Clair in Nocturne on the background. Then I stamped the Crackerbox Stamps Rosie stamp and colored her in with Copic Markers. Then fussy cut her out and adhered her to the front of my card.


The Crackerbox Stamps You Are More Than sentiment stamp is 10% OFF right now, along with all of Crackerbox Stamps' new release stamps until April 9th, 2023.


Interested in the products I used? For your convenience, products that are still available are linked to multiple shops below. Lists may contain affiliate links where possible at no additional cost to you. When you click on my links and make a purchase, I earn a small percentage of the sale. This helps me to keep creating and maintaining this website. Even though I design for several companies, I still purchase many supplies on my own. I do receive some free products to work with, and I sometimes make money for the projects I make. I DO NOT get paid for product reviews, I give my honest opinion about the products I use, and I will never recommend a product that I do not like or would not use. Affiliate and product disclosure and privacy policy can be found here.

October 24, 2022

Reach For The Stars! Funny Inspirational Card

 Hello! Today I am sharing a funny inspirational card with you all.


Some of the products I have used in this post have been provided to me by various companies. The opinions I share are solely my own. Affiliate links may be used where possible at no cost to you. However, I do earn a small commission when you click on my link and make a purchase from them. Thank you, and I appreciate your support!

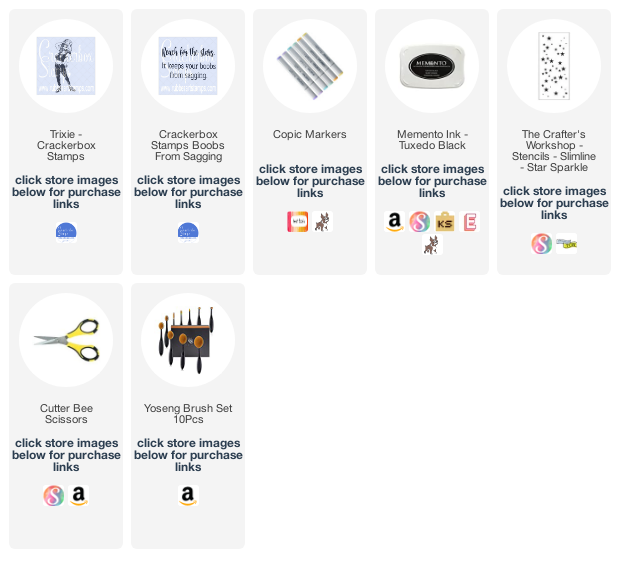
I created the background for my card by blending some ink with a darker blue on the top and lighter blue towards the bottom and leaving the bottom right corner white. Then, I create some stars with The Crafter's Workshop Slimline Star Sparkle stencil and blue ink. I stamped the Crackerbox Stamps Boobs From Sagging sentiment onto the background. Then I stamped Crackerbos Stamps Trixie and colored her with Copic Markers, and fussy cut her out and added her to the bottom right corner where I left white on the background.


Interested in the products I used? For your convenience, products that are still available are linked to multiple shops below. Lists may contain affiliate links where possible at no additional cost to you. When you click on my links and make a purchase, I earn a small percentage of the sale. This helps me to be able to keep creating and maintaining this website. Even though I design for several companies, I still purchase many of my own supplies. However, I do receive some free products to work with, and I sometimes make money for the projects I make. I DO NOT get paid for product reviews, I give my honest opinion about the products I use, and I will never recommend a product that I do not like or would not use. Affiliate and product disclosure and privacy policy can be found here.

October 9, 2022

Autumn Card With A Layered Stencil

 Hello! Today I am sharing an Autumn card I made. I have always loved the colors of Autumn.

Some of the products I have used in this post have been provided to me by various companies. The opinions I share are solely my own. Affiliate links may be used where possible at no cost to you. However, I do earn a small commission when you click on my link and make a purchase from them. Thank you, and I appreciate your support!

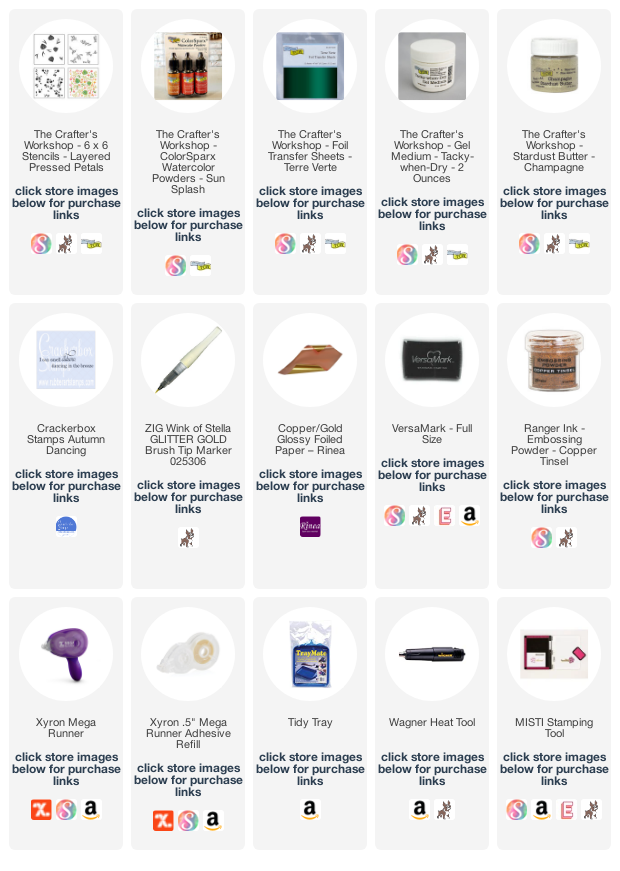
I used The Crafter's Workshop Pressed Petals Layered Stencil. There are three stencils, A, B, & C, with this layered stencil. I started with the layer C stencil and some cream-colored cardstock. With the stencil lying on the cardstock, I sprinkled some The Crafter's Workshop ColorSparx in Gamboge & Marigold over the stencil and sprayed it with water to activate the powder. Then, the stencil was removed and sprayed again lightly, so the image spread slightly to look like watercolor.


I used a heat tool to dry it. Then placed the stencil back over the cardstock piece, outlined each flower with a white gel pen, and then again with a brown marker. Next, I colored the outlined areas with a Glitter Marker Pen in gold.
Using the layer B stencil and some The Crafter's Workshop Tacky-When-Dry Gel, then let it dry. Once it was dry, I used some The Crafter's Workshop Terre Verte Foil Transfer. I pressed the dull side of the foil down on top of the Tacky-When-Dry Gel and rubbed the foil to make sure it was pressed into the gel well. Then I removed the foil piece, when removed, the foil was stuck to the areas where the gel was.


The next stencil I used was layer A stencil, and I used The Crafter's Workshop Stardust Butter Champagne.


I stamped the Crackerbox Stamps Autumn Dancing stamp with VersaMark and then heat embossed it with copper embossing powder.


Interested in the products I used? For your convenience, products that are still available are linked to multiple shops below. Lists may contain affiliate links where possible at no additional cost to you. When you click on my links and make a purchase, I earn a small percentage of the sale. This helps me to be able to keep creating and maintaining this website. Even though I design for several companies, I still purchase many of my own supplies. However, I do receive some free products to work with, and I sometimes make money for the projects I make. I DO NOT get paid for product reviews, I give my honest opinion about the products I use, and I will never recommend a product that I do not like or would not use. Affiliate and product disclosure and privacy policy can be found here.

September 6, 2022

Christmas Snow Globe Card

 Hello again! Today I am sharing a Christmas Snow Globe card that I made using a layered stencil.

Some of the products I have used in this post have been provided to me by various companies. The opinions I share are solely my own. Affiliate links may be used where possible at no cost to you. However, I do earn a small commission when you click on my link and make a purchase from them. Thank you, and I appreciate your support!

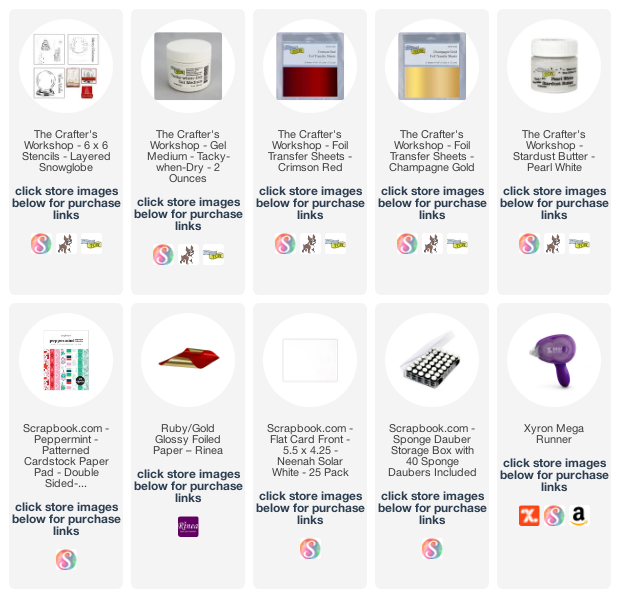
I started by using The Crafter's Workshop Snow Globe Layered Stencil and some inks with a sponge dauber to create a base of the snow globe image.

After I finished with all the inks, this is what it looked like.

Next, I used some of The Crafter's Workshop Tacky When Dry with the stencil to create some ornaments on the tree. Once the Tacky When Dry was dry, I added some The Crafter's Workshop Crimson Red Foil Transfer Sheets to the ornaments and The Crafter's Workshop Champagne Gold Foil Transfer Sheets to the star on the tree. I just rubbed on the foil and then pulled it back off. The foil will stick to the Tacky When Dry.

Then to create the snowflakes in the globe, I used The Crafter's Workshop Stardust Butter Pearl White.

I decided the base of the snow globe needed a little more color, so I added a little more ink over the entire bottom stand to color it in. Then I fussy cut out the entire snow globe, added a ribbon, and adhered over some Scrapbook.com Peppermint Patterned Cardstock Paper.


Interested in the products I used? For your convenience, products that are still available are linked to multiple shops below. Lists may contain affiliate links where possible at no additional cost to you. When you click on my links and make a purchase, I earn a small percentage of the sale. This helps me to be able to keep creating and maintaining this website. Even though I design for several companies, I still purchase many of my own supplies. However, I do receive some free products to work with, and I sometimes make money for the projects I make. I DO NOT get paid for product reviews, I give my honest opinion about the products I use, and I will never recommend a product that I do not like or would not use.
Affiliate and product disclosure and privacy policy can be found here.

August 25, 2022

Eerie Eyed Halloween Card

 Hello, crafty friends! Today I am sharing a fun eerie eyed Halloween card I made.

Some of the products I have used in this post have been provided to me by various companies. The opinions I share are solely my own. Affiliate links may be used where possible at no cost to you. However, I do earn a small commission when you click on my link and make a purchase from them. Thank you, and I appreciate your support!

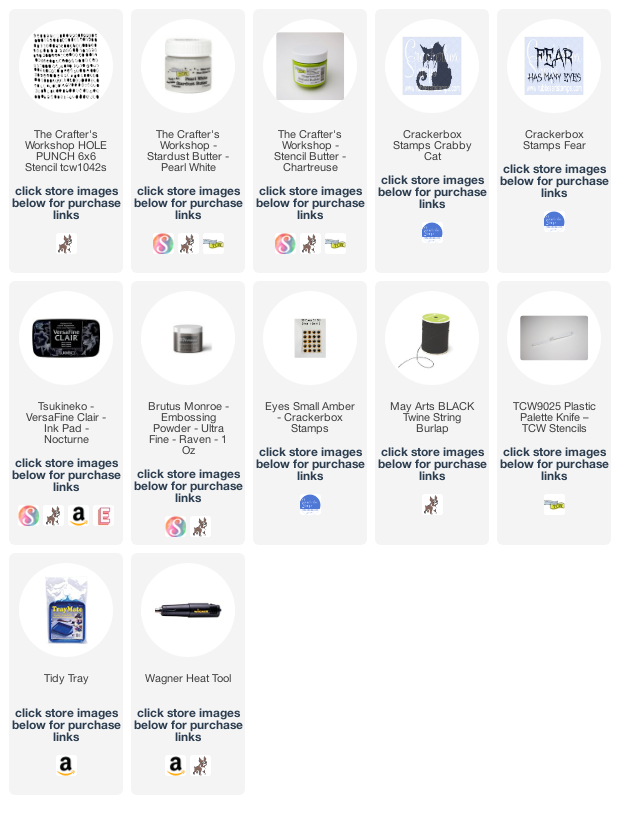
I started by creating an eerie eyes background using black cardstock and The Crafter's Workshop TCW1042 Hole Punch Stencil and then spread some The Crafter's Workshop Stardust Butter Pearl in White evenly over the entire stencil.


Next, I randomly spread some The Crafter's Workshop Stencil Butter in Chartreuse over the Stardust Butter to add a little bit of color.


Then, I added some dots to the background with a white and a black pen, so it looked like eyes. To finish my card, I stamped the Crackerbox Stamps Crabby Cat and the Crackerbox Stamps Fear sentiment and heat embossed them with black embossing powder. I added some black twine, fussy cut out the stamped images, and adhered them with foam squares. Then, I added some Small Amber Eyes for a few more eerie eyes.


Interested in the products I used? For your convenience, products that are still available are linked to multiple shops below. Lists may contain affiliate links where possible at no additional cost to you. Affiliate and product disclosure can be found here.
I design for several companies because I genuinely love their products! Anything I recommend on my blog is something that I genuinely love and regularly use. I buy most of my own supplies. However, I do receive some free products to work with, and I sometimes make money for the projects I make. I DO NOT get paid for product reviews, I give my honest opinion about the products I use, and I will never recommend a product that I do not like or would not use.

August 14, 2022

Harry Potter Sorting Hat Magical Birthday Card

 Hello! Are there any Harry Potter fans out there? Today I am sharing a magical Harry Potter sorting hat birthday card.

Some of the products I have used in this post have been provided to me by various companies. The opinions I share are solely my own. Affiliate links may be used where possible at no cost to you. However, I do earn a small commission when you click on my link and make a purchase from them. Thank you, and I appreciate your support!

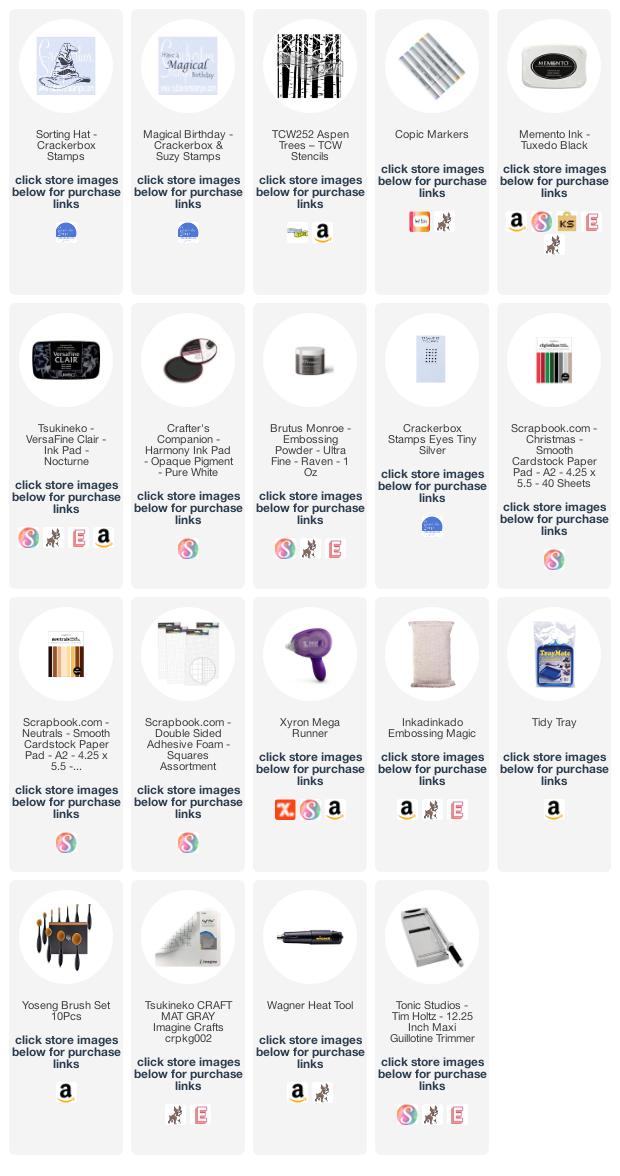
I started by creating a background with trees using The Crafter's Workshop Aspen Trees Stencil and white ink over dark grey cardstock with a blending brush. Then I stamped the Crackerbox Stamps Magical Birthday sentiment and heat embossed it with black embossing powder. Next, I stamped the Crackerbox Stamps Sorting Hat and colored it with Copic Markers, fussy cut it out, and adhered it with some foam squares. For the eyes in the forest, I added some small silver eyes.


Interested in the products I used? For your convenience, products that are still available are linked to multiple shops below. Lists may contain affiliate links where possible at no additional cost to you whatsoever. Affiliate and product disclosure can be found here.
I design for several companies because I genuinely love their products! Anything I recommend on my blog is something that I genuinely love and regularly use. I buy most of my own supplies. However, I do receive some free products to work with, and I sometimes make money for the projects I make. I DO NOT get paid for product reviews, I give my honest opinion about the products I use, and I will never recommend a product that I do not like or would not use.

August 10, 2022

Ornament Christmas Card Using A Layered Stencil

Hello! Today I am sharing a pretty ornament Christmas card I made using stencils.

Some of the products I have used in this post have been provided to me by various companies. The opinions I share are solely my own. Affiliate links may be used where possible at no cost to you. However, I do earn a small commission when you click on my link and make a purchase from them. Thank you, and I appreciate your support!

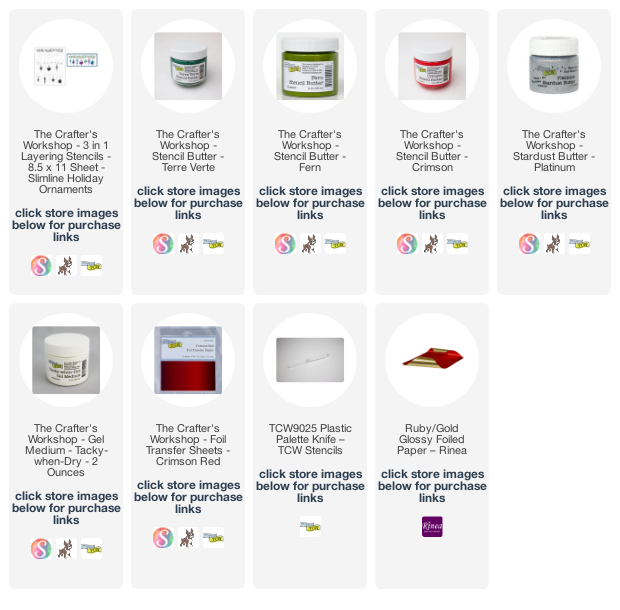
First, I started with The Crafter's Workshop TCW6007 Ornaments Layered Slimline Stencil. Using the first layer of the stencil with the garland and some The Crafter's Workshop Stencil Butter in Terre Verte and Fern.


Once they were dry, I used the next layer of the stencil with the berries and three ornaments. I used The Crafter's Workshop Stencil Butter in Crimson for the berries and The Crafter's Workshop TCW9049 Tacky-When-Dry Gel for the ornaments and then let them dry. Once the Tacky-When-Dry dries, it will be clear instead of white; I pressed some The Crafter's Workshop TCW9102 Crimson Red Foil Transfer onto it, making sure the shiny colored side was facing up.


I used The Crafter's Workshop Stardust Butter Platinum with the last layer of the stencil with the rest of the ornaments. Then I assembled my card.


Interested in the products I used? For your convenience, products that are still available are linked to multiple shops below. Lists may contain affiliate links where possible at no additional cost to you whatsoever. Affiliate and product disclosure can be found here.
I design for several companies because I genuinely love their products! Anything I recommend on my blog is something that I genuinely love and regularly use. I buy most of my own supplies. However, I do receive some free products to work with, and I sometimes make money for the projects I make. I DO NOT get paid for product reviews, I give my honest opinion about the products I use, and I will never recommend a product that I do not like or would not use.