Showing posts with label Xyron. Show all posts

July 19, 2023

Cruise Ship Porthole Scrapbook Layout

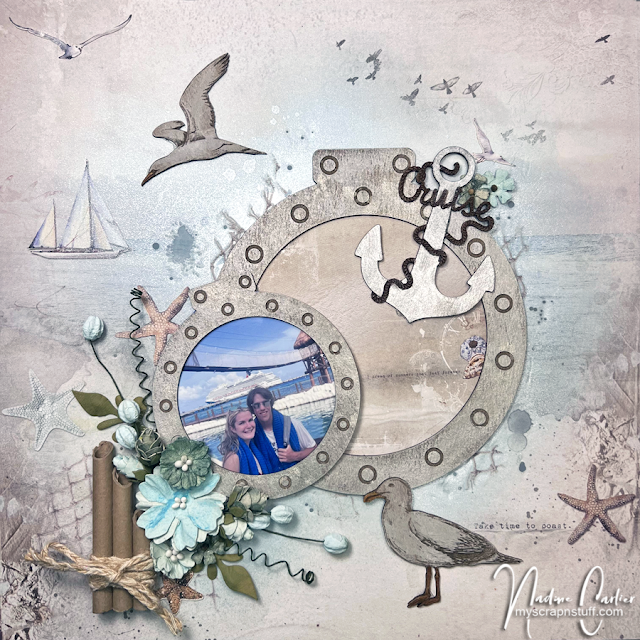
Hello! Today I am sharing a cruise ship porthole frame scrapbook layout.

Some of the products I have used in this post have been provided to me by various companies. The opinions I share are solely my own. Affiliate links may be used where possible at no cost to you. However, I will earn a small commission when you click on my link and purchase from them. Thank you, and I appreciate your support!

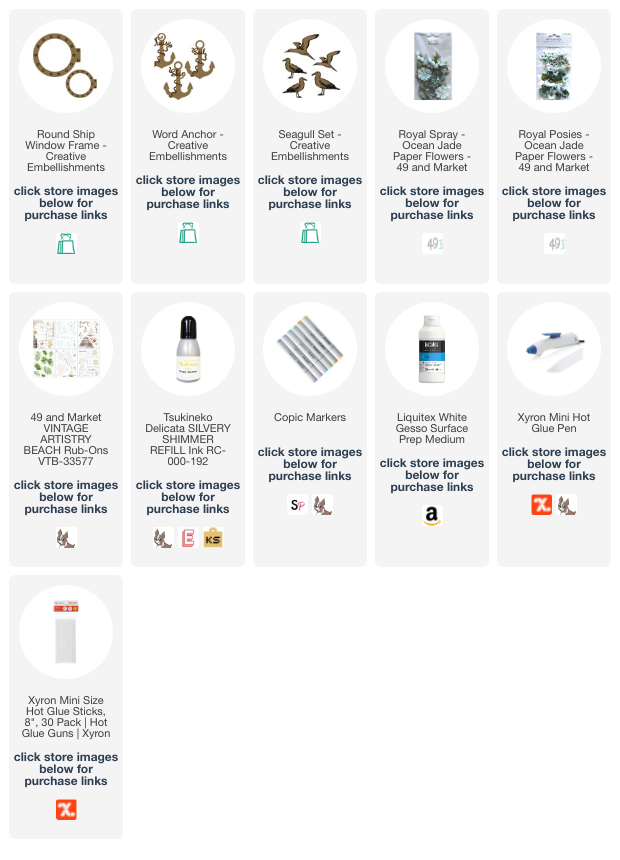
I painted the Creative Embellishments Round Ship Window Frames by dipping a paper towel in some white gesso and rubbing it onto the frame to give it a whitewashed look. Then I sprayed them with a gold color spray. On the smaller window, I cut my photo to fit the back of it, and for the bigger one, I cut a piece of patterned paper from 49 and Market Island Paradise Collection (retired) to fit that one.
On the Creative Embellishments Word Anchor, I painted it with Delicata Silvery Shimmer Ink Refill and used a brown Copic Marker to color the title and rope a darker brown. Around the porthole frames I also used some fishnet rub ons from 49 and Market.


For the Creative Embellishments Seagulls, I whitewashed them also with a paper towel and white gesso. Then for the beak and feet, I used an orange Copic Marker.


I added a flower cluster using flowers from 49 and Market. I adhered all of the chipboard pieces and flowers using my Xyron Mini Hot Glue Gun Pen.


Interested in the products I used? For your convenience, products that are still available are linked to multiple shops below. Lists may contain affiliate links where possible at no additional cost to you. When you click on my links and make a purchase, I earn a small percentage of the sale. This helps me to keep creating and maintaining this website. Even though I design for several companies, I still purchase many supplies on my own. I do receive some free products to work with, and I sometimes make money for the projects I make. I DO NOT get paid for product reviews, I give my honest opinion about the products I use, and I will never recommend a product that I do not like or would not use. Affiliate and product disclosure and privacy policy can be found here.

June 28, 2023

Sweet Birthday Card With A Pocket Gift Card Holder

 Hello! Today I am sharing a birthday card with a pocket to hold a gift card.

Some of the products I have used in this post have been provided to me by various companies. The opinions I share are solely my own. Affiliate links may be used where possible at no cost to you. However, I will earn a small commission when you click on my link and purchase from them. Thank you, and I appreciate your support!

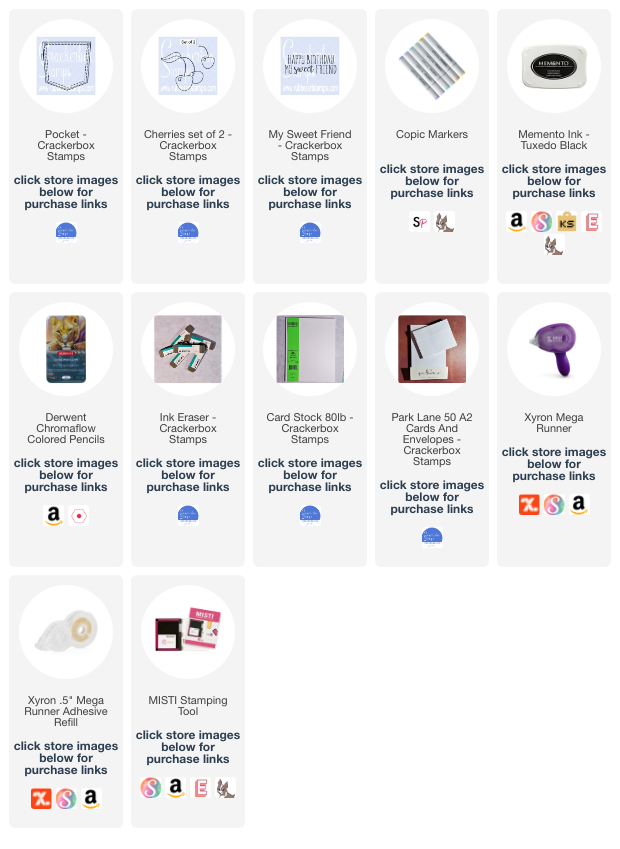
I first stamped the Crackerbox Stamps Pocket stamp and then stamped the Crackerbox Stamps Cherries on the pocket and colored them all with Copic Markers. On the stitching on the pocket, I used a gold pencil from the Derwent Chromaflow Colored Pencils Set. Once colored, I fussy cut out the pocket and applied a liquid adhesive to the bottom edge and side edges of the pocket, leaving the top open so I could slide a gift card into it. For the sentiment, I stamped Crackerbox Stamps My Sweet Friend along the top of the card front. Then matted the card front with red cardstock and adhered it to the card base.


Interested in the products I used? For your convenience, products that are still available are linked to multiple shops below. Lists may contain affiliate links where possible at no additional cost to you. When you click on my links and make a purchase, I earn a small percentage of the sale. This helps me to keep creating and maintaining this website. Even though I design for several companies, I still purchase many supplies on my own. I do receive some free products to work with, and I sometimes make money for the projects I make. I DO NOT get paid for product reviews, I give my honest opinion about the products I use, and I will never recommend a product that I do not like or would not use. Affiliate and product disclosure and privacy policy can be found here.

June 3, 2023

Humorous True Friendship Card

 Hello! Today I am sharing a humorous true friendship card that I made.

Some of the products I have used in this post have been provided to me by various companies. The opinions I share are solely my own. Affiliate links may be used where possible at no cost to you. However, I will earn a small commission when you click on my link and purchase from them. Thank you, and I appreciate your support!

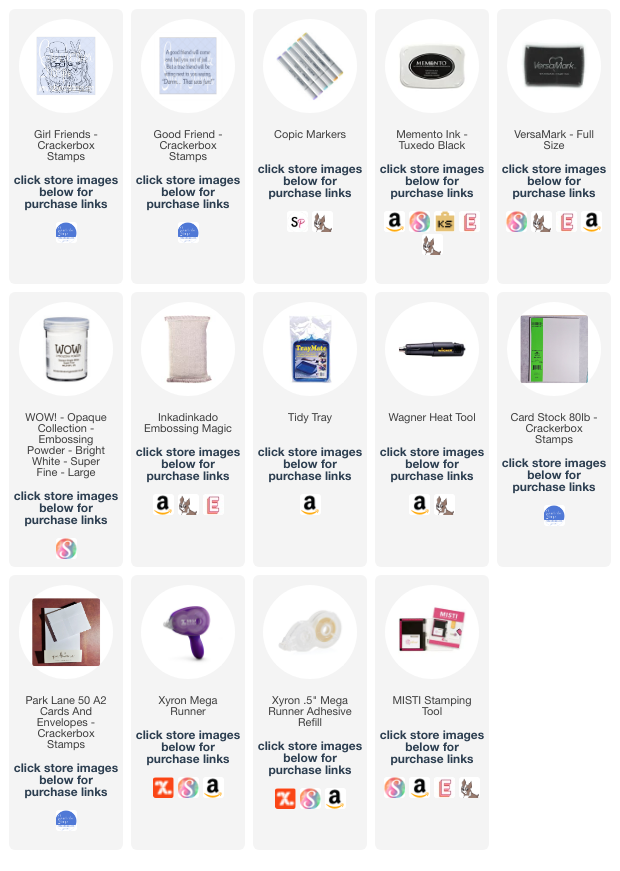
I stamped the Crackerbox Stamps Girl Friends stamp and colored them in with Copic Markers. Then I fussy cut the girls out.

Next, I stamped the Crackerbox Stamps Good Friend sentiment with VersaMark Ink on black cardstock and then heat embossed it with white embossing powder.


Interested in the products I used? For your convenience, products that are still available are linked to multiple shops below. Lists may contain affiliate links where possible at no additional cost to you. When you click on my links and make a purchase, I earn a small percentage of the sale. This helps me to keep creating and maintaining this website. Even though I design for several companies, I still purchase many supplies on my own. I do receive some free products to work with, and I sometimes make money for the projects I make. I DO NOT get paid for product reviews, I give my honest opinion about the products I use, and I will never recommend a product that I do not like or would not use. Affiliate and product disclosure and privacy policy can be found here.

March 11, 2023

Jeep Girl Scrapbook Layout

 Hello! Today I am sharing a Jeep Girl scrapbook layout.

Some of the products I have used in this post have been provided to me by various companies. The opinions I share are solely my own. Affiliate links may be used where possible at no cost to you. However, I will earn a small commission when you click on my link and purchase from them. Thank you, and I appreciate your support!

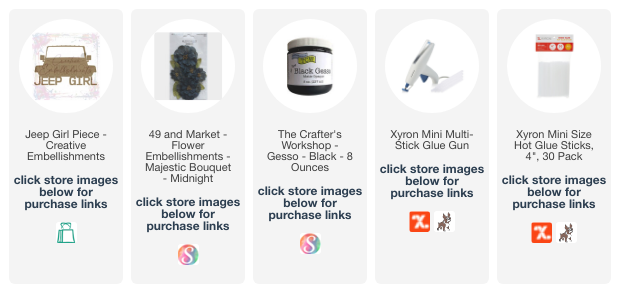
I painted the Creative Embellishment Jeep Girl chipboard piece with The Crafter's Workshop Black Gesso. For the headlights, I used a silver paint marker. Since the windshield of the chipboard piece was open, I added a photo behind it to make it look like my daughter was sitting in the chipboard piece. Then I cut off the excess of the photo. I added several flowers and a few other embellishments to complete my layout.

Interested in the products I used? For your convenience, products that are still available are linked to multiple shops below. Lists may contain affiliate links where possible at no additional cost to you. When you click on my links and make a purchase, I earn a small percentage of the sale. This helps me to keep creating and maintaining this website. Even though I design for several companies, I still purchase many supplies on my own. I do receive some free products to work with, and I sometimes make money for the projects I make. I DO NOT get paid for product reviews, I give my honest opinion about the products I use, and I will never recommend a product that I do not like or would not use. Affiliate and product disclosure and privacy policy can be found here.

March 8, 2023

Easter Peep Card

 Hello! Today I am sharing an Easter Peep card with you that I made.

Some of the products I have used in this post have been provided to me by various companies. The opinions I share are solely my own. Affiliate links may be used where possible at no cost to you. However, I will earn a small commission when you click on my link and purchase from them. Thank you, and I appreciate your support!

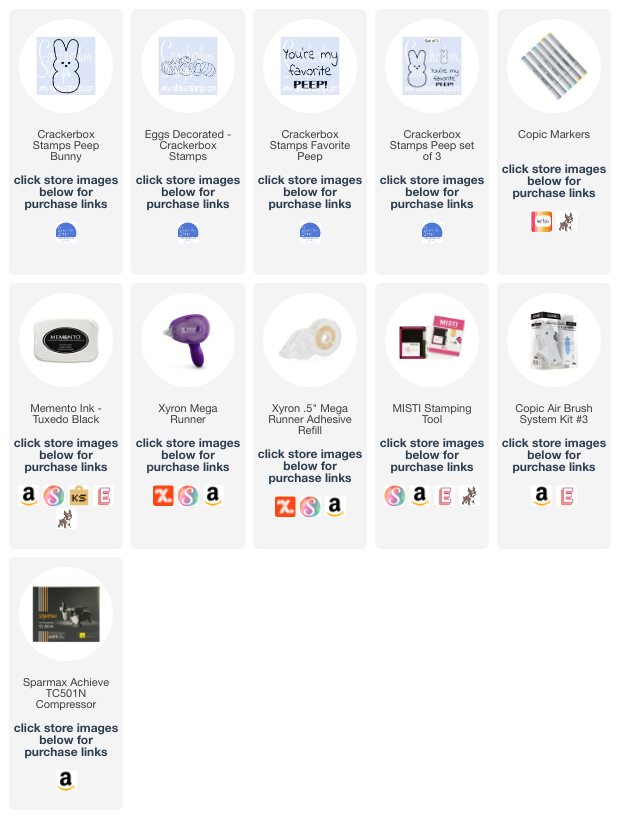
I stamped the Crackerbox Stamps Peep Bunny 3 different times and colored them by airbrushing them with Copic Markers. I stamped the Crackerbox Stamps Eggs Decorated and colored them with Copic Markers. Then I fussy cut the Peeps & Eggs out. I stamped the Crackerbox Stamps Favorite Peep stamp for the sentiment and used a die cut to cut it out. For the grass, I cut into some green cardstock creating a bunch of thin strips, but the part I tucked under the sentiment I did not cut, so they were all still attached. I then adhered everything together using my Xyron Mega Runner.

Interested in the products I used? For your convenience, products that are still available are linked to multiple shops below. Lists may contain affiliate links where possible at no additional cost to you. When you click on my links and make a purchase, I earn a small percentage of the sale. This helps me to keep creating and maintaining this website. Even though I design for several companies, I still purchase many supplies on my own. I do receive some free products to work with, and I sometimes make money for the projects I make. I DO NOT get paid for product reviews, I give my honest opinion about the products I use, and I will never recommend a product that I do not like or would not use. Affiliate and product disclosure and privacy policy can be found here.

February 17, 2023

Friendship St. Patrick's Day Card

 Hello! Today I am sharing a friendship St. Patrick's Day card that I made.

Some of the products I have used in this post have been provided to me by various companies. The opinions I share are solely my own. Affiliate links may be used where possible at no cost to you. However, I will earn a small commission when you click on my link and purchase from them. Thank you, and I appreciate your support!

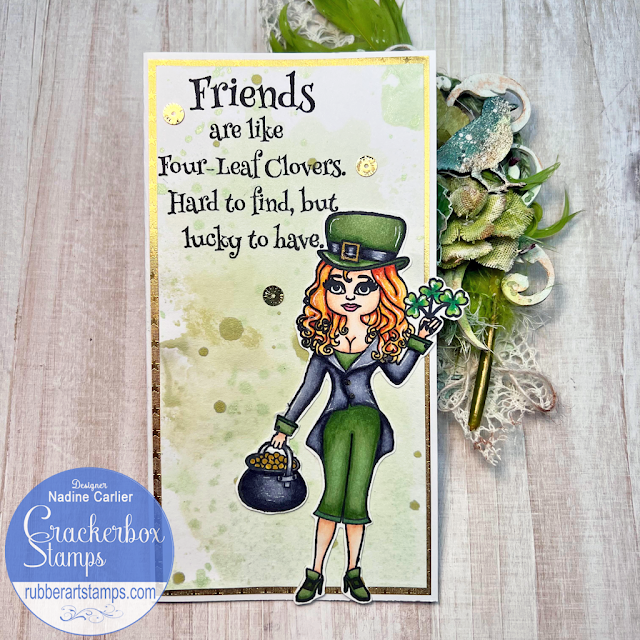
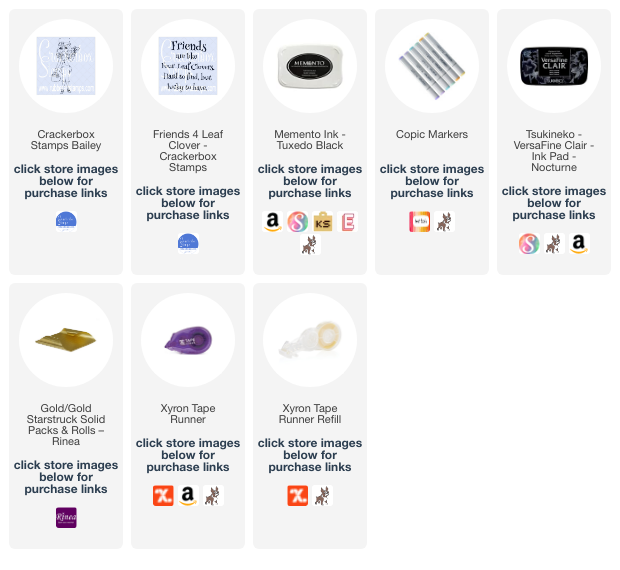
I started with a mini slimline card base. I sprayed the card front with some green color sprays and then matted it with Rinea Gold Starstruck Foiled Paper. I colored the Crackerbox Stamps Bailey stamp in with Copic Markers, fussy cut her out, and adhered her to my card front with Xyron Tape Runner. For the sentiment, I stamped the Crackerbox Stamps Friends 4 Leaf Clover stamp using VersaFine Clair in Nocturne ink. Then I added a few sequins, and my card was done.


The St. Patrick's Day Stamps I used from Crackerbox Stamps are 20% OFF now until Feb. 19th.

Interested in the products I used? For your convenience, products that are still available are linked to multiple shops below. Lists may contain affiliate links where possible at no additional cost to you. When you click on my links and make a purchase, I earn a small percentage of the sale. This helps me to keep creating and maintaining this website. Even though I design for several companies, I still purchase many supplies on my own. I do receive some free products to work with, and I sometimes make money for the projects I make. I DO NOT get paid for product reviews, I give my honest opinion about the products I use, and I will never recommend a product that I do not like or would not use. Affiliate and product disclosure and privacy policy can be found here.

February 8, 2023

Wild Thing Monkey Valentine's Day Card

  Hello! Today I am sharing a wild thing monkey Valentine's Day card.

Some of the products I have used in this post have been provided to me by various companies. The opinions I share are solely my own. Affiliate links may be used where possible at no cost to you. However, I will earn a small commission when you click on my link and purchase from them. Thank you, and I appreciate your support!

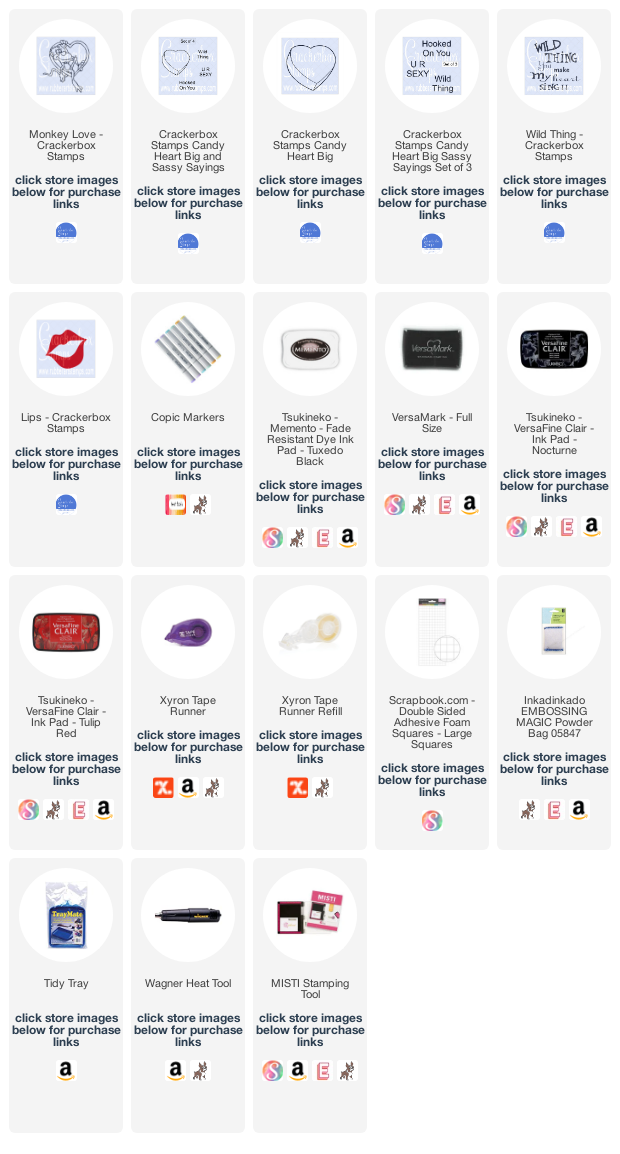
For my card, I started by stamping the Crackerbox Stamps Candy Heart several times on my card front and then colored them in with Copic Markers. Then with VersaMark, I stamped the Crackerbox Stamps Candy Heart Sassy Sayings on them and heat embossed them with white embossing powder.
Next, I stamped the Crackerbox Stamps Monkey Love image and colored him with Copic Markers. I traced a circle around the monkey and cut him out, leaving his tail, hand, and foot hanging off the edges of the circle. Then adhered him to the center of my card front with foam squares. All the other layers of my card, I adhered together using my Xyron Tape Runner.
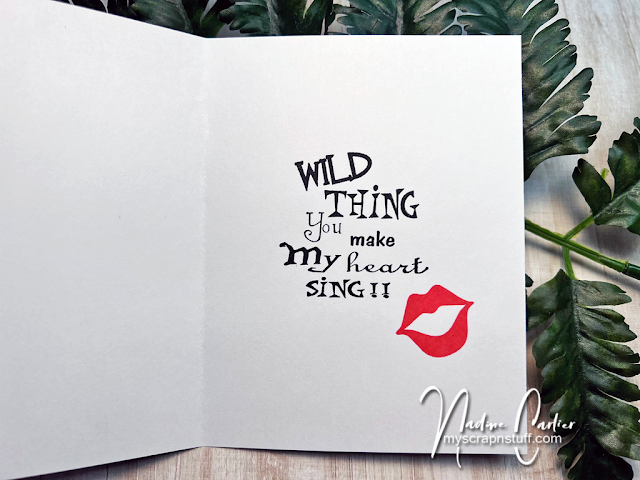
On the inside of my card, I stamped the Crackerbox Stamps Wild Thing sentiment in VersaFine Clair Nocturne and the Crackerbox Stamps Lips in VersaFine Clair Red Tulips.


Interested in the products I used? For your convenience, products that are still available are linked to multiple shops below. Lists may contain affiliate links where possible at no additional cost to you. When you click on my links and make a purchase, I earn a small percentage of the sale. This helps me to keep creating and maintaining this website. Even though I design for several companies, I still purchase many supplies on my own. I do receive some free products to work with, and I sometimes make money for the projects I make. I DO NOT get paid for product reviews, I give my honest opinion about the products I use, and I will never recommend a product that I do not like or would not use. Affiliate and product disclosure and privacy policy can be found here.

January 22, 2023

Sweet & Snarky Giraffe Card Perfect For A Friend

 I had trouble deciding which sentiment to use on my card, snarky or sweet, so I used both. :)

Some of the products I have used in this post have been provided to me by various companies. The opinions I share are solely my own. Affiliate links may be used where possible at no cost to you. However, I will earn a small commission when you click on my link and purchase from them. Thank you, and I appreciate your support!

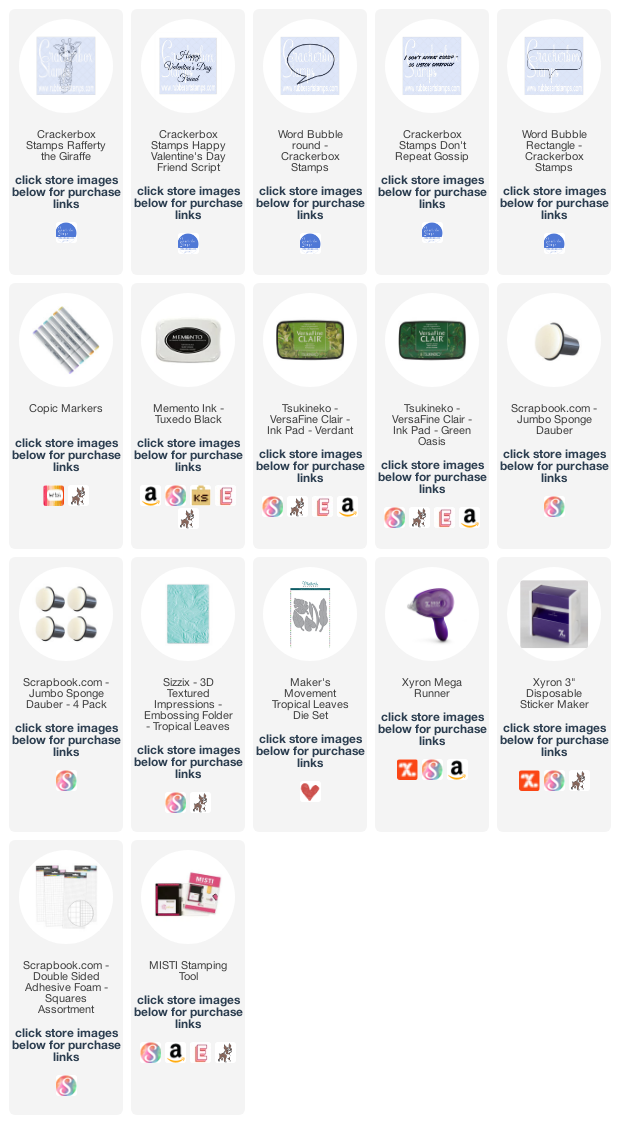
I went with sweet on my first card and used the Crackerbox Stamps Happy Valentine's Day Friend Script sentiment and stamped it in the Crackerbox Stamps Word Bubble Round.

For my second card, I went with snarky by using the Crackerbox Stamps Don't Repeat Gossip sentiment stamp and stamped it in the Crackerbox Stamps Word Bubble Rectangle.

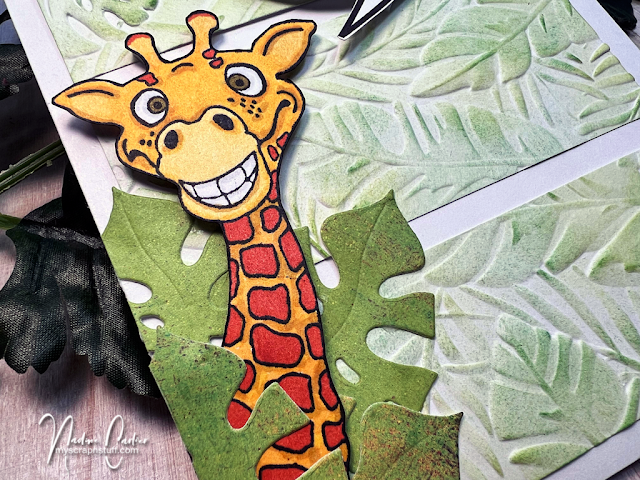
I used Crackerbox Stamps Rafferty The Giraffe on both cards and colored him in with Copic Markers. For the background, I used the Sizzix Tropical Leaves embossing folder on a white piece of cardstock, and some green ink on the raised embossed parts with an ink dauber, then cut it into 3 pieces. Then I added some die-cut leaves with the Maker's Movement Tropical Leaves Die around the Giraffe and attached him with some 3D foam squares.

So what do you think? Which one do you like better, sweet or snarky?


Interested in the products I used? For your convenience, products that are still available are linked to multiple shops below. Lists may contain affiliate links where possible at no additional cost to you. When you click on my links and make a purchase, I earn a small percentage of the sale. This helps me to keep creating and maintaining this website. Even though I design for several companies, I still purchase many supplies on my own. I do receive some free products to work with, and I sometimes make money for the projects I make. I DO NOT get paid for product reviews, I give my honest opinion about the products I use, and I will never recommend a product that I do not like or would not use. Affiliate and product disclosure and privacy policy can be found here.
January 15, 2023

You're Nuts But I Love You Anyways Valentine's Day Card

 We all have that one nutty person in our lives that we love anyways, right? I know I have several of them in my life... lol

Some of the products I have used in this post have been provided to me by various companies. The opinions I share are solely my own. Affiliate links may be used where possible at no cost to you. However, I will earn a small commission when you click on my link and purchase from them. Thank you, and I appreciate your support!

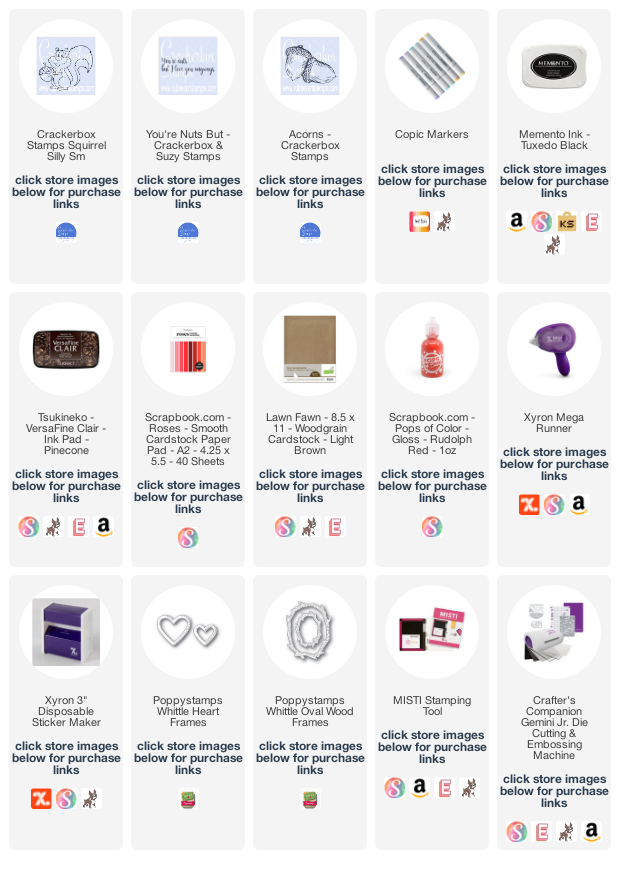
I created this fun Valentine's Day card by stamping the Crackerbox Stamps Silly Squirrel and Crackerbox Stamps Acorns and then coloring them in with Copic Markers.

I die cut out some hearts and a woodgrain frame and stamped the Crackerbox Stamps You're Nuts But sentiment, and adhered everything onto a woodgrain card front using my Xyron Adhesives. I added a few small dots of Pops Of Color Gloss in Rudolph Red to finish my card.


Interested in the products I used? For your convenience, products that are still available are linked to multiple shops below. Lists may contain affiliate links where possible at no additional cost to you. When you click on my links and make a purchase, I earn a small percentage of the sale. This helps me to keep creating and maintaining this website. Even though I design for several companies, I still purchase many supplies on my own. I do receive some free products to work with, and I sometimes make money for the projects I make. I DO NOT get paid for product reviews, I give my honest opinion about the products I use, and I will never recommend a product that I do not like or would not use. Affiliate and product disclosure and privacy policy can be found here.

December 21, 2022

Charlie Brown Christmas Tree Card

  Hello! Can you believe it is almost Christmas? Today I am sharing another Christmas card I made. Today's card is a Charlie Brown Christmas Tree card.
Some of the products I have used in this post have been provided to me by various companies. The opinions I share are solely my own. Affiliate links may be used where possible at no cost to you. However, I will earn a small commission when you click on my link and purchase from them. Thank you, and I appreciate your support!

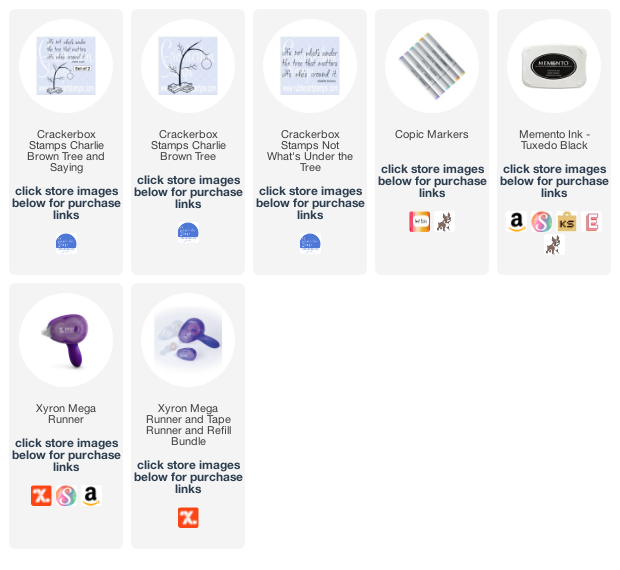
This was a rather simple card to create. I stamped the Crackerbox Stamps Charlie Brown Tree and colored it with Copic Markers. Then stamped the Crackerbox Stamps Not What's Under The Tree sentiment stamp, cut it out, and then matted it on some fun patterned paper. The two Crackerbox Stamps I used can also be purchased as a set.
This is a super quick and simple card to mass produce for getting out those last-minute Christmas cards like what I am trying to do now.

Interested in the products I used? For your convenience, products that are still available are linked to multiple shops below. Lists may contain affiliate links where possible at no additional cost to you. When you click on my links and make a purchase, I earn a small percentage of the sale. This helps me to keep creating and maintaining this website. Even though I design for several companies, I still purchase many supplies on my own. I do receive some free products to work with, and I sometimes make money for the projects I make. I DO NOT get paid for product reviews, I give my honest opinion about the products I use, and I will never recommend a product that I do not like or would not use. Affiliate and product disclosure and privacy policy can be found here.