Showing posts with label DecoArt. Show all posts

September 26, 2021

Haunted House Home Decoration

Hello! Today I am sharing how I did this spooky haunted house. I had so much fun doing the Witch Hat that I had to do this one too.


Some of the products I have used in this post have been provided to me by various companies. The opinions I share are solely my own. Affiliate links may be used where possible at no cost to you. However, I do earn a small commission when you click on my links and make a purchase from them. Thank you, and I appreciate your support!

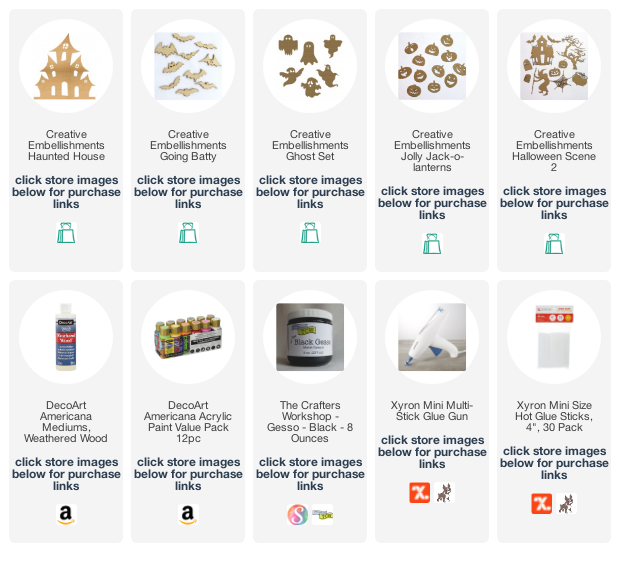
Using the Creative Embellishments Plywood Haunted House, I painted it with The Crafter's Workshop Matte Black Gesso and let it dry. Then I added a layer of DecoArt Americana Weathered Wood and let it dry. Next, I painted a layer of grey and brown paint mixed together in a thin layer over the weathered wood medium. As the paint dried it started to crack showing the black color underneath.

Then I painted the Creative Embellishments Wood Veneer Going Batty bats black and adhered them using a the Xyron Mini Multi-Stick Glue Gun. Painted some Creative Embellishments Ghosts white also the spider web from the Creative Embellishments Halloween Scene 2 Set and adhered them all to the back of the house using the Xyron Mini Multi-Stick Glue Gun.

Then I painted some of the Creative Embellishments Jolly Jack-O-Lanterns orange with brown stems and adhered them. Then added some black cardstock behind all the faces of the pumpkins, ghosts, and the back of the haunted house.


Interested in the products I used? Products that are still available are linked to multiple shops below, for your convenience.
Lists may contain affiliate links where possible at no cost to you, what so ever. Affiliate and product disclosure can be found here.
I design for several companies because I genuinely love their products! Anything I recommend on my blog is something that I genuinely love and regularly use. I buy most of my own supplies. However, I do receive some free products to work with, and I sometimes make money for the projects I make. I DO NOT get paid for product reviews, I give my honest opinion about the products I use, and I will never recommend a product that I do not like or would not use.

June 7, 2021

Personalized Softball Home Decor Plaque

 Hello! Today I am sharing a personalized softball home decor plaque I made for my daughter to hang up in her room.


Some of the products I have used in this post have been provided to me by various companies. The opinions I share are solely my own. Affiliate links may be used where possible at no cost to you. However, I do earn a small commission when you click on my links and make a purchase from them. Thank you, and I appreciate your support!

This really was not a difficult project to create at all. So easy that I am actually thinking about making one for each of the girls on my daughter's team.
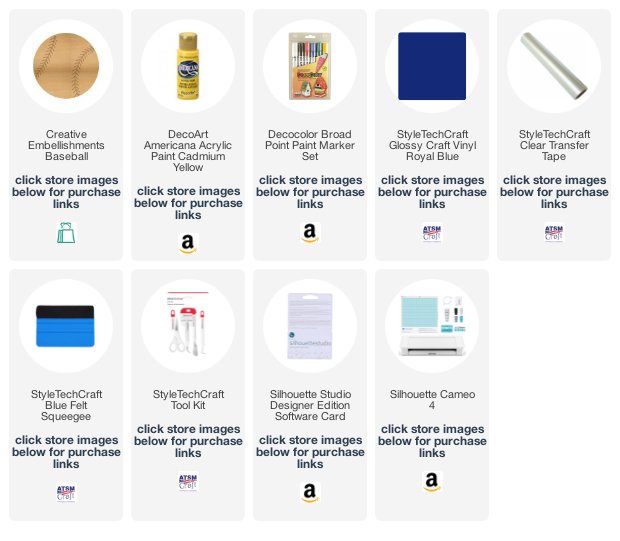
I first started with the Creative Embellishment Baseball Home Decor piece and painted it with some yellow acrylic paint. It did take about 3 coats to cover it well so next time I think I might do a coat of Gesso first. Then for the stitching, I used a Decocolor Red Paint Marker. I painted mine yellow so it would be a softball but it could also be easily painted white with red stitching to be a baseball.


For my daughter's name and number, I used StyleTechCraft Glossy Craft Vinyl in Royal Blue. I cut the letters out using my Silhouette Cameo 4 on the glossy vinyl setting and then used StyleTechCraft Clear Transfer Tape to make sure I got all the letters lined up straight. All I had to do was place the clear tape over the top of the cut glossy vinyl, peel the backing off of the glossy vinyl and then weed out the areas of the glossy vinyl that I did not want. Then just transferred the glossy vinyl to the front of the softball.


Interested in the products I used? Products that are still available are linked to multiple shops below, for your convenience.
Lists may contain affiliate links where possible at no cost to you, what so ever. Affiliate and product disclosure can be found here.
I design for several companies because I genuinely love their products! Anything I recommend on my blog is something that I genuinely love and regularly use. I buy most of my own supplies. However, I do receive some free products to work with, and I sometimes make money for the projects I make. I DO NOT get paid for product reviews, I give my honest opinion about the products I use, and I will never recommend a product that I do not like or would not use.
August 9, 2020

At The Zoo Scrapbook Layout

Hello! Today I am sharing an At The Zoo Scrapbook Layout with you. I've had these photos for years now and finally decided to do something with them.


Some of the products I have used in this post have been provided to me by various companies. The opinions I share are solely my own. Affiliate links may be used where possible at no cost to you. However, I do earn a small commission when you click on my links and make a purchase from them. Thank you, and I appreciate your support!

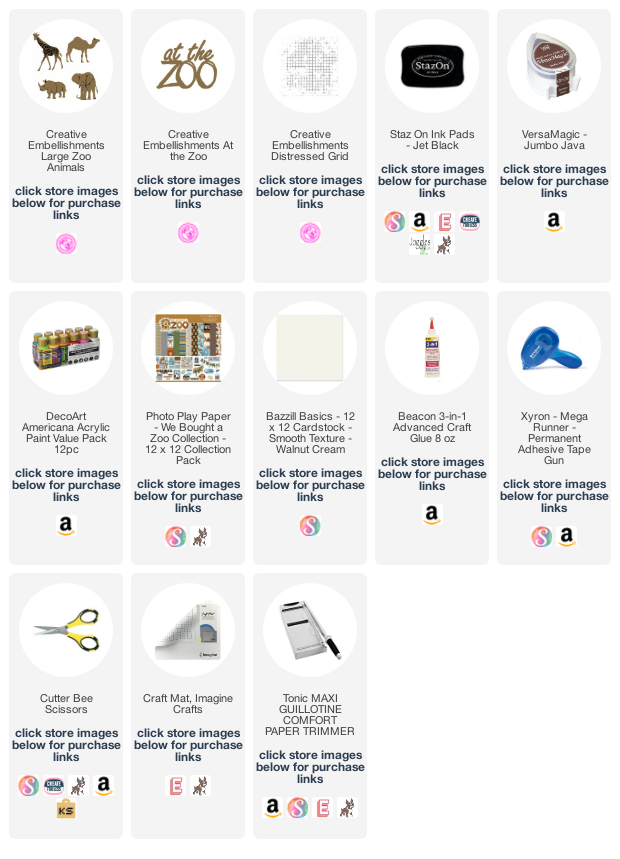
I started with an off white cardstock and stamped it with StazOn Ink and the Creative Embellishments Distressed Grid Stamp. I then flicked on some orange and green color sprays on the background and inked up the edges with VersaMagic Jumbo Java. I then cut the cardstock down about a half-inch on two sides and adhered it to one of the patterned papers in the PhotoPlay We Bought A Zoo Collection using my Xyron Mega Runner.
I cut some strips of patterned papers from the PhotoPlay We Bought A Zoo Collection and adhered them down using my Xyron Mega Runner. One of the papers had a leaf pattern on it and I fussy cut out a bunch of the leaves to tuck behind the photos.


From the Creative Embellishments Large Zoo Animals, I used the elephant and giraffe chipboard pieces and lightly painted them with acrylic paints and a dry brush so the etching in the chipboard pieces would still show up.  For the title, I used Creative Embellishments At The Zoo and painted it.


Interested in the products I used? Products that are still available are linked to multiple shops below, for your convenience.
Lists may contain affiliate links where possible at no cost to you, what so ever. Affiliate and product disclosure can be found here.
I design for several companies because I genuinely love their products! Anything I recommend on my blog is something that I genuinely love and regularly use. I buy most of my own supplies. However, I do receive some free products to work with, and I sometimes make money for the projects I make. I DO NOT get paid for product reviews, I give my honest opinion about the products I use, and I will never recommend a product that I do not like or would not use.

November 1, 2018

Easy Upcycled Christmas Treat Containers

I have been saving these mini Pringles containers for awhile waiting for the perfect project to use them for.  With Christmas around the corner, I decided they would make great treat containers by just painting them and adding some StyleTechCraft Vinyl.


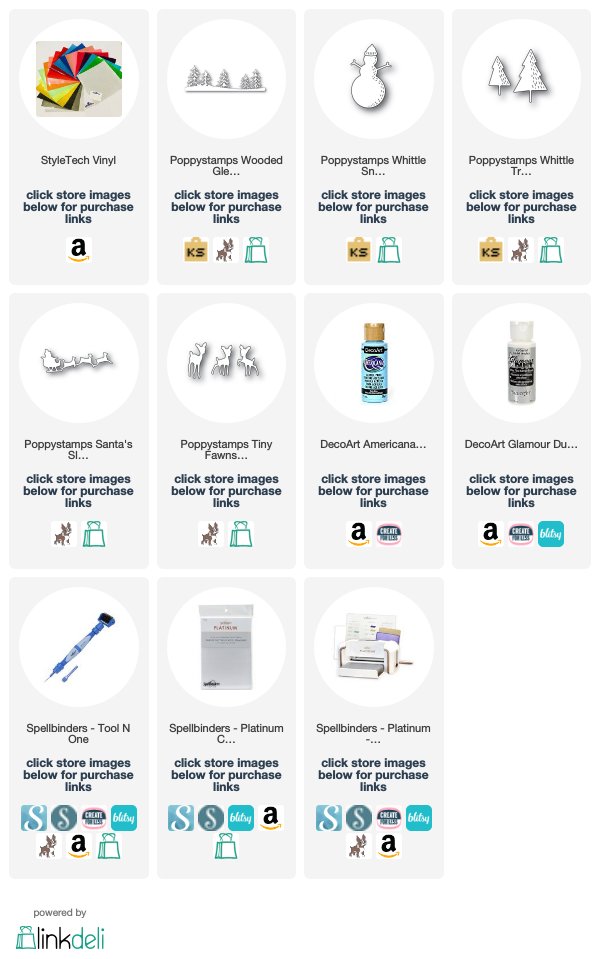
I first painted the Pringles cans with some DecoArt Americana in Baby Blue and then painted a coat DecoArt Glamour Dust in Ice Crystal. In the photo below the can on the left has the Glamour Dust painted on it and the one on the right does not.


Then I die cut out some images using StyleTechCraft Vinyl and Poppystamps Dies, links to the dies are provided below.


Then I applied them to the painted cans.


Super easy upcycled Christmas Treat containers!


Interested in the products I used? Products are linked to multiple shops below, for your convenience.
Lists may contain affiliate links where possible at no cost to you, what so ever. Affiliate and product disclosure can be found here.
April 17, 2017

Altered Photo Frame

Hello, everyone! Today I have an altered photo frame I created using gear chipboard from Creative Embellishments and lots of mixed media products from DecoArts. I had the idea for the frame but didn't really have a good photo to put inside the frame but then I remembered I had this photo of my son playing paintball.
Watch my process video below to see how I created the rusty effect.
Make sure to subscribe to my YouTube channel to get updates when I post a new video.


On the corners of the frame, I used the Steampunk Gear Corners 2 from Creative Embellishments and added a few smaller chipboard Gears on top of them. On the frame itself, I used a Metal Stencil with some modeling paste to go with the steampunk feel.


Interested in the products I used? Product links to multiple shops are below, for your convenience. Lists may contain affiliate links where possible at no cost to you, what so ever. Affiliate and product disclosure can be found here.