Showing posts with label Deflecto Crafts. Show all posts

September 21, 2020

Halloween Haunted House Easel Card

Hello! Today I am sharing a  Halloween Haunted House Easel Card that I created using dies and how I store my dies by theme.

Halloween Haunted House Easel Card by Nadine Carlier

Some of the products I have used in this post have been provided to me by various companies. The opinions I share are solely my own. Affiliate links may be used where possible at no cost to you. However, I do earn a small commission when you click on my links and make a purchase from them. Thank you, and I appreciate your support!

I knew I wanted to create a Halloween card so I grabbed my Deflecto Stackable Cube with all of my Halloween and Autumn dies and then picked out the Poppystamp dies I wanted to use.


I have several of these Deflecto Stackable Cubes and have each one organized by theme. So I have one for Christmas and Winter, another for flowers only, another for Love and so on. They are also great to use to organize your clear stamp sets. Which is on my list of things I need to do.

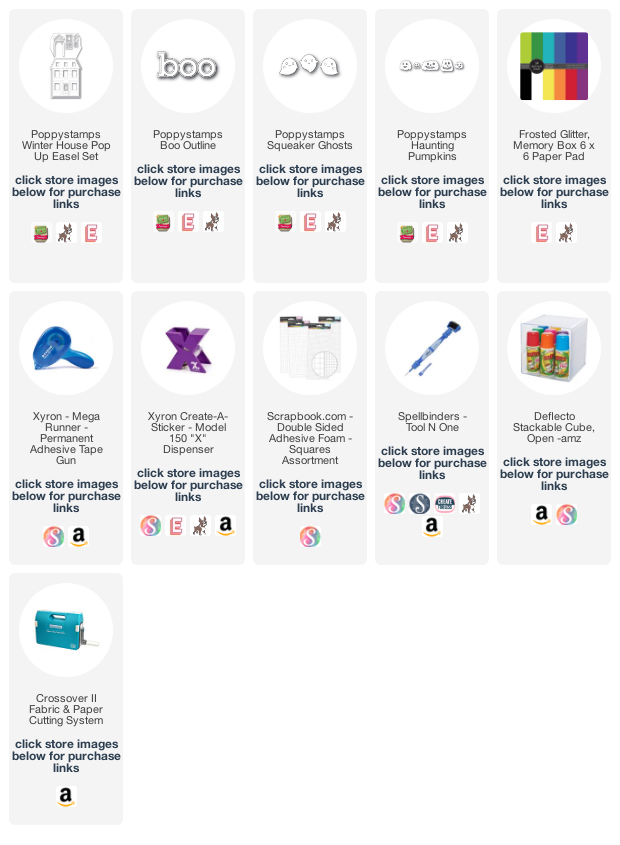
I first started with the Poppystamps Winter House Pop Up Easel Die Set. Even though this die set was meant for Christmas it is also great for Halloween too. I cut the base out with orange cardstock and then cut the house out in yellow and brown. I matted the brown with the yellow to give the windows and door a yellow glow and adhered these layers togehter using my Xyron Mega Runner. Then cut the windows and roof out in black cardstock. For the drips, I used the purple cardstock from the Memory Box Frosted Glitter Paper Pad.


Once I got all of the little pieces die cut out, I ran them all through my Xyron X Create A Sticker. This is a great way to adhere small die cut pieces.


Then I started adhering all of the little die pieces.

Halloween Haunted House Easel Card by Nadine Carlier 2

I tucked in some ghosts from the Poppystamps Squeaker Ghosts Dies in the windows.

Halloween Haunted House Easel Card by Nadine Carlier 3

For the pumpkins, I used Poppystamps Haunting Pumpkins. 

Halloween Haunted House Easel Card by Nadine Carlier 1

I used the Poppystamps Boo Outline to add as a ledge to prop the easel card too.

Halloween Haunted House Easel Card by Nadine Carlier 4

Interested in the products I used? Products that are still available are linked to multiple shops below, for your convenience.
Lists may contain affiliate links where possible at no cost to you, what so ever. Affiliate and product disclosure can be found here.
I design for several companies because I genuinely love their products! Anything I recommend on my blog is something that I genuinely love and regularly use. I buy most of my own supplies. However, I do receive some free products to work with, and I sometimes make money for the projects I make. I DO NOT get paid for product reviews, I give my honest opinion about the products I use, and I will never recommend a product that I do not like or would not use.

August 13, 2020

Autumn Shaker Card Using Artist Trading Coins

 Hello! Today I am sharing an Autumn shaker card using on ATC coin.

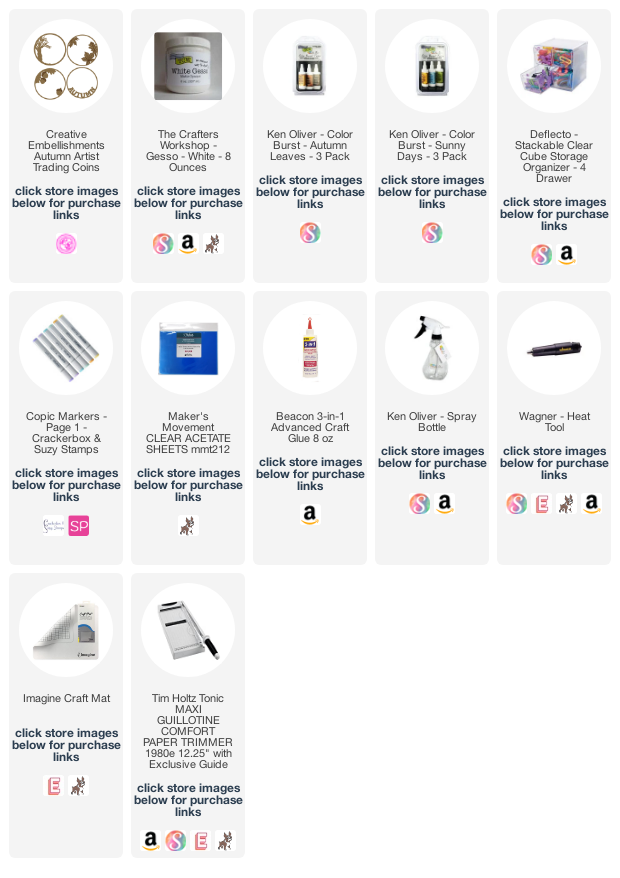
I first painted two of the Creative Embellishments Autumn Artist Trading Coins with The Crafter's Workshop White Gesso and then sprinkled on some ColorSparx Greenland Colors and sprayed them with water to give them some color. I outlined the leaves and coins with a brown Copic Marker to give them more definition.


I put a piece of acetate between the two coins and adhered them together. Then added some glitter and adhered a patterned paper backing to the coins to create my shaker.


Then adhered the shaker to my card front.


Since I used glitter in my shaker, I thought I would share how I organize my glitters and beads. I used the Deflecto 4 Drawer Stackable Cube Organizer. I love how I can take the drawer out if needed and how I can stack several organizers together. How do you keep your glitters organized?

Interested in the products I used? Products that are still available are linked to multiple shops below, for your convenience.
Lists may contain affiliate links where possible at no cost to you, what so ever. Affiliate and product disclosure can be found here.
I design for several companies because I genuinely love their products! Anything I recommend on my blog is something that I genuinely love and regularly use. I buy most of my own supplies. However, I do receive some free products to work with, and I sometimes make money for the projects I make. I DO NOT get paid for product reviews, I give my honest opinion about the products I use, and I will never recommend a product that I do not like or would not use.

July 5, 2020

How To Make A Magnetic Frame For School Photos


School is still a little over a month away before it starts back up again but I saw these cute school frames and had to make them now. I used a photo of my daughter from her 8th grade year before everything switched to homeschooling.


Some of the products I have used have been provided to me from various companies I design for. The opinions I share are solely my own, and I only design for companies that I completely love their products. Affiliate links may be used where possible at no cost to you. However, I do earn a small commission when you click on my links and make a purchase from them. Thank you, and I appreciate your support!

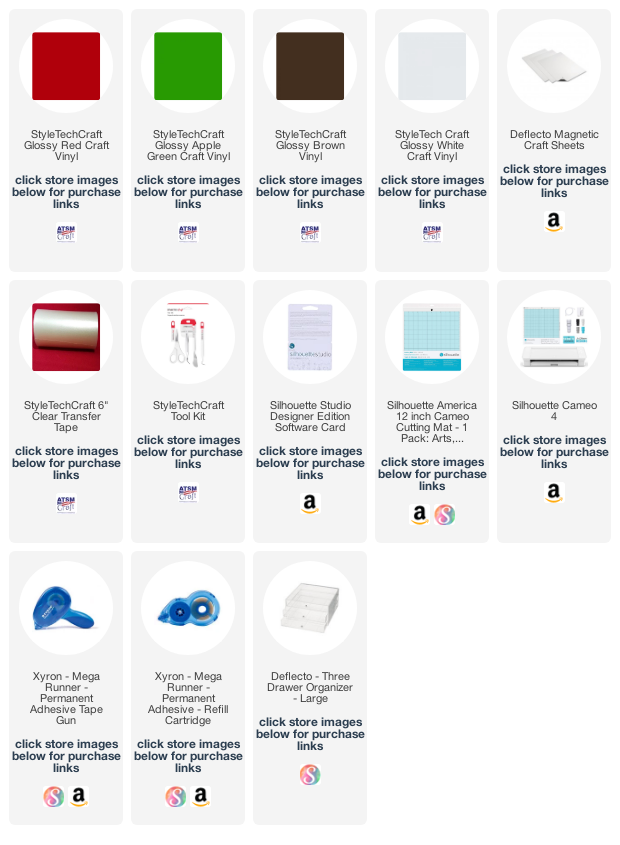
I found these cute SVG school photo frames and used my Silhouette Designer Studio Software to create my cut file.


I cut a square of the StyleTechCraft Glossy Craft Vinyl in Apple Green, Brown, Red, and White and put them in each corner of my cutting mat to match where I have placed each element of the frame to be cut in the Designer Studio.


 Then I cut them out using the Silhouette Cameo 4.


Next, I used a Deflecto Magnetic Sheet. These magnetic sheets are great, they are white on one side making them perfect to customize almost any way you want. They are 8" x 15" and come 3 in a pack. They are super easy to cut with scissors or with a craft knife.


and with my Xyron Mega Runner, I adhered a photo of my daughter onto it.


After adhering the photo, I then placed the frame of the apple that was cut from the StyleTechCraft Glossy Red Craft Vinyl onto the photo. Then added the stem and the leaf to the top of the apple and then cut it out along the outer edge of the apple, leaf, and stem.


Next, using the StyleTechCraft Clear Transfer Tape, I transferred the wording onto the front of the apple.


Then I was done and ready to hang on the fridge. These would also make great gifts for Grandparents. Or change it up some and add a photo of your favorite teacher and have it say greatest teacher or world's best teacher to give as a teacher gift.


To help me organize my Vinyl I use the Deflecto Large Three-Drawer Organizer. I organized my vinyl by rainbow colors with the top drawer being reds, oranges, and yellows. Middle drawer are greens, blues, and purples and bottom drawer are all the neutral colors like black, white, and browns.


Interested in the products I used? Products that are still available are linked to multiple shops below, for your convenience.
Lists may contain affiliate links where possible at no cost to you, what so ever. Affiliate and product disclosure can be found here.
I design for several companies because I genuinely love their products! Anything I recommend on my blog is something that I genuinely love and regularly use. I buy most of my own supplies. However, I do receive some free products to work with, and I sometimes make money for the projects I make. I DO NOT get paid for product reviews, I give my honest opinion about the products I use, and I will never recommend a product that I do not like or would not use.

June 12, 2020

Pet Rock Station with Deflecto


During the stay at home orders, my daughter started a few different craft projects and one of them was painting rocks. So I made her a pet rock station for her to be able to keep her supplies organized and also so she could bring them to where she was working.


Some of the products I have used have been provided to me from various companies I design for. The opinions I share are solely my own, and I only design for companies that I completely love their products. Affiliate links may be used where possible at no cost to you. However, I do earn a small commission when you click on my links and make a purchase from them. Thank you, and I appreciate your support!

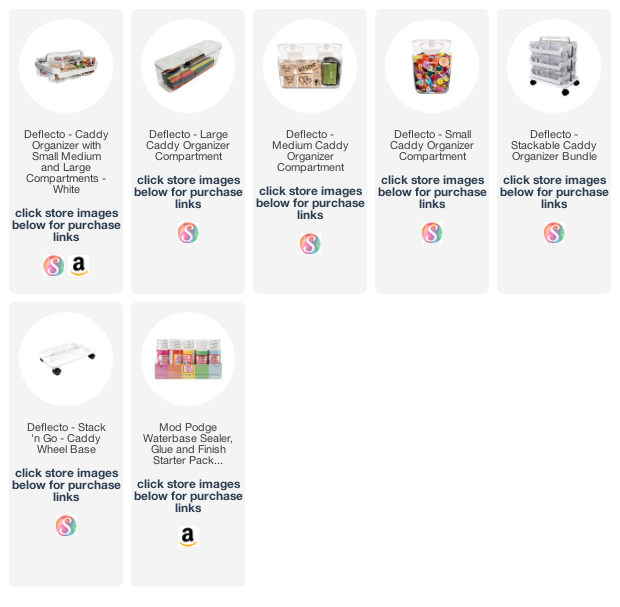
First, we gathered up some rocks from around the house. Lots of different sizes but none were bigger than a fist size. The rocks worked great in the medium compartment in the Deflecto Caddy Organizer.


Then we grabbed several different paint colors. The 2oz bottles fit perfectly in any of the compartments in the Deflecto Caddy Organizer. I was able to fit 16 bottles into the largest compartment.


Now that we are all organized my daughter was ready to start painting.


She had fun painting several different rocks. To help protect the work surface we used a plastic table cover, although she was very neat and didn't make a mess. After she painted a few of the rocks and the paint was dry we then sealed them with Mod Podge Outdoor Sealer.


 Here are some close-ups of a few of the rocks she painted.


Interested in the products I used? Products that are still available are linked to multiple shops below, for your convenience.
Lists may contain affiliate links where possible at no cost to you, what so ever. Affiliate and product disclosure can be found here.
I design for several companies because I genuinely love their products! Anything I recommend on my blog is something that I genuinely love and regularly use. I buy most of my own supplies. However, I do receive some free products to work with, and I sometimes make money for the projects I make. I DO NOT get paid for product reviews, I give my honest opinion about the products I use, and I will never recommend a product that I do not like or would not use.

May 8, 2020

Thank A Nurse Card

Do you know a nurse that could use a big thank you? I know several that could use one!


Some of the products I have used have been provided to me from various companies I design for. The opinions I share are solely my own, and I only design for companies that I completely love their products. Affiliate links may be used where possible at no cost to you. However, I do earn a small commission when you click on my links and make a purchase from them. Thank you, and I appreciate your support!

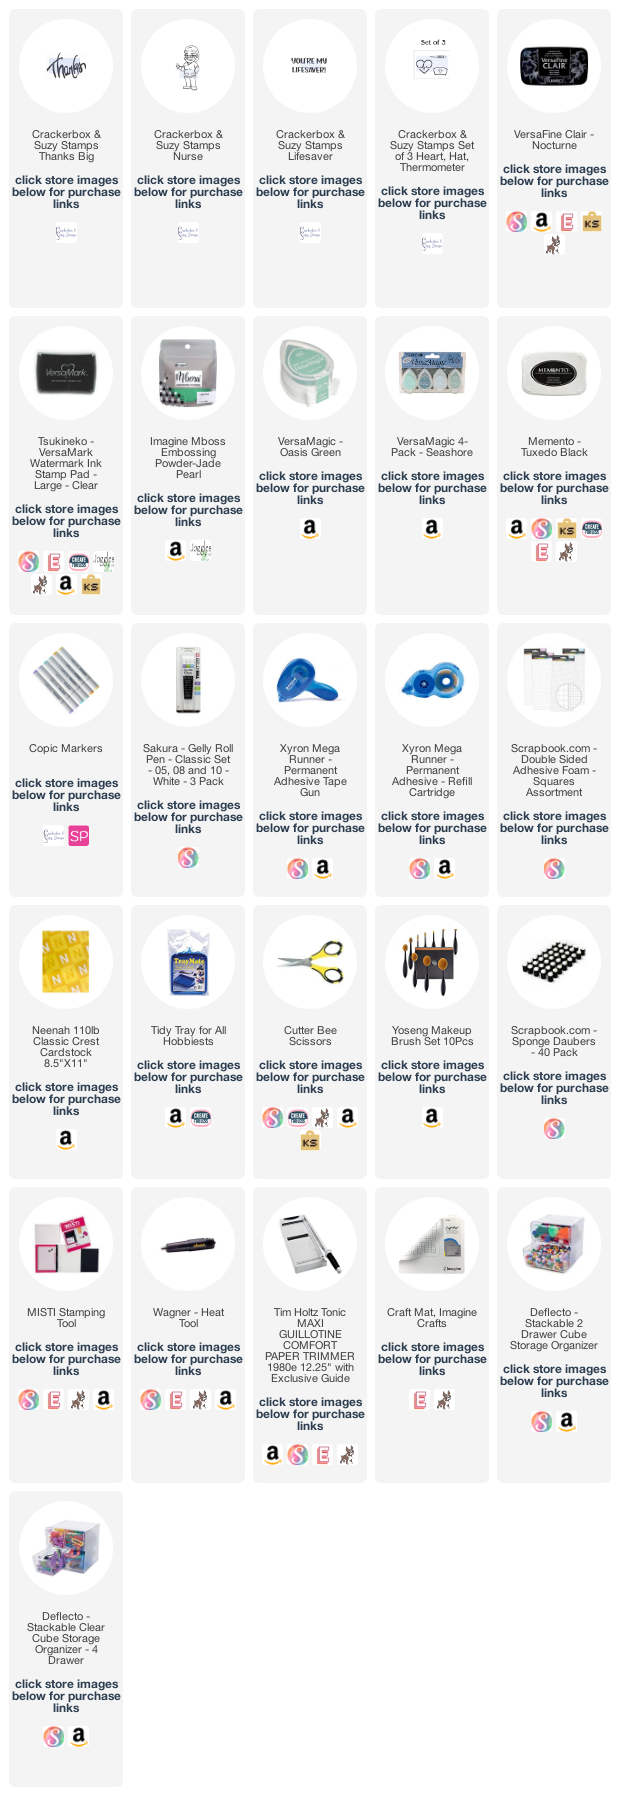
For the background of my card, I first stamped the Crackerbox & Suzy Stamps Thanks Big stamp with VersaMark ink and heat embossed it with Mboss Embossing Powder Jade Pearl.
Next, I used a blending brush with some VersaMagic Oasis Green going heavier towards the bottom and lighter towards the top.


Then I stamped the Crackerbox & Suzy Stamp Nurse with Memento Black Tuxedo and colored her in with Copic Markers. I also stamped a thermometer using the Crackerbox & Suzy Stamps Set of 3 Heart, Hat, Thermometer stamp with VersaMark ink and heat embossed it with white embossing powder. I wanted the "thanks" to stand out more so outlined it with a white pen and added some stitch like dashes around the edges of the card front and around the sentiment.


I do a lot of ink blending and have a lot of different ink blending tools. Some of them are small and hard to keep organized. I started using the Deflecto Stackable Cube with 2 Drawers and also with 4 Drawers. Because I have so many sponge daubers, I took one of the bigger drawers from the Deflecto 2 Drawer Cube and exchanged it with 2 of the smaller drawers from the Deflecto 4 Drawer Cube to fit all the daubers in and so that all of my ink blenders are all in the same cube.


Make sure to visit the Crackerbox & Suzy Stamps Store and check out all of their Superhero Nurse Stamps that are 20% OFF till the end of May.


Interested in the products I used? Products that are still available are linked to multiple shops below, for your convenience.
Lists may contain affiliate links where possible at no cost to you, what so ever. Affiliate and product disclosure can be found here.
I design for several companies because I genuinely love their products! Anything I recommend on my blog is something that I genuinely love and regularly use. I buy most of my own supplies. However, I do receive some free products to work with, and I sometimes make money for the projects I make. I DO NOT get paid for product reviews, I give my honest opinion about the products I use, and I will never recommend a product that I do not like or would not use.