July 30, 2021

Christmas Interactive Slider Card

 Hello, I know it is only July but it is never too early to start on your Christmas Cards!

Some of the products I have used in this post have been provided to me by various companies. The opinions I share are solely my own. Affiliate links may be used where possible at no cost to you. However, I do earn a small commission when you click on my links and make a purchase from them. Thank you, and I appreciate your support!

For my card base, I used a Slider Card from Crackerbox & Suzy Stamp. I love that these card bases! They are already precut and scored to make it super easy to create and saves a lot of time not having to make them myself.
For the striped paper, I die cut out a frame using some rectangle dies and adhered it to the front, and then used a small circle die and cut out half a circle notch at the top to create a tab.
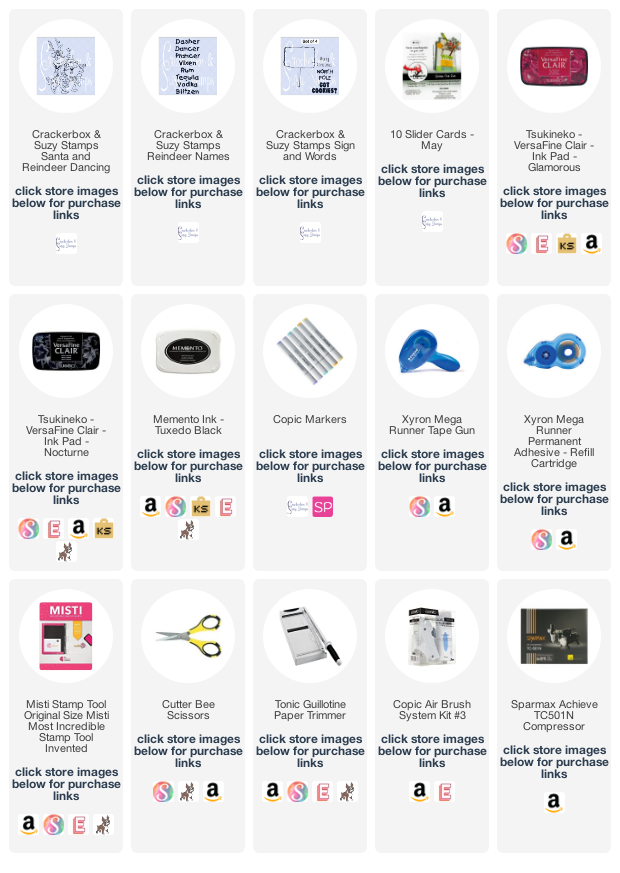
Stamped and colored the Crackerbox & Suzy Stamps Santa and Reindeer Dancing Stamp with Copic Markers then fussy cut it out and adhered it to the front but only the bottom half of the image below the center fold line. To adhere everything together, I used my Xyron Mega Runner.


On the inside of the card, I stamped the Crackerbox & Suzy Stamps Reindeer Names Stamp.

Then on the slider tab, I stamped the Crackerbox & Suzy Stamps Sign Post and Merry Christmas on the sign and colored it in with Copic Markers. I also airbrushed with my Copic Markers around the edges slightly of the slider tag and behind the Santa and Reindeer Dancing Stamp.

Here is my slider card in action.....

Interested in the products I used? Products that are still available are linked to multiple shops below, for your convenience.
Lists may contain affiliate links where possible at no cost to you, what so ever. Affiliate and product disclosure can be found here.
I design for several companies because I genuinely love their products! Anything I recommend on my blog is something that I genuinely love and regularly use. I buy most of my own supplies. However, I do receive some free products to work with, and I sometimes make money for the projects I make. I DO NOT get paid for product reviews, I give my honest opinion about the products I use, and I will never recommend a product that I do not like or would not use.

July 22, 2021

Paper Flower Arrangement Using Dreaming Tree SVG Cut Files

 Today I am sharing a pretty floral planter I made using nothing but paper. I love these kinds of flowers because they last forever. I still love to have fresh flowers but it always makes me sad that they only last for a few days before dying.


Some of the products I have used in this post have been provided to me by various companies. The opinions I share are solely my own. Affiliate links may be used where possible at no cost to you. However, I do earn a small commission when you click on my links and make a purchase from them. Thank you, and I appreciate your support!

To create this pretty floral planter, I used an SVG cut file from Dreaming Tree. It is called Patriotic Floral Planter SVG and they show it being made for the 4th of July but I wanted to change it up some and make it into a bright and cheery summer planter. It was super easy to cut out using my Silhouette Cameo 4 and Design Studio Software.


I used different shades of yellow and orange patterned papers to create the flowers to give them a Gerber Daisy look. For the centers, I used some Rinea Foiled Paper in Mocha Starstruck and for the leaves, I used two different colors of green cardstock. For the planter, I used brown woodgrain paper and some Rinea Foiled Paper in Gold Glossy around the bottom.
Dreaming Tree has a great video tutorial showing how to assemble the floral planter. I changed it up a little since I didn't have wire or floral tape so I used wood skewers and painted them green for the stems of the flowers. I used Xyrons Mini Multi-Stick Glue Gun to adhere my flowers together.
To watch a video on how I created the crate paper butterflies, CLICK HERE.


Want to see more creations using SVG cut files from Dreaming Tree? Visit the Designer Crafts Connection Blog Post to see what their other designers created.

Interested in the products I used? Products that are still available are linked to multiple shops below, for your convenience.
Lists may contain affiliate links where possible at no cost to you, what so ever. Affiliate and product disclosure can be found here.
I design for several companies because I genuinely love their products! Anything I recommend on my blog is something that I genuinely love and regularly use. I buy most of my own supplies. However, I do receive some free products to work with, and I sometimes make money for the projects I make. I DO NOT get paid for product reviews, I give my honest opinion about the products I use, and I will never recommend a product that I do not like or would not use.

July 8, 2021

How To Make Simple Ribbon Flowers

 Hello and welcome to the Designer Crafts Connection blog hop with Gwen Studios. Gwen Studios is a new company that I was giving an amazing opportunity to work with their ribbons and sewing products.

Check out all of the amazing products they sent me...


Some of the products I have used in this post have been provided to me by various companies. The opinions I share are solely my own. Affiliate links may be used where possible at no cost to you. However, I do earn a small commission when you click on my links and make a purchase from them. Thank you, and I appreciate your support!

I have so many ideas of what I want to make with all these fabulous ribbons but started by just making some simple ribbon roses.


To create my roses, I first started with one of the ribbons and a ruler. Wrapped the ribbon around two times at an angle and used a pin from the Gwen Studios Summer Fun Sewing Kit to hold it together.


I kept wrapping all the way around the ruler until I reached the end and added another pin to hold that end together and cut the ribbon at the end of the ruler. Along the bottom edge of the ribbon, I added a strip of double-sided adhesive tape and then removed the pins and carefully slid the ruler out from the middle of the ribbon.


Then partly removing the backing off of the adhesive tape, I started rolling the ribbon starting from one end and continuing to the other end.

Once it is all rolled up you should have yourself a ribbon rose.


For more inspiration visit the Designer Crafts Connection blog for the full list of designers in the Gwen Studios blog hop.