Have you joined the slimline card trend yet? Today I am sharing a slimline steampunk masculine birthday card I created. And since slimline cards seem to be the new rage, I thought I would make one using some chipboard. I think I have more fun creating masculine cards than I do girly type cards.
Some of the products I have used in this post have been provided to me by various companies. The opinions I share are solely my own. Affiliate links may be used where possible at no cost to you. However, I do earn a small commission when you click on my links and make a purchase from them. Thank you, and I appreciate your support!
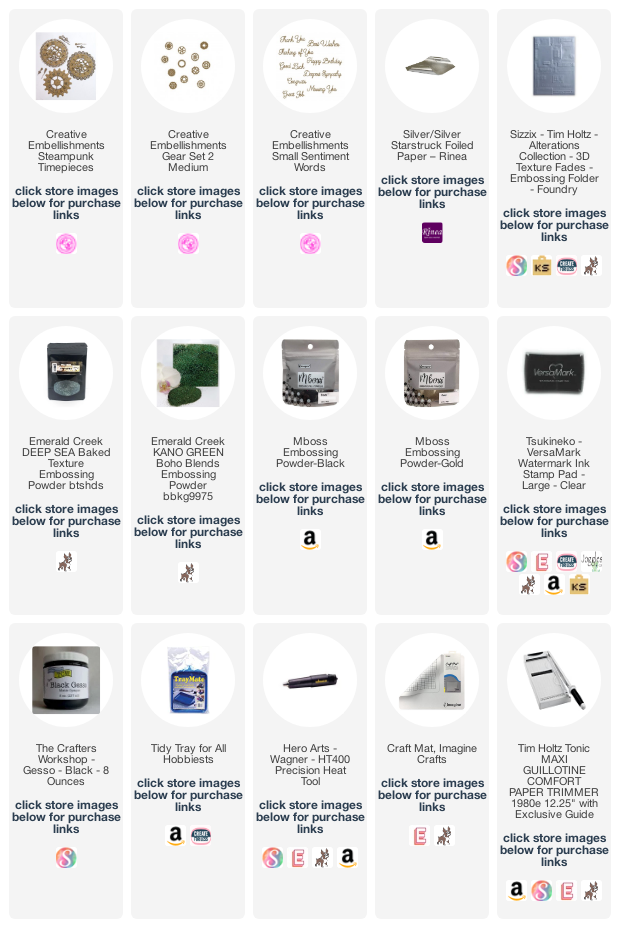
I started with a slimline card base of 8.5" x 3.5" using kraft cardstock. Then I cut a piece of black cardstock to 8.25" x 3.25" and adhered it to the card base. Next, I embossed some Rinea Silver Starstruck Foiled Paper using a Sizzix 3D Embossing Folder cut into 3 sections and adhered to the card base. Lightly rubbed on some black gesso to help the embossed areas to stand out better.

I used the Creative Embellishments Gear Set 2 Medium and used several different colors of embossing powder on them in blues, greens, and gold then adhered them onto the top and bottom silver square. Over the gears, I used the Happy Birthday from the Creative Embellishments Small Sentiment Words Set and embossed them with silver embossing powder.

For the center square, I used one of the Creative Embellishments Steampunk Timepieces and embossed them with embossing powder the same as I did with the gears. The hands of the clock I embossed using silver.

Interested in the products I used? Products that are still available are linked to multiple shops below, for your convenience.
Lists may contain affiliate links where possible at no cost to you, what so ever. Affiliate and product disclosure can be found here.
I design for several companies because I genuinely love their products! Anything I recommend on my blog is something that I genuinely love and regularly use. I buy most of my own supplies. However, I do receive some free products to work with, and I sometimes make money for the projects I make. I DO NOT get paid for product reviews, I give my honest opinion about the products I use, and I will never recommend a product that I do not like or would not use.


0 Comments:
Post a Comment
Thank you for visiting my blog and leaving a comment. Hope you have a wonderful day! :)
This is a public blog. Those leaving a comment on any post on this blog or entering a piece of artwork into a linky do so in the knowledge that their name and blog link are visible to all who visit this blog and in so doing have published their own personal details and consented to my use of that personal information should they be selected as a winner or to accredit work.