
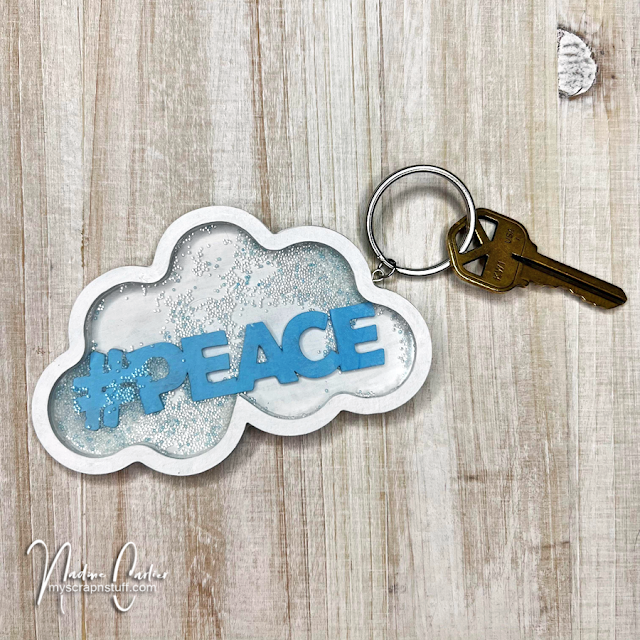
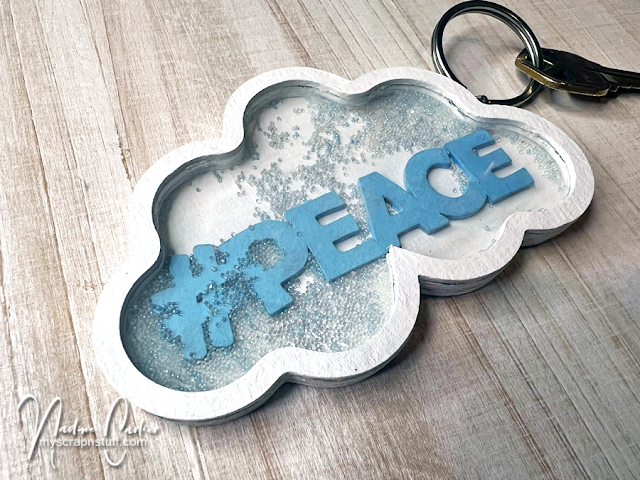
Hello! Today I am sharing a cloud shaker keyring that I created for my daughter.
 Some of the products I have used in this post have been provided to me by various companies. The opinions I share are solely my own. Affiliate links may be used where possible at no cost to you. However, I do earn a small commission when you click on my link and make a purchase from them. Thank you, and I appreciate your support!
I first painted each layer of the Creative Embellishments Cloud Shaker white and then once the layers were dry, I then adhered the first frame to the base. Then added one more of the cloud frames on top of that. I then adhered the word peace from the Creative Embellishments Hashtag 2 Set into the middle and added some microbeads for the shaker. Next, I adhered the clear acetate piece that comes with the Cloud Shaker set and then the last cloud frame onto the top. To create the keyring holder, I screwed a small eyelet into the side with a ring on it and added the keyring to that. The hardest part was waiting for the paint and Beacon 3 in 1 adhesive to dry.


0 Comments:
Post a Comment
Thank you for visiting my blog and leaving a comment. Hope you have a wonderful day! :)
This is a public blog. Those leaving a comment on any post on this blog or entering a piece of artwork into a linky do so in the knowledge that their name and blog link are visible to all who visit this blog and in so doing have published their own personal details and consented to my use of that personal information should they be selected as a winner or to accredit work.