Showing posts with label Brutus Monroe. Show all posts

January 6, 2018

When I Grow Up Card

Hello! Today I am sharing a card I made using the super cute new Brutus Monroe When I Grow Up Military Girl Stamp and the new Brutus Monroe Abstract Art Stamp Set.


For the background, I used the scribble stamps from the Abstract Art Stamp Set and stamped them with Brutus Monroe Jurassic, Sage and Suede Surface Ink on light gray cardstock. Then I flicked a few drops of the Brutus Monroe Sterling Liquid Elements.


The cute little military girl I colored in with several different greens of the Stylefile Markers, fussy cut her out then and adhered her to the front of my card with some 3D Foam Squares. You can find all the Brutus Monroe When I Grow Up Stamp Sets HERE.


For the sentiment, I took a wood veneer title "shine" and colored it with the Jurassic Surface Ink and adhered it to the front of the card. To create the sparkle on her goggles, I used a Wink Of Stella Brush in Clear and added some sequins and then I was done.


Make sure to check out all of the new Brutus Monroe releases by clicking HERE.

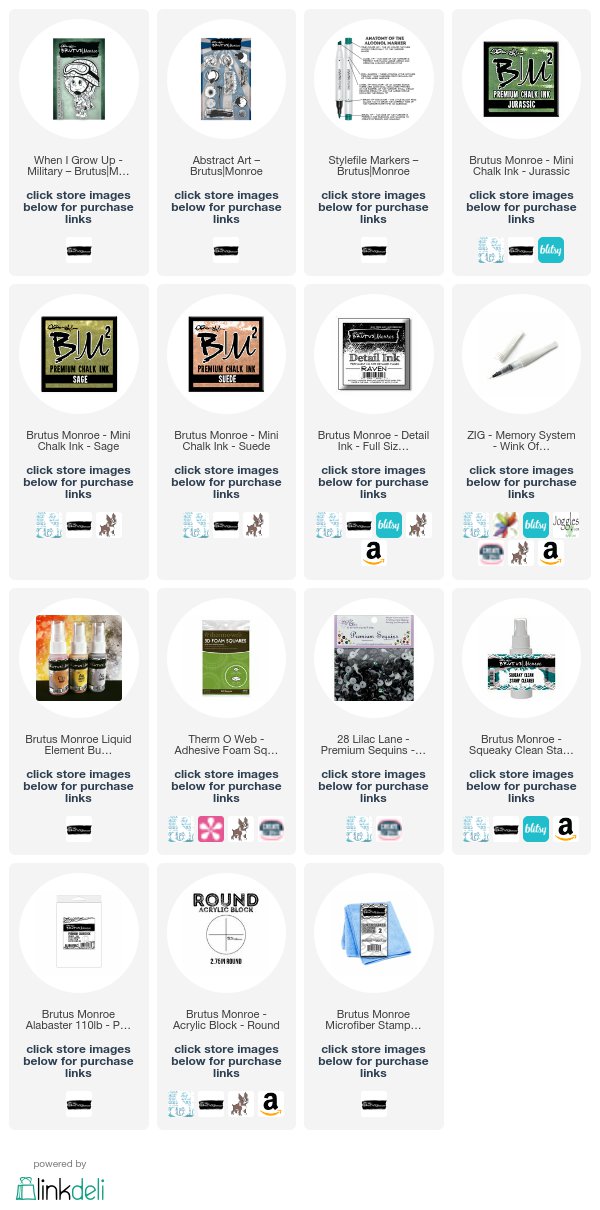
Interested in the products I used? Products are linked to multiple shops below, for your convenience. Lists may contain affiliate links where possible at no cost to you, what so ever. Affiliate and product disclosure can be found here.
November 10, 2017

Happy Thanksgiving Card

Hello! With Thanksgiving being right around the corner I thought it was a perfect time to make a Happy Thanksgiving Turkey card. This Happy Thanksgiving Stamp from Brutus Monroe was actually the first stamp that came in the Brutus Monroe Stamp Club. Do you have this stamp? No worries if you do not, it is available at the Brutus Monroe store HERE!


I stamped the turkey and the sentiment with the Brutus Monroe Raven Detail Ink and using a sponge dauber I added some Brutus Monroe Surface Ink in Phonebook to the outside edges of the stamped pieces.


Then I added some layers of patterned paper, a piece of burlap and twine ribbon. Before adhering the stamped images to the front of my card I flicked on some Brutus Monroe Liquid Elements in Sterling


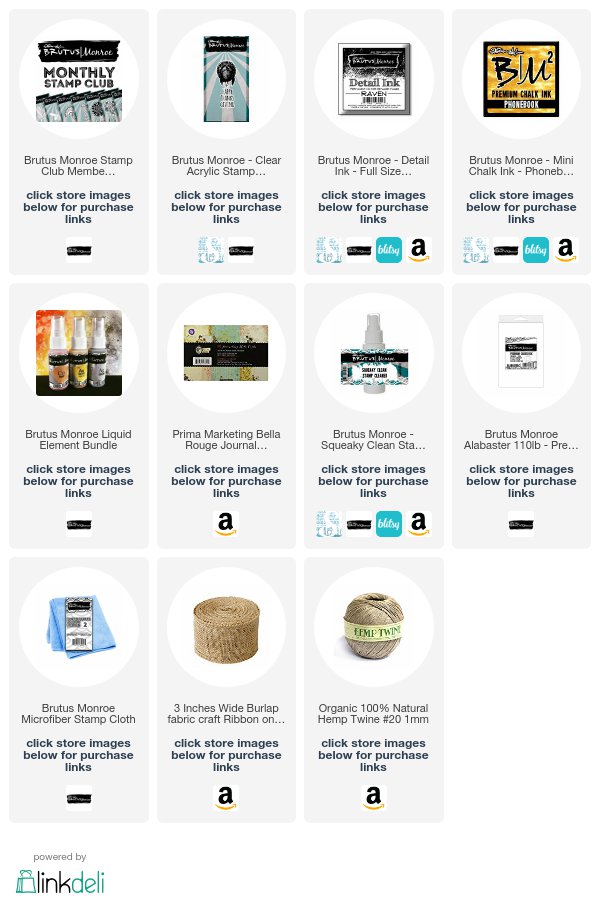
Interested in the products I used? Products are linked to multiple shops below, for your convenience. Lists may contain affiliate links where possible at no cost to you, what so ever. Affiliate and product disclosure can be found here.

November 8, 2017

Snowman Card with Deco Foil

Hello! Today I want to share a cute Deco Foil Snowman Card that I created using one of the snowmen from the Brutus Monroe Snow Friends Stamp Set.


Below is a video tutorial showing exactly how I created my card.
Make sure to subscribe to my YouTube channel to get updates when I post a new video.


For the background, I used the Brutus Monroe Snowflake Stencil with Deco Foil Transfer Gel. I let the transfer gel dry until it was clear and then placed a piece of Iridescent Deco Foil over it and ran it through the Foil Laminator.


I colored the snowman in with Stylefile Markers, fussy cut him out and used Therm O Web Foam Adhesive Squares to pop him up onto the front of my card.


You can see more of the new Brutus Monroe releases by clicking HERE.

Interested in the products I used? Products are linked to multiple shops below, for your convenience. Lists may contain affiliate links where possible at no cost to you, what so ever. Affiliate and product disclosure can be found here.

November 3, 2017

Little Boy Birthday Card with Brutus Monroe

Hello! Today I am sharing a cute little boy birthday card using the new Brutus Monroe Joey's Birthday Year 3 stamp set.


I stamped the zoo image three times using the Brutus Monroe Raven Detail Ink. The first one is my base image, the second one I fussy cut out around the gate, giraffe and some of the leaves. The third one I cut out the boy and balloons. Then I colored each layer with Stylefile markers.


I used some Therm O Web Foam Squares to layer each layer stamp on top of one another and used some black thread for the strings for the balloons.


Make sure to check out all of the new Brutus Monroe releases by clicking HERE.


Interested in the products I used? Products are linked to multiple shops below, for your convenience. Lists may contain affiliate links where possible at no cost to you, what so ever. Affiliate and product disclosure can be found here.

October 30, 2017

Simple Layered Christmas Card

Hello! Today I am sharing card I created using the Brutus Monroe November Stamp Of The Month. If you haven't already joined the Brutus Monroe stamp of the month club, you seriously should check it out. Each month you get a new stamp plus 10% off on all your other Brutus Monroe store purchases. Now that's a deal!!


This months stamp of the month comes with lots of little ornaments and the main ornament image that says "Merry Christmas" on it.
I stamped the main stamp image with some Brutus Monroe Embossing Ink and embossed it with Brutus Monroe Embossing Powder in Gilded and then fussy cut it out to adhere to the center of my card.


I used the Brutus Monroe Aztech Stars Embossing Folder on the layers under the stamped image and matted them with some Rinea Glossy Gold Foiled Paper. Then adhered the layers with Therm O Web 3D Foam Squares to a Brutus Monroe 6x6 card base.


With the stamp club, you will receive:
  • A 2x3 stamp set for only $5 which includes your shipping and handling!
  • A monthly email with project inspiration and first dibs on the digital cut file for that stamp
  • A new stamp designed monthly and shipped directly to you before it is listed on the website
  • 10% off of your everyday regular priced purchases at BrutusMonroe - this discount will be applied automatically the next time you sign in, if you are not seeing the discount immediately after your purchase, please refresh your browser. 

For more info on how to join the Brutus Monroe Stamp Of The Month Club, click HERE.

Interested in the products I used? Products are linked to multiple shops below, for your convenience. Lists may contain affiliate links where possible at no cost to you, what so ever. Affiliate and product disclosure can be found here.

October 20, 2017

Mixed Media Christmas Card Using Deco Foil

Hello! Today I am sharing a very merry mixed media Christmas card I made using Therm O Web Deco Foil, Brutus Monroe Surface Inks and the Brutus Monroe Jingle All The Way Stamp Set.


Below is a video tutorial showing exactly how I created my card.
Make sure to subscribe to my YouTube channel to get updates when I post a new video.


Here are some close-up photos so you can see all the gorgeous colors and shimmer from the Deco Foil and Brutus Monroe Powdered Elements.


Make sure to check out all of the new Brutus Monroe releases by clicking HERE.

Interested in the products I used? Products are linked to multiple shops below, for your convenience. Lists may contain affiliate links where possible at no cost to you, what so ever. Affiliate and product disclosure can be found here.
October 17, 2017

Fall Thankful Card Using Deco Foil

Hello! Today I have a video tutorial on how to make a fall thankful card using Therm O Web Deco Foil and Brutus Monroe stamps to share with you. I love how the Deco Foil can make a plain and simple card shine.


Below is a video tutorial showing how I used Deco Foil to create my card.
Make sure to subscribe to my YouTube channel to get updates when I post a new video.


Here are some close up photos of the card. The Copper Deco Foil is one of my favorite colors.


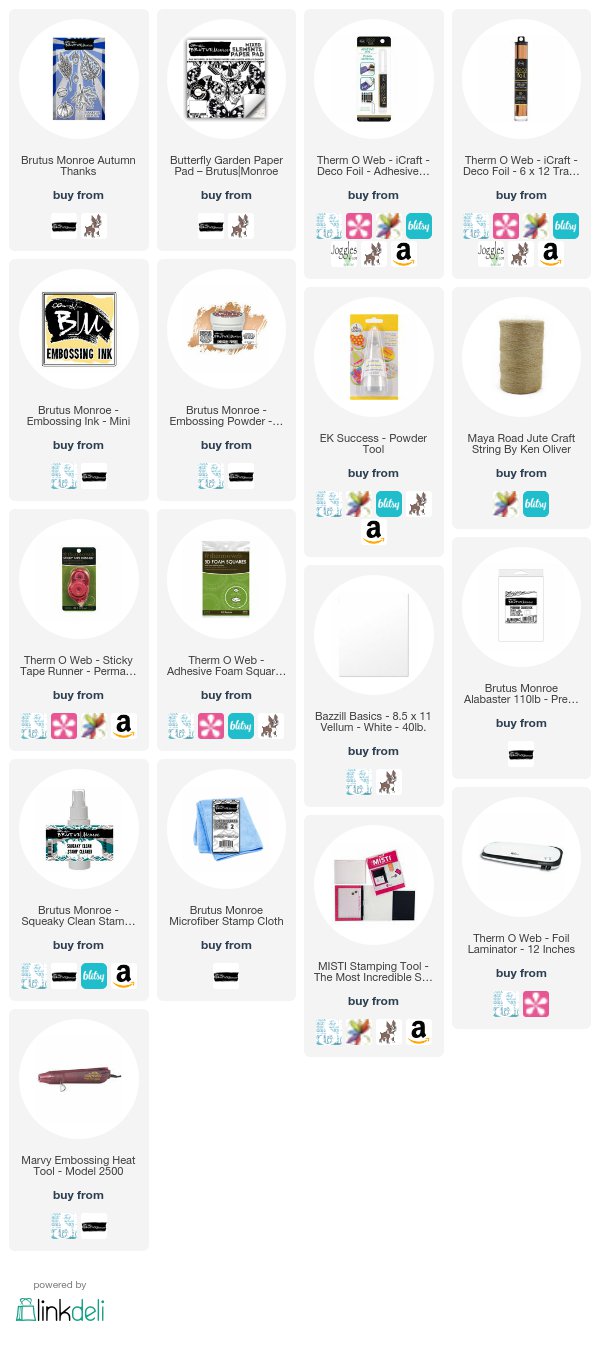
Interested in the products I used? Products are linked to multiple shops below, for your convenience. Lists may contain affiliate links where possible at no cost to you, what so ever. Affiliate and product disclosure can be found here.

October 9, 2017

Teeny Tiny Charms using Shrink Film

Hello, everyone! Have you ever used Shrink Film before? It's lots of fun! I made these teeny tiny charms using the new Brutus Monroe Premium Shrink Film and Brutus Monroe Tina's Classroom Stamp Set. This would be a great gift for a teacher but my daughter wants to keep it for herself.


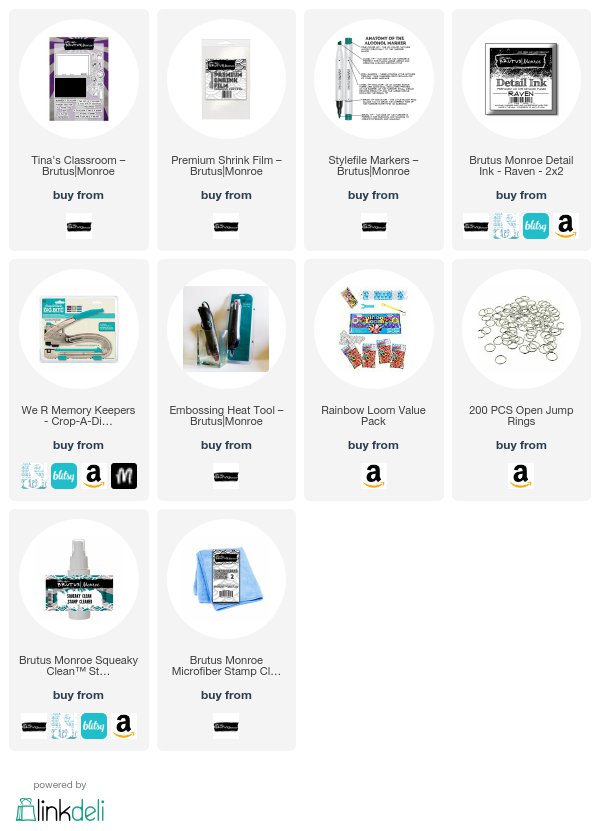
To make the charms, I first stamped some of the images from Tina's Classroom Stamp Set using Brutus Monroe Detail Ink in Raven onto a sheet of the Premium Shrink Film. Then colored in each image with Stylefile Markers. Once they were all colored, I then cut each one out leaving a little extra outside of the stamp line. After cutting them out, I punched a 1/8" hole in the top corner of each one with my Crop-A-Dile Big Bite.


Then using something pointy like tweezers or a toothpick in the hole to hold the charm while using the Embossing Heat Tool to shrink the charms. When they first start shrinking they will shrivel all up but keep the heat tool on them and they will flatten back out again. You can also use something flat like a stamp block on them while they are still hot to flatten them out even more.
All you have to do now is add a small jump ring to them and attach them to a bracelet. I attached mine to a Rainbow Loom bracelet my daughter made.


You can see more of the new Brutus Monroe releases by clicking HERE.

Interested in the products I used? Products are linked to multiple shops below, for your convenience. Lists may contain affiliate links where possible at no cost to you, what so ever. Affiliate and product disclosure can be found here.