Showing posts with label Etchall. Show all posts

July 31, 2018

Upcycle A Jar To A Pencil Holder - Great For Teachers!

Hey, everyone! Today I am sharing how I upcycled a jar to create a pencil holder using Etchall Dip n' Etch. So don't throw away those empty food jars!
This would make a great teacher gift! 


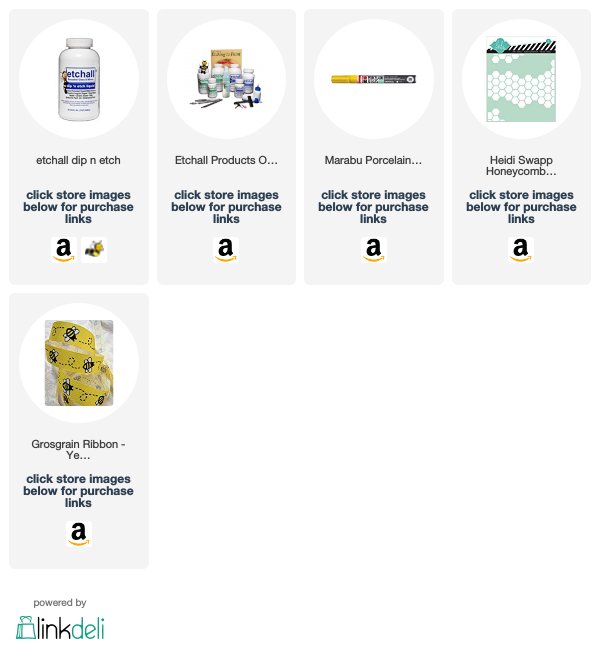
The first thing I did was clean off the labels from the jar. Then I placed the jar into a plastic container and poured the Etchall Dip n' Etch into the container until it was at the rim of the jar and let it sit for 15 min. To keep my jar from floating, I added some rocks in the jar.


Ater the 15 min. was up, I removed my jar from the liquid then washed and dried it.  Then using a honeycomb stencil, I colored it in with a  Marabu Porcelain & Glas Marker in Yellow.
To attach the ribbon and fringe, I used a hot glue gun.


Interested in the products I used? Products are linked to multiple shops below, for your convenience. Lists may contain affiliate links where possible at no cost to you, what so ever. I received some of these products for free but was not compensated for writing this post. Affiliate and product disclosure can be found here.

June 5, 2018

Give Dad A Personalized Mug For Father's Day

Hello! One day while at the store my daughter saw this cool mug and she wanted to get it for her dad for Father's Day. Of course, I said yes because I knew it would be perfect to personalize it with some etchall etching creme.


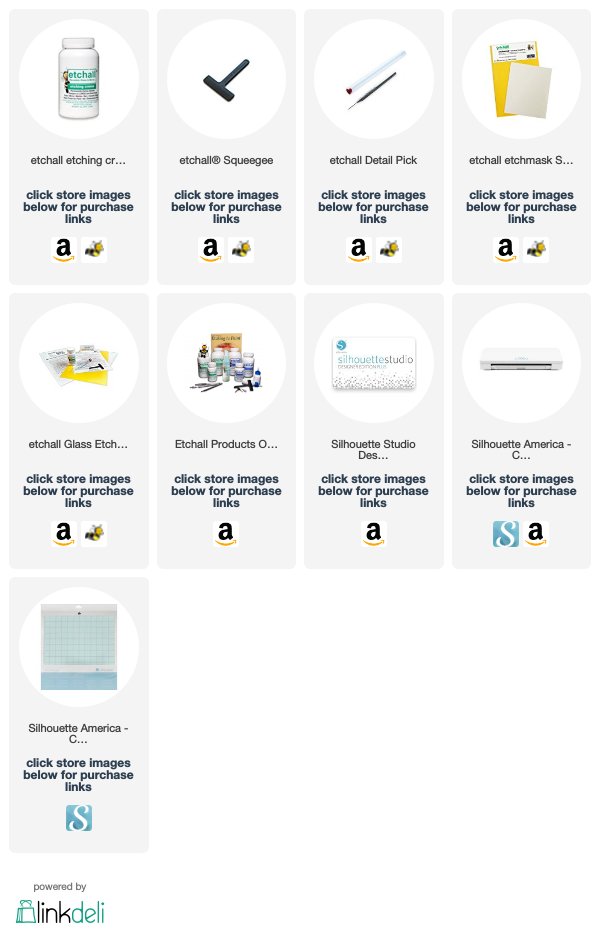
I asked my daughter what did she want it to say and she said "#1 Dad". So I created a cut file using the Silhouette Studio Designer and cut it out using my Silhouette Cameo with etchall etchmask and stuck it the front of the mug.


Following the directions on the bottle, I spread on some etchall etching creme and let it sit for 15 min. before rinsing it off. 


Once rinsed off, it revealed an awesome message for Dad and a great gift for my daughter to give him.


Interested in the products I used? Products are linked to multiple shops below, for your convenience. Lists may contain affiliate links where possible at no cost to you, what so ever. I received some of these products for free but was not compensated for writing this post. Affiliate and product disclosure can be found here.

April 24, 2018

Etching Old Picture Frames To Give Them New Life

Hello! Today I am sharing how I etched on some old picture frames to give them new life. I found some wall art at a garage sale and thought it would be fun to etch the glass on the pictures.


Using a marker, I traced around the photo in the frame, so I knew where I wanted to do my etching. 


Then I found some images of birds on the internet and cut them out with my Silhouette Studio Program and my Silhouette Cameo using the etchall etchmask.  Once I had the birds cut out, I stuck the etchmask onto the front of the glass making sure I had the correct placement of them by looking at my traced marker lines.


Then following the direction of the etchall etching creme, I added the creme over the cut out bird areas and let sit for 15 minutes. After 15 minutes, I scrapped up the creme and placed back into the jar and washed off the extra creme from the glass piece and removed the etchmask.
Dried and added the glass and photo back in the frame and I was done. Super easy!


Interested in the products I used? Products are linked to multiple shops below, for your convenience. Lists may contain affiliate links where possible at no cost to you, what so ever. I received some of these products for free but was not compensated for writing this post. Affiliate and product disclosure can be found here.

April 5, 2018

"It's Coffee Time" Etched Slate

Hello! Today I am sharing a teapot-shaped slate piece that I etched with etchall etching creme.


I found this saying "It's Coffee Time" on Pinterest and using my Silhouette Studio Designer Program I cut it out with my Silhouette Cameo and some etchall etchmask.


I then carefully removed the image from the etchmask and then sticking it to the front of my slate piece.


Once I made sure the etchmask was stuck down well with no lifting or bubbles on any of the edges, I then applied the etchall etching creme with the etchall Squeegee evenly over the area I wanted etched. You want a pretty thick layer of the etching creme but be careful not to create bubbles when spreading it out.


Let the etchall etching creme sit for 15 min. Once the 15 min. is up scrap the extra creme back up with the etchall Squeegee and put back in your jar as the etching creme is reusable.
Then rinse off your slate piece with warm water and remove the etchmask, dry and you are done.


Interested in the products I used? Products are linked to multiple shops below, for your convenience. Lists may contain affiliate links where possible at no cost to you, what so ever. I received some of these products for free but was not compensated for writing this post. Affiliate and product disclosure can be found here.

March 14, 2018

Using Etchall With StencilGirl Stencils


Hello! I am excited to be a part of the etchall and StencilGirl Blog Hop! Make sure to read to the bottom of my post to see how you could win some fabulous prizes. My daughter has had this mirror in her room and I have always thought it was sorta plain, so I decided to decorate it with an inspirational quote and rainbow stencil from StencilGirl and etch it with some etchall etching creme.


I first started with the Painted Rainbows - Large stencil from StencilGirl. I wouldn't normally cut a stencil but I wanted to be able to etch the rainbow and the sentiment from the stencil at the same time so I cut it to separate the two.


Then using the etchall® reposition/reuse stencil spray I sprayed the back of the stencil pieces waited a few minutes for it to become tacky and then stuck them onto the mirror.


Since the areas I wanted to etch were so close to the edge of the stencil I added some masking tape around the outside of the stencil just to be safe. I didn't want to etch places I didn't want to.
Then I started pouring on the etchall etching creme and smoothed it out with the etchall squeegee. After I covered the entire areas I wanted to etch on the stencil, I let sit for 15 min.


Once the 15 min. was up I scrapped as much of the etchall etching creme as I could and put it back in the bottle and then washed off the mirror with warm water.
Here are some close-ups of the end results. I think it came out pretty good!


Now onto the info about the hop and giveaway...


GIVEAWAY
One lucky winner will receive an etchall® Glass Etching Bee-ginner Kit,
reposition/reuse stencil spray
AND a $25 Gift Certificate to StencilGirl Products!
Enter to win by leaving a comment below.
Then be sure to visit the other blogs in the hop and comment to win.
The more blogs you comment on, the more chances you have to WIN!
One winner will be chosen at random from all blog comments!
(One comment per blog please.)
You have until Tuesday, March 20th at 11:59PM Central Time to leave your comments.
Winner will be announced on


Interested in the products I used? Products are linked to multiple shops below, for your convenience. Lists may contain affiliate links where possible at no cost to you, what so ever. I received some of these products for free but was not compensated for writing this post. Affiliate and product disclosure can be found here.

February 6, 2018

Lucky Penny Jar with Etchall

Hello! Today I am sharing how I made a lucky penny jar using Etchall Dip n' Etch and an empty jelly jar. This is a fun way to collect all those lucky pennies you find!


The first thing I did was clean off the labels from the jar. Then I placed the jar into a plastic container and poured the Etchall Dip n' Etch into the container until it was at the rim of the jar and let it sit for 15 min. To keep my jar from floating, I added some rocks in the jar.


While I was waiting for my jar to be etched, I painted the lid of the jar with some white gesso and once that dried I then painted it with some DecoArt Dazzling Metallics Glorious Gold paint.


Ater the 15 min. was up, I removed my jar from the liquid then washed and dried it.  Then taking some StazOn Ink in Eden Green I stamped some shamrocks randomly around on the jar.. because shamrocks are lucky right?


After I was done stamping the shamrocks it still felt a little plain to me so I colored in some of the shamrocks with a Copic Marker in G17.


Glued a penny to the lid with some Beacon 527 and I was done!


Interested in the products I used? Products are linked to multiple shops below, for your convenience. Lists may contain affiliate links where possible at no cost to you, what so ever. Affiliate and product disclosure can be found here.
December 15, 2017

How To Etch A Christmas Plate With Etchall

Hello! Today I am sharing a Christmas porcelain plate I etched using Etchall Etching Creme. The plate can be used to give as a gift, for Santas cookies or for all your yummy holiday treat.
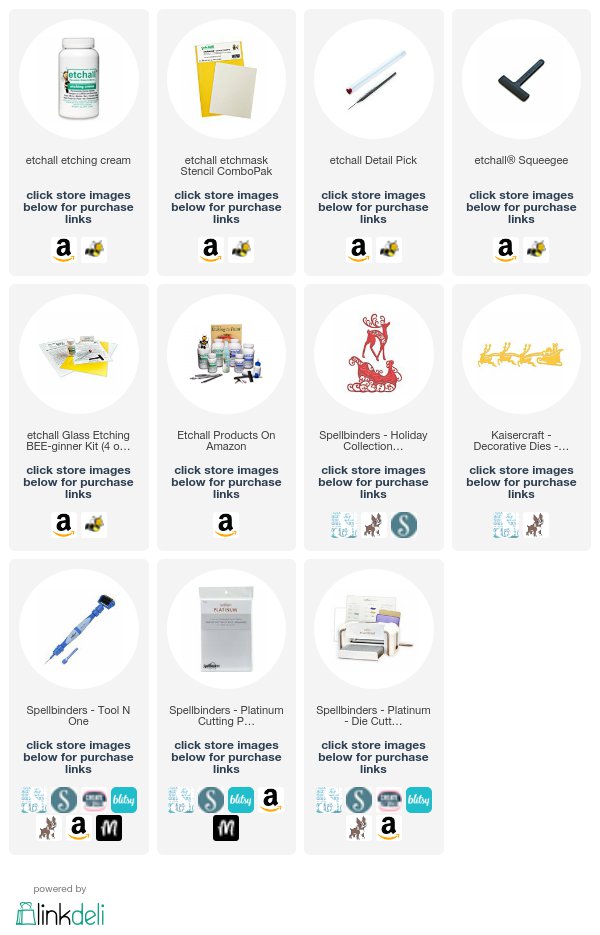

Below is a video tutorial showing how I used the Etchall Etching Creme to etch my plate.
Make sure to subscribe to my YouTube channel to get updates when I post a new video.


See how well it etches even the finest details?


Interested in the products I used? Products are linked to multiple shops below, for your convenience. Lists may contain affiliate links where possible at no cost to you, what so ever. Affiliate and product disclosure can be found here.