Showing posts with label Visible Image. Show all posts

August 12, 2020

Reverse Stamping To Create A Watercolor Stamped Image On Cards

Hello! It is hard to believe that August is already halfway over. The beginning of the year went by so slow and now it is flying by. At least it is for me.
For today's project, I have a card I created using a reverse stamping technique to create a watercolored stamped image.


Some of the products I have used in this post have been provided to me by various companies. The opinions I share are solely my own. Affiliate links may be used where possible at no cost to you. However, I do earn a small commission when you click on my links and make a purchase from them. Thank you, and I appreciate your support!

Below is a video tutorial showing exactly how I created my project.
Make sure to subscribe to my YouTube channel and click the bell so you will get updates when I post a new video.


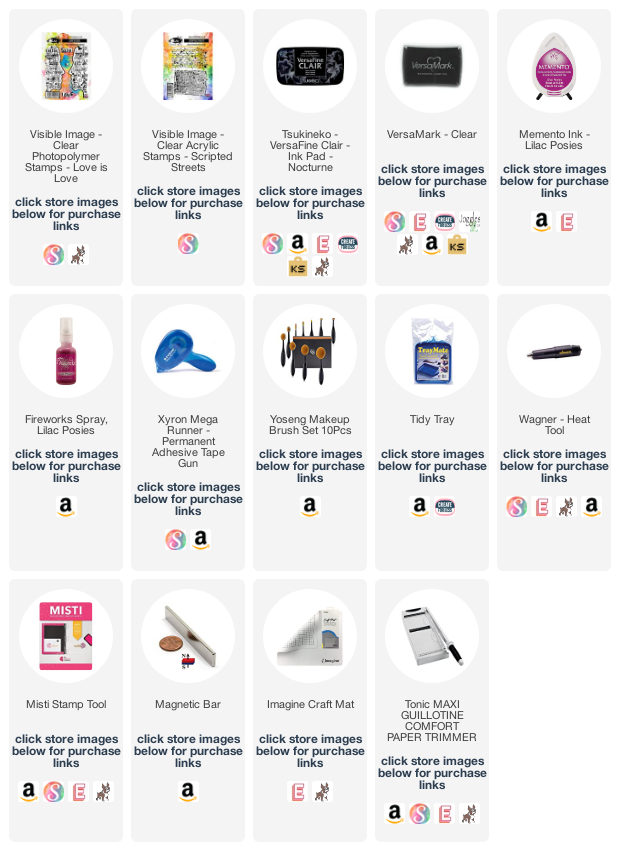
The stamps I used are the Visible Image Love Is Love Stamp Set and also the Visible Image Scripted Streets. To adhere it all together I used my Xyron Mega Runner.


Interested in the products I used? Products that are still available are linked to multiple shops below, for your convenience.
Lists may contain affiliate links where possible at no cost to you, what so ever. Affiliate and product disclosure can be found here.
I design for several companies because I genuinely love their products! Anything I recommend on my blog is something that I genuinely love and regularly use. I buy most of my own supplies. However, I do receive some free products to work with, and I sometimes make money for the projects I make. I DO NOT get paid for product reviews, I give my honest opinion about the products I use, and I will never recommend a product that I do not like or would not use.
July 30, 2020

Stamping On Patterned Papers To Create Elements For Cards

Hello! Today I have a pretty yellow flower card I made and even found a fun way to use up some of the patterned papers I have.


Some of the products I have used in this post have been provided to me by various companies. The opinions I share are solely my own. Affiliate links may be used where possible at no cost to you. However, I do earn a small commission when you click on my links and make a purchase from them. Thank you, and I appreciate your support!

Below is a video tutorial showing how I created my card.
Make sure to subscribe to my YouTube channel and click the bell so you will get updates when I post a new video.


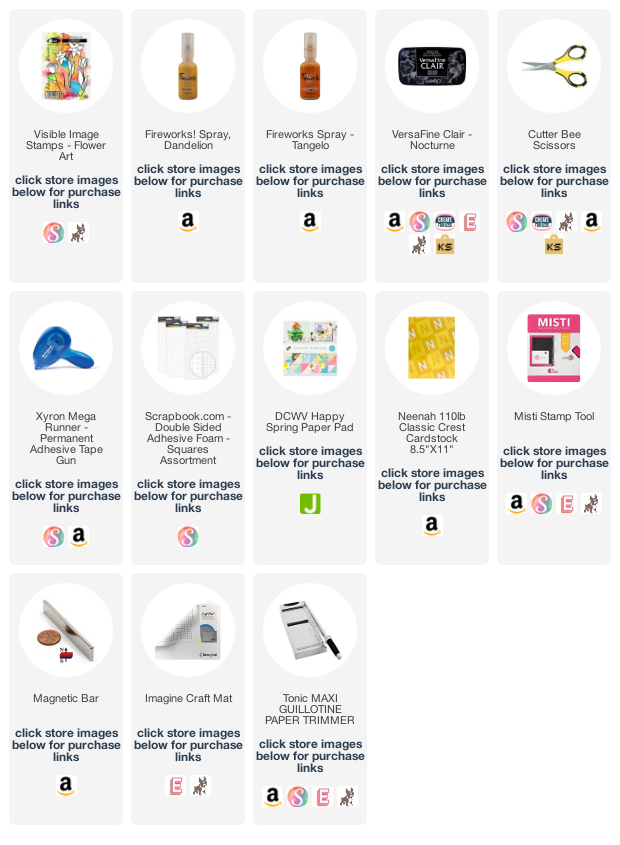
I used the daffodil stamp from the Visible Image Flower Art Stamp Set and just stamped them on patterned paper which is great way to use up some of that paper we all have laying around.


Interested in the products I used? Products that are still available are linked to multiple shops below, for your convenience.
Lists may contain affiliate links where possible at no cost to you, what so ever. Affiliate and product disclosure can be found here.
I design for several companies because I genuinely love their products! Anything I recommend on my blog is something that I genuinely love and regularly use. I buy most of my own supplies. However, I do receive some free products to work with, and I sometimes make money for the projects I make. I DO NOT get paid for product reviews, I give my honest opinion about the products I use, and I will never recommend a product that I do not like or would not use.

June 17, 2020

Using Alcohol Inks On Foiled Paper


I decided to get a little messy today while creating a masculine card using alcohol inks on foiled paper.


Some of the products I have used have been provided to me from various companies I design for. The opinions I share are solely my own, and I only design for companies that I completely love their products. Affiliate links may be used where possible at no cost to you. However, I do earn a small commission when you click on my links and make a purchase from them. Thank you, and I appreciate your support!

Below is a video tutorial showing exactly how I created my project.
Make sure to subscribe to my YouTube channel and click the bell so you will get updates when I post a new video.


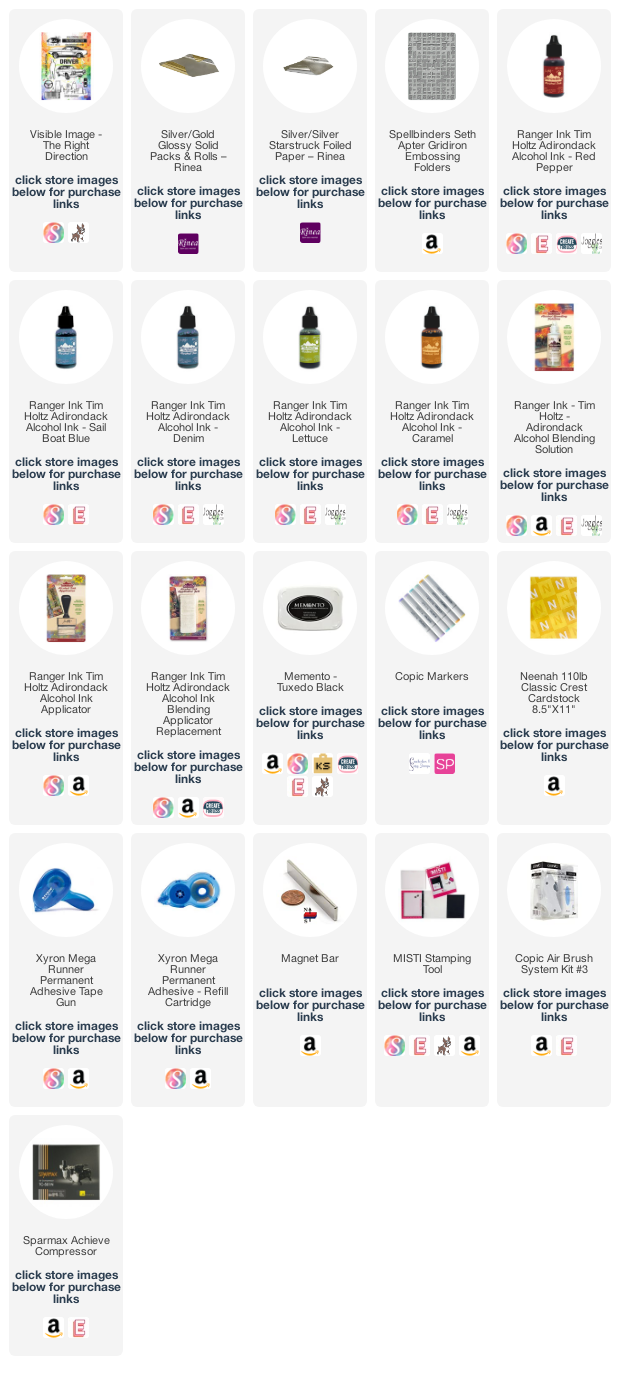
The alcohol ink background on the Rinea Foiled Paper created a perfect masculine backdrop for the stamped imaged I used from the Visible Image The Right Direction stamp set.


Interested in the products I used? Products that are still available are linked to multiple shops below, for your convenience.
Lists may contain affiliate links where possible at no cost to you, what so ever. Affiliate and product disclosure can be found here.
I design for several companies because I genuinely love their products! Anything I recommend on my blog is something that I genuinely love and regularly use. I buy most of my own supplies. However, I do receive some free products to work with, and I sometimes make money for the projects I make. I DO NOT get paid for product reviews, I give my honest opinion about the products I use, and I will never recommend a product that I do not like or would not use.

June 3, 2020

Watercolor & Resist Flower Card


Hello! Lately, I seem to be on a watercolor kick. I have been having a lot of fun playing with different ways to use water coloring on cards to create different looks.


Some of the products I have used have been provided to me from various companies I design for. The opinions I share are solely my own, and I only design for companies that I completely love their products. Affiliate links may be used where possible at no cost to you. However, I do earn a small commission when you click on my links and make a purchase from them. Thank you, and I appreciate your support!

Below is a video tutorial showing exactly how I created my project.
Make sure to subscribe to my YouTube channel and click the bell so you will get updates when I post a new video.


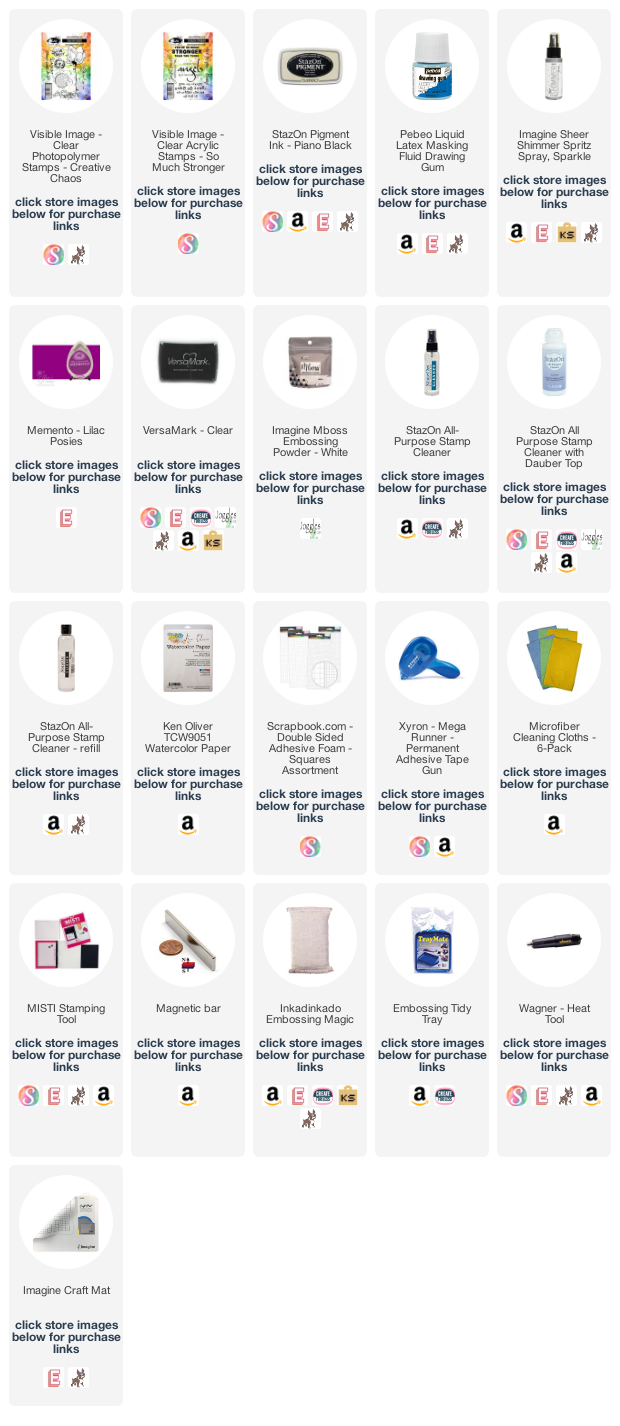
I love these flowers from the Visible Image Creative Chaos Stamp Set. In my video tutorial above I show how I used the Pebeo Drawing Gum to create a resist to watercolor the flowers.


For the sentiment, I used the Visible Image So Much Stronger Stamp Set.


Interested in the products I used? Products that are still available are linked to multiple shops below, for your convenience.
Lists may contain affiliate links where possible at no cost to you, what so ever. Affiliate and product disclosure can be found here.
I design for several companies because I genuinely love their products! Anything I recommend on my blog is something that I genuinely love and regularly use. I buy most of my own supplies. However, I do receive some free products to work with, and I sometimes make money for the projects I make. I DO NOT get paid for product reviews, I give my honest opinion about the products I use, and I will never recommend a product that I do not like or would not use.

March 11, 2020

Masculine Birthday Card


Sometimes we just need a good masculine birthday card! I actually like making grungy masculine cards. It is a nice change of pace sometimes from doing all the cutesy cards.


Some of the products I have used have been provided to me from various companies I design for. The opinions I share are solely my own, and I only design for companies that I completely love their products. Affiliate links may be used where possible at no cost to you. However, I do earn a small commission when you click on my links and make a purchase from them. Thank you, and I appreciate your support!

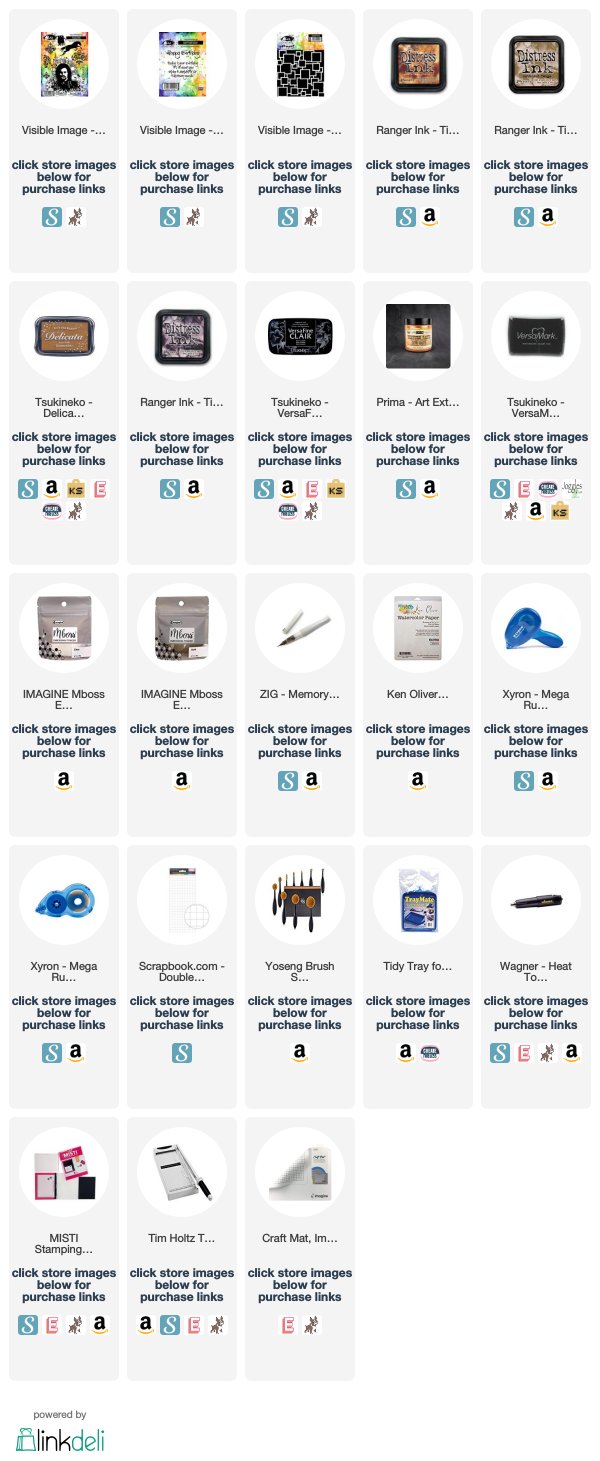
I used a couple different stamp sets from Visible Image. I first started with some watercolor paper and used a blending brush with some Distress Ink Vintage Photo to cover the entire piece. Then with the Visible Image Square Route Stencil around the outside edges of the paper, I added a second layer of the Distress Ink Vintage Photo working towards the center of the paper but not covering the very center. Then with Distress Ink Gathered Twigs, I went around just the outer edge but only about an inch in.


I then used the stamp set Revolution from Visible Image to stamp the image in the middle of the paper with VersaFine Clair Nocturne and heat embossed it with clear embossing powder. Then stamped over it again with some Delicata Golden Glitz. I also used the swirly stamp from the Revolution from Visible Image stamp set and stamped around the outer edge with the Delicata Golden Glitz
Then using the Visible Image Square Route Stencil again and some Texture Paste in Copper Crackle, I added some of the paste around the outer edge.


I colored the window and the circles on the stamp image with a Wink Of Stella Gold Glitter Brush and flicked some of it onto the front of my card piece. Used some Distress Ink in Black Soot to edge the card with and matted it some black cardstock.
For the sentiment, I used the Visible Image Happy Birthday Stamp and stamped it with VersaMark Ink and heat embossed it with gold embossing powder.

.
It was fun adding all the different ink layers and just randomly adding different mediums to create a grungy masculine card.


Interested in the products I used? Products that are still available are linked to multiple shops below, for your convenience.
Lists may contain affiliate links where possible at no cost to you, what so ever. Affiliate and product disclosure can be found here.
I design for several companies because I genuinely love their products! Anything I recommend on my blog is something that I genuinely love and regularly use. I buy most of my own supplies. However, I do receive some free products to work with, and I sometimes make money for the projects I make. I DO NOT get paid for product reviews, I give my honest opinion about the products I use, and I will never recommend a product that I do not like or would not use.

February 25, 2020

Using Gilding Flakes With Stencils

Have you ever used gilding flakes? They are something I have had for a long time but always forget to use them. I have seen a few videos on using gilding flakes with stencils so I thought I would give it a try.

Some of the products I have used have been provided to me from various companies I design for. The opinions I share are solely my own, and I only design for companies that I completely love their products.
Affiliate links may be used where possible at no cost to you. However, I do earn a small commission when you click on my links and make a purchase from them. Thank you, and I appreciate your support!

Below is a video tutorial showing exactly how I created my project.
Make sure to subscribe to my YouTube channel and click the bell so you will get updates when I post a new video.


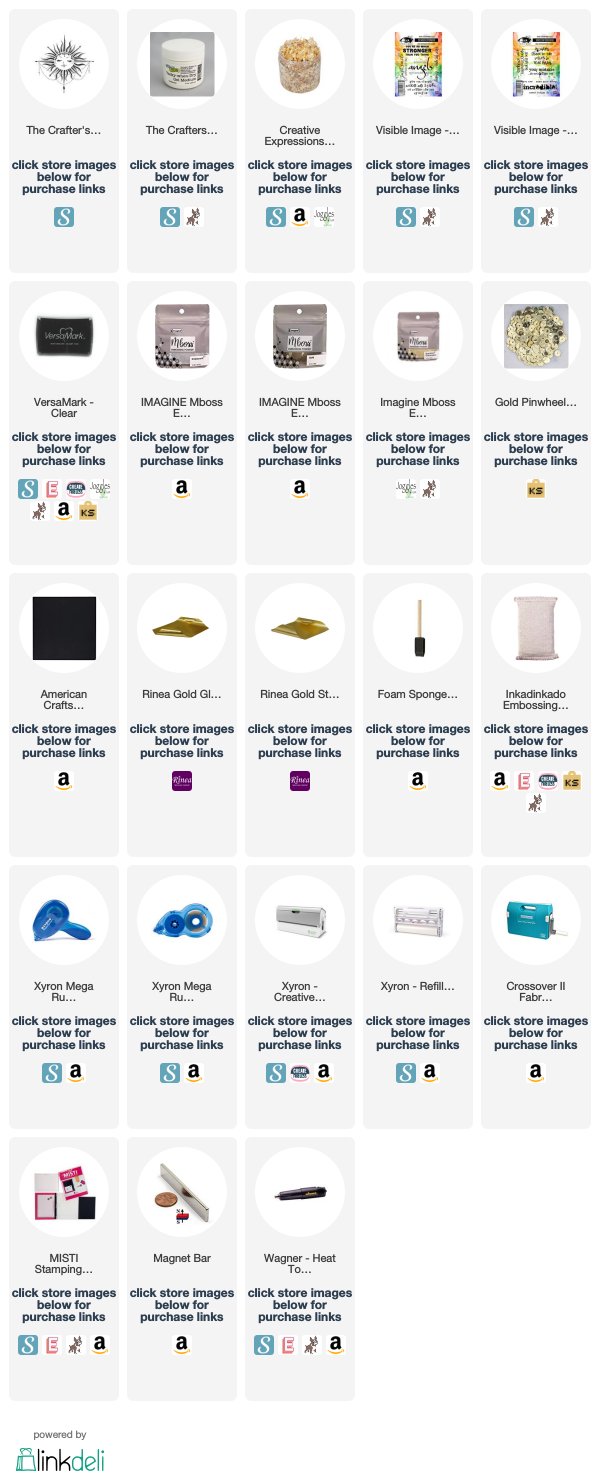
I used the TCW923 Celestial Sun Stencil for both of the cards. For the first card, I used my Xyron Creative Station to create a sticky surface for the gilding flakes to adhere to through the stencil. 


I then used embossing powder on the remaining sticky surface and heat set it.
In my video above, I show all the steps of how I did it.


For the second card, I used TCW9049 Tacky When Dry to stick the gilding flakes down.


So that was two simple and fun ways to use stencils with gilding flakes. Which one of the two is your favorite? I really can not decide, I like them both!


Interested in the products I used? Products that are still available are linked to multiple shops below, for your convenience.
Lists may contain affiliate links where possible at no cost to you, what so ever. Affiliate and product disclosure can be found here.
I design for several companies because I genuinely love their products! Anything I recommend on my blog is something that I genuinely love and regularly use. I buy most of my own supplies. However, I do receive some free products to work with, and I sometimes make money for the projects I make. I DO NOT get paid for product reviews, I give my honest opinion about the products I use, and I will never recommend a product that I do not like or would not use.

January 30, 2020

Masculine Valentine's Day Card

Hello! Today I am sharing another masculine Valentine's Day card. I love all the pretty Valentine's Day cards but sometimes we just need to grunge them up a little for the guys in our life.


Some of the products I have used have been provided to me from various companies I design for. The opinions I share are solely my own, and I only design for companies that I completely love their products.
Affiliate links may be used where possible at no cost to you. However, I do earn a small commission when you click on my links and make a purchase from them. Thank you, and I appreciate your support!

Below is a process video showing exactly how I created my project.
Make sure to subscribe to my YouTube channel and click the bell so you will get updates when I post a new video.


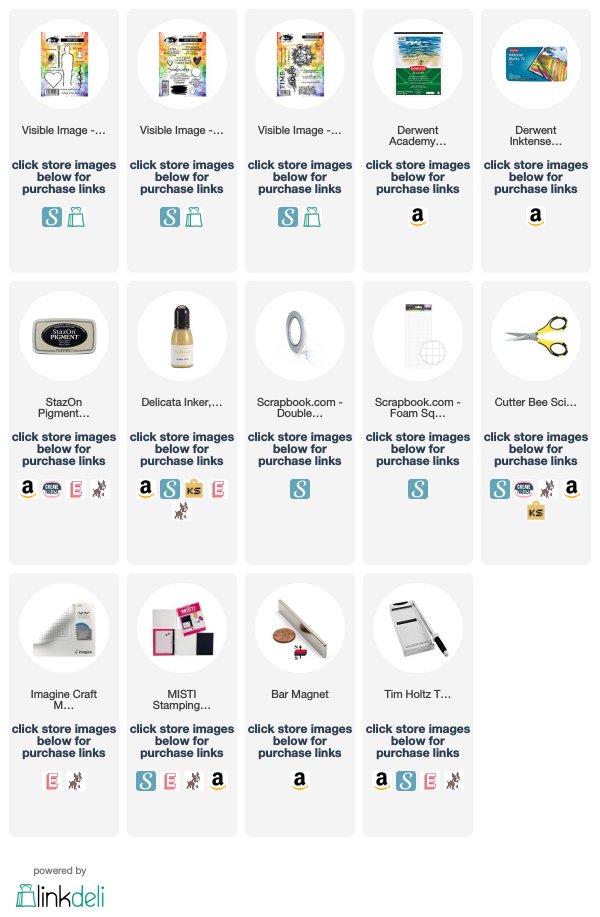
Last week when I was at Creativation 2020 I won the Derwent Inktense Blocks and couldn't wait to play with them. Holy cow, I love them! The colors are so intense and once they are dry and permanent, so they can be layered with other colors.
Once the colored pieces were dry I stamped on them with Visible Image Stamps. The heart was stamped using the Don't Judge Stamp Set. The sentiment was stamped with the Have I Told You Stamp Set and the gears were stamped using the Somewhere In Time Stamp Set.

Here are some close-ups of my card....


Interested in the products I used? Products that are still available are linked to multiple shops below, for your convenience.
Lists may contain affiliate links where possible at no cost to you, what so ever. Affiliate and product disclosure can be found here.
I design for several companies because I genuinely love their products! Anything I recommend on my blog is something that I genuinely love and regularly use. I buy most of my own supplies. However, I do receive some free products to work with, and I sometimes make money for the projects I make. I DO NOT get paid for product reviews, I give my honest opinion about the products I use, and I will never recommend a product that I do not like or would not use.