Can you believe Christmas is less than two months away? It will be here before we know it! I have put away all my Halloween card making supplies and have pulled out all my Christmas card making supplies. I have made a few Christmas cards already, but I need to get a lot more done. So get ready for a lot of Christmas card inspiration from me in the next few months.
Some of the products I have used have been provided to me from various companies I design for. The opinions I share are solely my own, and I only design for companies that I completely love their products.
Affiliate links may be used where possible at no cost to you. However, I do earn a small commission when you click on my links and make a purchase from them. Thank you, and I appreciate your support!
The Santa Claus Stamp Set by Visible Image is such a fun stamp set. Instead of using the entire Santa image, I just stamped his legs with some VersaFine Clair in Nocturne and colored them in with Copic Markers. For the chimney, I stamped it two times using VersaFine Clair in Acorn but reversed the stamp, so the chimney was stacked up to be taller. Then I fussy cut out both of the images.
I used a Fantastix with some VersaFine Clair in Acorn to color in the white areas of the chimney. Then, I adhered Santas legs to the chimney.
Next, using the Visible Image Cosmic Skies Stencil I used VersaMark and pressed it over the stencil onto a white piece of cardstock.
Then sprinkled some Mboss Embossing Powder in white over it and heat set with my heat tool.
To color the background of the piece I just embossed, I sprayed some Fireworks! Spray in Paris Dusk and Fireworks! Spray in London Fog onto my craft mat and placed my embossed cardstock piece with the embossed side down straight into the liquid. Pressing it down to make sure that the spray fully covers the white cardstock and then carefully lift it up. Wipe the spray from the embossed areas and set aside to dry.
I stamped the Santa Claus sentiment using VersaFine Clair in Nocturne and used a Fantastix with VersaFine Clair in Glamorous to color it in. Once my card front piece was fully dry, I adhere it to my card front and attached the sentiment, Santa legs, and chimney to the front with some 3D Foam Squares.
Then, I used some DecoArt Snow-Tex around the bottom and top of the chimney, and on the Santas pant bottoms, I used some Radiant Neon Amplify in White.
Then, I used some DecoArt Snow-Tex around the bottom and top of the chimney, and on the Santas pant bottoms, I used some Radiant Neon Amplify in White.
For my final step, I decided to add some irRESISTible Pico Embellisher in clear to Santas boots and to the sentiment.
I then let everything dry, and my card was complete.
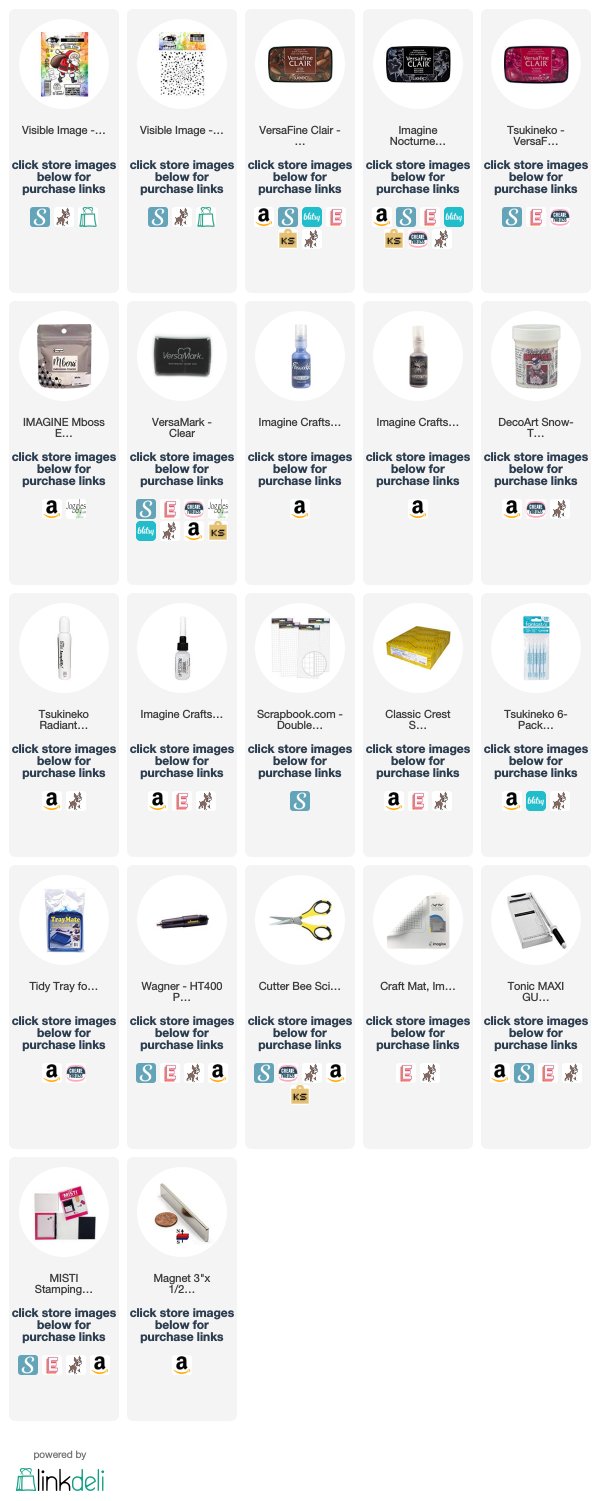
Interested in the products I used? Products that are still available are linked to multiple shops below, for your convenience.
Lists may contain affiliate links where possible at no cost to you, what so ever. Affiliate and product disclosure can be found here.
I design for several companies because I genuinely love their products! Anything I recommend on my blog is something that I genuinely love and regularly use. I buy most of my own supplies. However, I do receive some free products to work with, and I sometimes make money for the projects I make. I DO NOT get paid for product reviews, I give my honest opinion about the products I use, and I will never recommend a product that I do not like or would not use.


0 Comments:
Post a Comment
Thank you for visiting my blog and leaving a comment. Hope you have a wonderful day! :)
This is a public blog. Those leaving a comment on any post on this blog or entering a piece of artwork into a linky do so in the knowledge that their name and blog link are visible to all who visit this blog and in so doing have published their own personal details and consented to my use of that personal information should they be selected as a winner or to accredit work.